Open Bottom Dishwasher: Is It a Ticking Time Bomb in Your Kitchen?
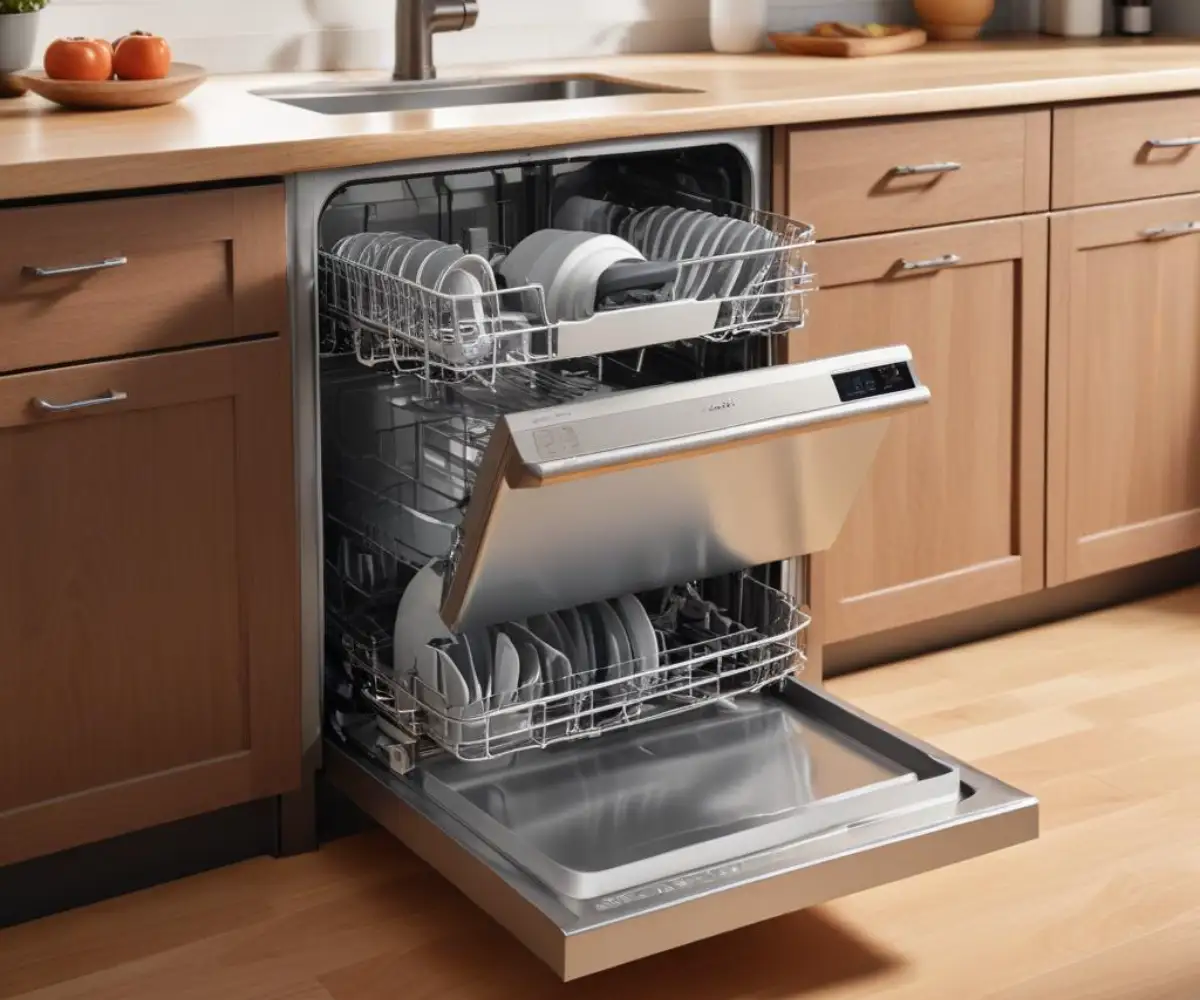
You lean down to grab a fallen spoon and notice something unsettling. Beneath your dishwasher, where you expected a solid base, you see a dark void—a mess of wires, pipes, and the machine’s inner workings. This “open bottom dishwasher” sight can be alarming, sparking immediate questions about safety, performance, and even pests.
Is this normal? Was something missed during installation? The reality is that this exposed underbelly is a common issue, but it’s one that you should not ignore. Leaving it open exposes your appliance to a host of problems that can shorten its lifespan and compromise your kitchen’s safety.
This guide will walk you through exactly why your dishwasher’s bottom is open, the critical role of the missing cover, and how to permanently fix it. We will provide the expert advice needed to protect your appliance, quiet its operation, and give your kitchen the finished look it deserves.
You'll Learn About
What an “Open Bottom Dishwasher” Really Means
First, let’s clarify a common misconception. Dishwashers are not sold as “open bottom” models. Instead, nearly all residential dishwashers are manufactured with an exposed chassis to allow for installation and connection of water lines, drains, and electrical power. The open design is a feature, not a flaw—at least until the final step is missed.
The crucial part that transforms this open frame into a finished appliance is the toe-kick or lower access panel. This is a separate piece, usually a thin metal or plastic plate, that is designed to be installed after the dishwasher is in place and all connections are made. When this piece is missing, you are left with what appears to be an open bottom dishwasher.
The Unsung Hero: Why the Toe-Kick Panel Is Essential
That simple panel does more than just hide the “ugly” parts of your dishwasher. It serves several critical functions that are vital for the appliance’s performance and the safety of your home. Ignoring it means you’re missing out on key benefits.
One of its primary roles is sound dampening. Much of the noise a dishwasher makes comes from the motor and pump located at the base. The access panel, especially if it includes a layer of factory-installed insulation, acts as a barrier that significantly muffles these operational sounds, leading to a quieter kitchen.
Furthermore, the panel is a crucial safety shield. It protects the sensitive electrical components and the motor from dust, debris, kitchen spills, and even curious pets or children. A splash of water from a dropped glass could easily reach live electrical connections without this simple guard in place, creating a serious hazard.
Finally, it contributes to a cleaner, more efficient appliance. By sealing the bottom opening, the toe-kick prevents dust bunnies and grime from accumulating on the motor, which can cause it to run hotter and fail prematurely. It also helps contain heat within the dishwasher tub, potentially improving drying performance.
Common Reasons Your Dishwasher Bottom Is Exposed
If you’ve discovered an open gap under your dishwasher, it’s almost certainly due to an issue with the toe-kick panel. This doesn’t happen because the machine is defective, but rather because of an oversight or a problem during its setup or a subsequent repair.
The most frequent cause is simply a missed step during installation. Installers, whether professional or DIY, can sometimes forget to attach this final piece, or it may get lost in the shuffle of unboxing and cleanup. The panel and its screws are often in a separate plastic bag taped to the appliance, which can be easily discarded with the packaging.
Another common scenario involves post-installation adjustments. If you’ve encountered issues with fitting the appliance, you might find our guide on dishwasher height problems useful, as improper height can prevent the toe-kick from aligning correctly. The panel may have been removed to access the leveling legs and then never put back on.
Lastly, a service repair is a frequent culprit. A technician will always remove the access panel to diagnose and fix issues with the pump, motor, or water inlet. In a rush to finish the job, they may neglect to reinstall it, leaving the bottom of your dishwasher exposed once again.
Your Step-by-Step Guide to Fixing an Open Bottom Dishwasher
Leaving your dishwasher’s underside exposed is a risk you shouldn’t take. Fortunately, fixing it is one of the easiest DIY appliance tasks you can undertake. It typically requires just a few minutes and a screwdriver to secure your appliance and your peace of mind.
Step 1: Identify Your Dishwasher and Find the Right Part
Your first task is to identify the exact model of your dishwasher. Open the door and look along the inside edge of the frame or on the side of the door itself. You will find a sticker with the manufacturer’s name and the full model number.
With the model number in hand, you can order a replacement Original Equipment Manufacturer (OEM) toe-kick. Search online using your model number plus “toe-kick” or “access panel.” This guarantees a perfect fit. If you cannot find an OEM part, universal toe-kicks are available, but may require some modification.
Step 2: Prepare for Installation
Once your new part arrives, the installation is straightforward. Your replacement kit should come with the panel and two to four small screws. The only tool you will typically need is a screwdriver or a 1/4″ nut driver.
Before you begin, it’s wise to turn off the power to the dishwasher at the circuit breaker. While you won’t be touching major electrical components, it is always the safest practice when working on any appliance. Clear the area in front of the dishwasher to give yourself room to work.
Step 3: Attach the Toe-Kick Panel
Many toe-kicks come with a piece of insulation. If yours does, make sure it is properly attached to the back of the panel. Align the panel with the bottom of the dishwasher, ensuring the screw holes on the panel line up with the corresponding holes on the dishwasher’s frame or legs.
Secure the panel using the provided screws. Do not overtighten them; they just need to be snug enough to hold the panel firmly in place without any rattling. The final steps of a full appliance setup, like attaching the toe-kick, are detailed in many installation guides, including our walkthrough on dishwasher with top controls installation.
Step 4: The Final Inspection
With the toe-kick installed, your dishwasher now has a clean, finished look. More importantly, its vital components are protected. Restore power at the circuit breaker and run a cycle to ensure the panel does not vibrate or create any new noises.
While you are inspecting the area, be mindful of any plumbing issues. If you notice drips or deal with related sink problems, you may need to investigate further. Sometimes, plunging a kitchen sink with a dishwasher can reveal underlying connection issues that need attention.
Comparing Your Toe-Kick Options
When replacing a missing access panel, you have a few choices. Each comes with its own set of considerations regarding cost, appearance, and ease of installation. Understanding these differences can help you make the best choice for your kitchen.
| Feature | OEM Part | Universal Kit | Custom Wood |
|---|---|---|---|
| Cost | Moderate ($20 – $50) | Low ($15 – $30) | Varies (DIY can be cheap) |
| Aesthetic Match | Perfect match in color and finish. | Generally black or white; may not match perfectly. | Can be made to match cabinetry exactly. |
| Ease of Installation | Very Easy. Designed for a perfect fit. | Easy to Moderate. May require cutting or drilling. | Difficult. Requires carpentry skills and tools. |
| Availability | Readily available online from appliance part sites. | Available online and in some hardware stores. | Requires sourcing materials and custom fabrication. |
The Hidden Dangers of an Exposed Dishwasher Bottom
It can be tempting to ignore the missing panel, especially if the dishwasher seems to be working fine. However, doing so introduces several risks that can lead to expensive repairs and unsafe conditions. The dangers are not always immediately obvious.
A Welcome Mat for Pests and Grime
The dark, warm space under your dishwasher is an attractive shelter for pests like cockroaches and rodents. An open bottom provides them with easy access to a potential nesting site. It also becomes a collection point for dust, pet hair, and food crumbs that are nearly impossible to clean, creating a grimy buildup on the machine’s motor and wiring.
The Unseen Threat of Water Damage
Your kitchen floor is bound to get wet from time to time—from a spilled drink, a mopping bucket, or a minor leak from the sink. The toe-kick acts as a critical splash guard. Without it, water can splash directly onto the dishwasher’s electric motor, control board, and wiring terminals, leading to short circuits and catastrophic failure.
Compromised Performance and Reduced Lifespan
The accumulation of dust and debris on the motor acts like an insulating blanket, causing it to run hotter than designed. This excess heat stresses the motor’s components and can lead to a premature burnout. Protecting these parts with a simple panel is one of the easiest ways to ensure your appliance lasts for its full expected lifespan.
Don’t Risk It: The Final Word on Your Dishwasher’s Gap
That gap at the bottom of your dishwasher is more than a cosmetic flaw; it’s a liability. An open bottom dishwasher is an unprotected dishwasher. You are leaving its most critical components vulnerable to damage from spills, pests, and performance-hindering debris.
The solution is simple, inexpensive, and fast. By identifying your model and installing the proper toe-kick, you restore the vital protection the manufacturer intended. You will not only achieve a quieter operation and a finished look but also safeguard your investment from avoidable damage, ensuring your appliance serves you reliably for years to come.