Old Ceiling Speakers Sounding Awful? Here’s the Ultimate Fix
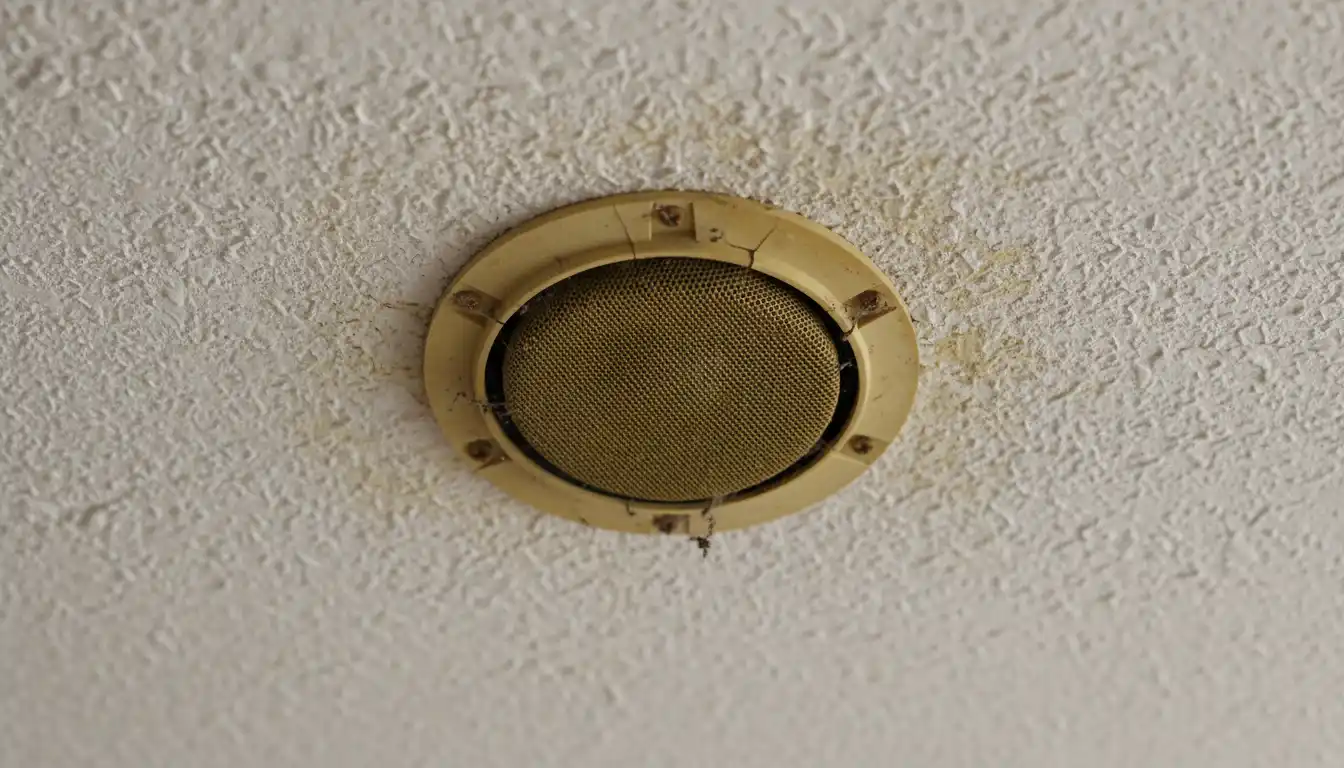
You walk into a room and look up. There they are: the yellowed, stained grilles of old ceiling speakers. Maybe they came with the house, relics of a past owner’s grand audio plan. Now, they produce thin, crackly sound—or worse, no sound at all. This is a common problem for homeowners who inherit outdated tech that detracts from a home’s modern feel and audio potential.
These aging speakers aren’t just an eyesore; they represent a missed opportunity for immersive, high-quality sound integrated seamlessly into your home. The good news is you’re not stuck with them. You have powerful, modern options to fix this exact problem.
You'll Learn About
Why Your Old Ceiling Speakers Are Failing You
Over time, the components that make a speaker sound great begin to break down. Understanding why your old speakers are underperforming is the first step toward finding the right solution. Several key factors contribute to their decline.
The materials themselves are often the primary culprits. Speaker cones, especially older ones made of paper or treated cloth, can absorb moisture and become brittle or warped. The foam or rubber surrounds that connect the cone to the speaker basket can dry out and crumble, a phenomenon known as “cone rot.” When this happens, the speaker can no longer move correctly to produce sound, leading to buzzing, distortion, or complete failure.
Outdated Technology and Design Limitations
Beyond material decay, the technology inside older ceiling speakers is simply obsolete. Crossover components, which direct the correct frequencies to the woofer and tweeter, can degrade. This results in a muddy, unbalanced sound where highs are screechy and lows are undefined.
Furthermore, many older in-ceiling speakers were designed as open-backed units. This means the vast, unpredictable space of your ceiling cavity acts as the speaker cabinet. Without a proper enclosure, sound waves travel backward into the ceiling, causing vibrations, sound leakage to other rooms, and a significant loss of bass response. Modern audio demands much more precision than these old designs can offer.
The Big Decision: Upgrade, Replace, or Repurpose?
You have three clear paths forward for dealing with your old ceiling speakers. You can attempt to upgrade the existing units, replace them entirely with modern speakers, or remove them and repurpose the space. Each option has distinct advantages, costs, and levels of effort.
Choosing the right path depends on your budget, DIY comfort level, and ultimate audio goals. Evaluating these factors carefully will help you make a confident decision that enhances your home’s value and your listening experience.
Comparing Your Options
To make the best choice, it’s helpful to see a direct comparison of the three main strategies. The table below breaks down the key aspects of upgrading, replacing, and repurposing your old ceiling speakers.
| Option | Pros | Cons | Estimated Cost | Best For |
|---|---|---|---|---|
| Upgrade | Cost-effective; potential for significant sound improvement with minimal drywall work; satisfying DIY project. | Limited by the original speaker housing; may not support modern features like wireless streaming without extra hardware. | $50 – $200 per speaker | Homeowners on a budget with decent quality existing speaker housings. |
| Replace | Access to the latest audio technology (Bluetooth, Wi-Fi); superior sound quality and aesthetics; long-term solution. | Higher initial cost; may require enlarging existing ceiling holes; installation can be more complex. | $200 – $1,500+ for a pair, plus installation | Those seeking the best possible sound quality and modern, seamless integration. |
| Repurpose/Remove | Completely removes the outdated element; frees up ceiling space for other uses (lighting, sensors); lowest cost if DIY. | Requires patching and painting drywall for a clean finish; loses the potential for integrated audio in that location. | $25 – $100 for materials (DIY) | Rooms where integrated audio is not desired or speakers are damaged beyond repair. |
Option 1: The Smart Upgrade Path—Reviving What You Have
If your speaker housings are in good shape, a strategic upgrade can be a surprisingly effective and budget-friendly solution. This approach focuses on improving the components you already have to breathe new life into your system. It’s about working smarter, not harder.
Simple cosmetic fixes can make a huge difference. Carefully remove the speaker grilles and clean them. A fresh coat of spray paint, applied in several light layers to avoid clogging the holes, can make yellowed grilles look brand new and match your ceiling color perfectly.
Unlocking Hidden Sound Quality: The Backer Box Secret
The single most impactful upgrade you can make to an open-backed ceiling speaker is adding a backer box, or “back can.” This is an enclosure installed in the ceiling behind the speaker, creating a sealed, acoustically optimized space. This simple addition dramatically improves performance.
A backer box provides a consistent air volume for the speaker to work with, which tightens up bass response and improves midrange clarity. It also has the critical benefit of reducing sound leakage into the rooms above, so your music doesn’t disturb the rest of the house. This is a pro-level trick that delivers professional results.
Option 2: The Full Replacement—A New Era of Sound
For those who want the best possible audio experience and a clean, modern look, a full replacement is the ultimate solution. Today’s in-ceiling speakers offer incredible sound quality and features that were unimaginable when your old speakers were installed. This is your chance to get it right from the start.
Modern speakers feature advanced materials like carbon fiber or silk-dome tweeters for crisp, detailed highs and powerful woofers for deep, impactful bass. Many models include pivoting tweeters, allowing you to aim the sound directly at your listening area for a perfect sweet spot. Aesthetically, new “ghost” or “frameless” grilles sit perfectly flush with the ceiling, making them virtually disappear.
Choosing and Installing Your New Speakers
When selecting new speakers, consider the size of the existing holes. If you choose a speaker that is the same size, installation is straightforward. If you opt for a larger, more powerful speaker, you will need to carefully enlarge the hole. Always measure the clearance between ceiling joists before you cut.
Installation is often a manageable DIY project. However, if you’re not comfortable with tasks like cutting drywall or handling wiring, a professional installer can ensure a perfect, secure fit. Be mindful of how much weight your ceiling can support; if you have a drop ceiling, you’ll need to know its limits before installing heavy, high-end speakers. For more on this, understanding how much weight a drop ceiling can hold is critical for safety and performance.
Option 3: The Creative Repurpose or Clean Removal
Sometimes, the best solution is to admit the old speakers are beyond saving or simply aren’t wanted. In this case, removing them and reclaiming that ceiling space opens up a world of creative possibilities. This path is about transforming an eyesore into a functional or aesthetic asset.
The most straightforward approach is to remove the speaker, patch the hole with a piece of drywall, tape, mud, and paint to match the ceiling. When done carefully, the repair can be completely invisible. However, before you patch it up, consider a more innovative approach.
Beyond the Blank Slate: Smart Repurposing Ideas
That hole in your ceiling is an opportunity. Instead of just covering it, think about what else could go there. This is your chance to add modern functionality without cutting new holes. Could it become the mounting point for a sleek, low-profile smoke detector or a smart home sensor for motion or temperature?
For a more design-focused solution, the opening could be converted to house a small, recessed LED accent light, creating a dramatic wash of light on a nearby wall. This is very similar to the challenge homeowners face with old intercom systems, where creative solutions are key. In fact, many of the same principles for covering an old wall unit apply here; you can find some great inspiration from these NuTone intercom replacement ideas.
Critical Safety and Installation Advice
Whether you upgrade, replace, or remove your speakers, safety must be your top priority. Working on a ceiling means working on a ladder and often dealing with electrical wiring. Always turn off the power at the circuit breaker before you begin any work. Use a voltage tester to confirm the power is off before touching any wires.
If you have an older home with textured or “popcorn” ceilings, be aware of the potential for asbestos. If you suspect it might be present, have it tested before you cut, drill, or disturb the ceiling material. When it comes to complex wiring scenarios, especially if you’re unsure about how to run wire through a ceiling without attic access, consulting a professional electrician or AV installer is a wise investment.
Final Thoughts: An Opportunity for Transformation
Those old, unsightly ceiling speakers are not a permanent problem. They are an opportunity to significantly upgrade your home’s audio capabilities and aesthetic appeal. Whether you choose a simple cosmetic refresh, a full technological replacement, or a creative repurposing project, you have the power to transform that outdated feature into a modern asset.
By carefully considering your options and planning your approach, you can eliminate the crackle and yellowing for good. In their place, you can enjoy crystal-clear sound that fills your room, a clean and seamless ceiling, or a clever new piece of smart home technology. The choice is yours.