Oil Based Stain Sprayer: Your Guide to a Flawless Finish
Achieving a professional, glass-smooth finish with oil-based stain can feel like an impossible goal. Brushing is slow, tedious, and often leaves behind frustrating lap marks and bristles. You know a sprayer is the key to that perfect look, but the fear of a clogged machine, a massive cleanup job, and choosing the wrong equipment can be paralyzing.
This guide cuts through the confusion. We will demystify the process of selecting, using, and maintaining the right oil-based stain sprayer for your projects. Prepare to transform your finishing work from a frustrating chore into a rewarding success.
You'll Learn About
Why Oil-Based Stains Are a Challenge for Sprayers
Understanding the unique properties of oil-based stains is the first step toward mastering their application. Unlike water-based products, oil-based stains have a thicker viscosity and contain petroleum distillates like mineral spirits. These characteristics are great for wood penetration and durability but create specific challenges for spray equipment.
The solvents in oil-based products can be harsh on the internal components of a sprayer, potentially degrading seals and gaskets if the machine isn’t designed for them. Furthermore, the thicker consistency means that without proper setup and potential thinning, you risk constant clogging and an inconsistent, sputtering spray pattern that ruins your finish.
The Wrong Sprayer Leads to Disaster
Not all paint sprayers are created equal, especially when it comes to handling aggressive, solvent-based materials. Using a sprayer intended only for thin, water-based latex paints can lead to rapid mechanical failure. The powerful solvents can dissolve internal seals, leading to leaks and a complete loss of pressure.
Even if the sprayer survives, you will likely face an endless battle with clogs. This results in a “spitting” gun that creates a blotchy, uneven finish. The frustration of stopping every few minutes to clear a blockage is enough to make anyone abandon the project.
Choosing Your Weapon: The Best Sprayer for Oil-Based Stain
Selecting the right tool is more than half the battle. The two primary types of sprayers suitable for oil-based stains are High-Volume, Low-Pressure (HVLP) and Airless sprayers. Each has distinct advantages and is suited for different types of projects.
HVLP (High-Volume, Low-Pressure) Sprayers
HVLP systems use a high volume of air delivered from a turbine to atomize the stain at a low pressure. This results in a very fine, soft spray with minimal overspray. This makes them ideal for detailed work where control and a pristine finish are paramount, such as cabinets, furniture, and intricate trim.
Because of the low pressure, the stain may need to be thinned to achieve the correct viscosity for spraying. While this adds a step, the superior control and reduced material waste are significant benefits. An HVLP sprayer is the professional’s choice for fine finishing work.
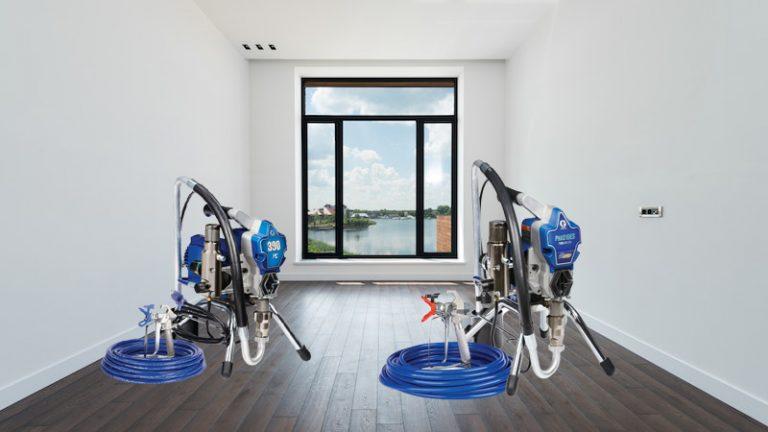
Airless Sprayers
Airless sprayers work by pumping the stain at extremely high pressure through a small tip, which atomizes the material. Their primary advantage is speed and power. They can handle thicker materials, often without any need for thinning, making them perfect for large-scale projects like decks, fences, and siding.
The trade-off for this speed is a higher potential for overspray. You will need to spend more time masking and protecting surrounding areas. While they can achieve a great finish, they lack the fine control of an HVLP system for delicate work. If you need to know how long after rain you can stain a fence, an airless sprayer can help you cover the area quickly once it’s dry.
A Note on Handheld Sprayers
Many handheld sprayers, both HVLP and airless, are available and can be excellent for smaller projects. They offer convenience and are easier to manage for quick jobs. However, ensure that any handheld model you consider is explicitly rated for use with oil-based or solvent-based materials to avoid premature wear and tear.
| Sprayer Type | Best For | Pros | Cons |
|---|---|---|---|
| HVLP (High-Volume, Low-Pressure) | Fine finishing, furniture, cabinets, trim | Excellent control, minimal overspray, smooth finish | Slower application, may require thinning stain |
| Airless | Large surfaces, decks, fences, siding | Very fast, handles thick materials without thinning | High overspray, less control for detail work |
| Handheld (Airless or HVLP) | Small projects, touch-ups, single pieces | Convenient, easy to set up and clean | Smaller capacity, may lack power for large jobs |
The Secret Sauce: Perfect Stain Preparation
You can have the best sprayer in the world, but if your stain isn’t prepared correctly, you will get a poor result. Proper thinning and straining are non-negotiable steps for achieving a clog-free, professional-quality finish, especially with an HVLP sprayer.
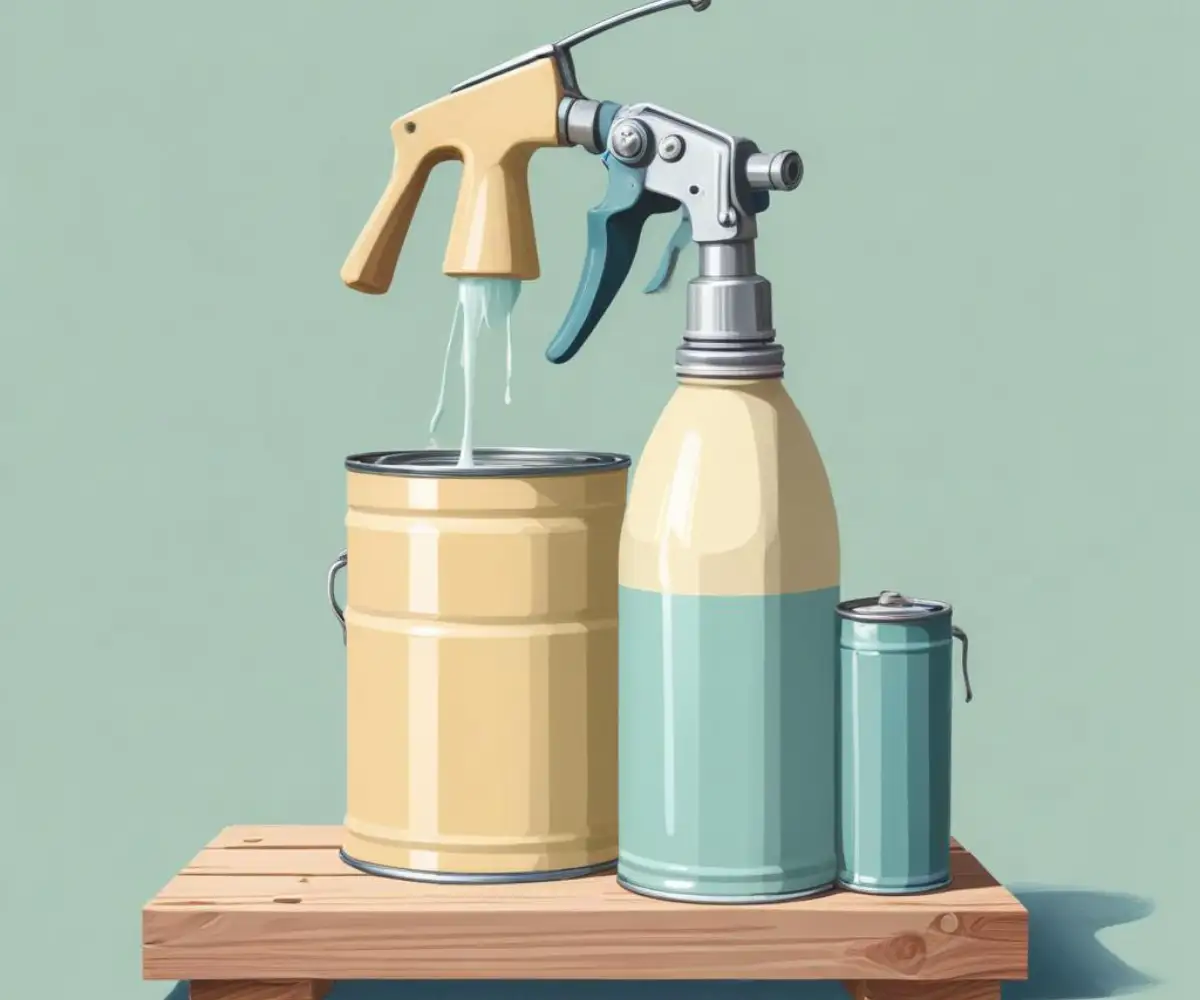
The Art of Thinning
Oil-based stain is often too thick to be atomized properly straight from the can. Thinning reduces its viscosity, allowing it to flow smoothly through the sprayer and create a fine mist. The correct thinning agent is crucial.
Always use the solvent recommended by the stain manufacturer, which is typically mineral spirits or a specified paint thinner. Start by mixing a small batch, adding about 10% thinner to your stain. Stir thoroughly until the mixture is uniform. Avoid shaking the can, as this can introduce air bubbles that will affect your finish.
Viscosity Test: The Drip Method
A simple way to test for the correct consistency is with a stir stick. Dip the stick into your thinned stain and lift it out. A properly thinned stain should run off the end in a steady, thin stream, not a series of drips or a thick, sluggish flow. If it’s still too thick, add a small amount more of the thinner and re-test until you achieve that steady stream.
Straining: The Key to Preventing Clogs
Even brand-new cans of stain can contain small, semi-solid bits of pigment or debris that will instantly clog your sprayer’s tip. Always filter your stain through a fine-mesh strainer before pouring it into the sprayer’s cup or hopper. This simple, two-minute step will save you countless headaches during the spraying process.
Mastering the Machine: Sprayer Setup and Technique
Proper setup and consistent technique are what separate an amateur finish from a professional one. Take the time to dial in your sprayer’s settings and practice your movements before you begin working on your actual project.
Choosing the Right Tip Size
The spray tip is one of the most critical components of your sprayer. It controls the fan pattern width and the size of the orifice, which determines the fluid flow. For thinner materials like oil-based stain, a smaller orifice size is generally required. A tip with a .011 to .013-inch orifice is a good starting point for many stains.
Adjusting Pressure and Flow
With an airless sprayer, start with the lowest pressure setting that still produces a good, even spray pattern. Too much pressure will create excessive overspray. For HVLP systems, adjust both the fluid control knob and the air pressure to get a fine, consistent mist without flooding the surface. Test on a piece of cardboard to perfect your settings, looking for an even, oval-shaped pattern without heavy “tails” or splattering.
Proper Spraying Technique
Consistency is key to a flawless finish. Follow these fundamental rules:
1. Maintain Distance: Keep the spray tip a consistent 10-12 inches from the surface at all times.
2. Keep it Parallel: Move the sprayer parallel to the surface. Avoid swinging your arm in an arc, as this causes an uneven application.
3. Overlap Passes: Overlap each pass by about 50%. This ensures even coverage and helps to blend the stain seamlessly.
4. Stay in Motion: Always start your arm moving before you pull the trigger and keep it moving after you release the trigger. This technique, known as “leading” and “trailing,” prevents heavy spots at the beginning and end of each pass.
For more in-depth guidance on application, review this guide on how to spray oil based stain effectively.
The Aftermath: A Foolproof Cleaning Process
This is the step that many people dread, but it is the most critical for the longevity and performance of your oil-based stain sprayer. Improper cleaning will ruin your equipment. The solvents in oil-based products will dry into a hard varnish, permanently clogging passages and destroying seals.
Step-by-Step Cleaning Guide
1. Empty and Wipe: Pour any unused stain back into its can. Wipe out the inside of the sprayer’s cup or hopper with a rag soaked in mineral spirits.
2. Initial Flush: Fill the cup with clean mineral spirits. Spray the solvent through the gun into a waste bucket until it runs clear. This flushes the majority of the stain from the system.
3. Disassemble: Unplug the sprayer and carefully disassemble the gun. Remove the spray tip, tip guard, and any filters. For HVLP guns, remove the needle, nozzle, and air cap.
4. Soak and Scrub: Place all disassembled parts into a container of clean mineral spirits. Use a soft-bristled brush to scrub every part, ensuring you clean inside all small passages and holes.
5. Final Rinse and Dry: Rinse the parts with a final batch of clean mineral spirits and dry them thoroughly with a clean rag or compressed air. Reassemble the gun and store it properly.
This meticulous process ensures your sprayer will be ready to perform flawlessly for your next project. It’s similar to the care needed when you use Kilz in a sprayer, where thorough cleaning prevents future failure.
Safety First: Handling Solvents and VOCs
Oil-based stains and their cleaning solvents are flammable and release volatile organic compounds (VOCs). Always work in a well-ventilated area, away from any open flames or sources of ignition like pilot lights. Wear appropriate Personal Protective Equipment (PPE), including safety glasses, chemical-resistant gloves, and, most importantly, a respirator with organic vapor cartridges to protect your lungs.
Troubleshooting Common Sprayer Problems
Even with perfect preparation, issues can arise. Here’s how to handle them:
Problem: The sprayer is “spitting” or sputtering.
Solution: This is usually caused by a clog, the stain being too thick, or air entering the system. Check that the tip is clean, thin your stain slightly more, and ensure all connections are tight.
Problem: The spray pattern has “tails” or is uneven.
Solution: The pressure is likely too low (on an airless sprayer) or the stain is too thick. Increase the pressure slightly or add more thinner. A worn spray tip can also cause this; replace it if necessary.
Problem: The finish has runs or drips.
Solution: You are applying too much material in one spot. Move the sprayer more quickly, increase your distance from the surface slightly, or reduce the fluid flow on your HVLP gun.
By understanding your equipment, properly preparing your materials, and using a methodical approach, you can eliminate the common frustrations associated with spraying oil-based stains. The result will be a beautiful, durable, and professional-grade finish that simply cannot be achieved with a brush.