Is Your NuTone 696N B Deafening? The Ultimate Upgrade Guide
If you have a NuTone 696N B unit, you’re likely familiar with the roar it makes every time you flip the switch. It’s a sound that has become synonymous with older bathrooms—a loud, rumbling noise that offers privacy but at the cost of peace and quiet. This fan was a workhorse in its day, but by modern standards, it’s inefficient, noisy, and often fails to properly ventilate your bathroom.
Many homeowners believe the only solution is to rip the entire unit out of the ceiling, a job that involves drywall repair, painting, and potentially complex attic work. However, a far simpler and more cost-effective solution exists. You can perform a NuTone 696N B unit upgrade in less than 30 minutes, transforming your bathroom’s environment without major construction.
You'll Learn About
Why Your NuTone 696N B Is a Problem
Understanding the shortcomings of the original NuTone 696N B unit helps clarify why an upgrade is so beneficial. These fans were built with technology from a different era, leading to several key issues that affect performance and comfort in today’s homes.
The Jet Engine Effect: Extreme Noise Levels
The most common complaint is the noise. The NuTone 696N is rated at a jarring 4.0 sones. A sone is a measurement of how loud a sound is perceived by the average listener; for context, a modern refrigerator operates at around 1.0 sone. At 4.0 sones, the fan is loud enough to drown out conversations, making your bathroom anything but a relaxing space.
This excessive noise is a result of an outdated motor and an inefficient blower wheel design. Over time, dust buildup and motor wear can make the problem even worse, leading to grinding or rattling sounds that indicate the unit is struggling.
Poor Airflow and Moisture Removal
The primary job of a bathroom exhaust fan is to remove moist, stale air. The original 696N model operates at just 50 Cubic Feet per Minute (CFM). This airflow rate is only considered adequate for very small bathrooms, typically under 50 square feet. In medium or large-sized bathrooms, 50 CFM is simply not enough to effectively combat the humidity from a hot shower.
Ineffective ventilation leads to a host of problems. Lingering moisture fogs up mirrors, damages paint and wallpaper, and creates the perfect breeding ground for mold and mildew. If you’ve noticed dark spots on your ceiling or a persistent damp smell, your underpowered fan is likely the culprit.
Outdated Aesthetics and Energy Waste
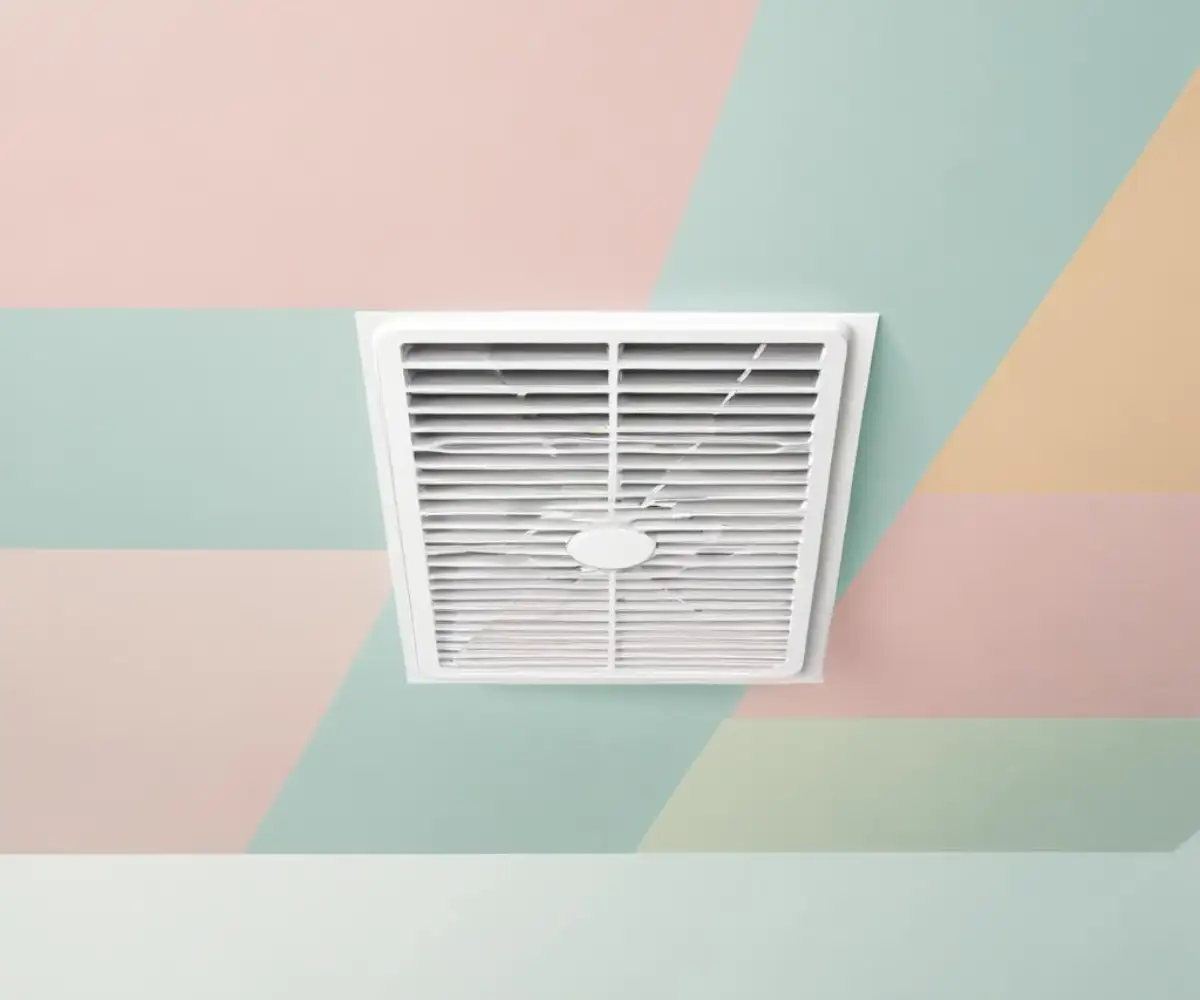
Beyond its poor performance, the NuTone 696N B looks dated. The plastic grille, once a bright white, has likely yellowed over the years, becoming brittle and detracting from your bathroom’s appearance. Furthermore, its old motor technology consumes more electricity to produce less airflow compared to modern, energy-efficient models.
The Perfect Fix: The Broan-NuTone 690 Upgrade Kit
The most effective and popular solution for these issues is the Broan-NuTone 690 Bath Fan Upgrade Kit. This kit is specifically designed to retrofit old, noisy builder-grade fans like the 696N. It provides a comprehensive upgrade without requiring you to replace the existing fan housing, which is the metal box installed in your ceiling.
Key Benefits of the Upgrade Kit
This all-in-one kit transforms your old fan in three critical ways:
- Noise Reduction: The new motor and blower wheel assembly in the 690 kit operates at 3.0 sones. While not silent, this represents a significant reduction in perceived loudness—up to 50% quieter than the original fan. It turns the roar into a much more tolerable hum.
- Improved Performance: The upgraded fan boasts an airflow of 60 CFM. This 20% increase in power helps clear humidity and odors from your bathroom more quickly and effectively, protecting your home from moisture damage.
- Modern Appearance: The kit includes a fresh, contemporary white grille that instantly modernizes the look of your ceiling. It provides a clean finish that blends seamlessly with most bathroom decors.
The best part is the simplicity. The entire process requires no rewiring, no duct work, and no cutting into your ceiling. It’s a true plug-and-play solution designed for the average homeowner.
Step-by-Step Installation Guide: Your 15-Minute Upgrade
Upgrading your NuTone 696N B is a straightforward DIY project. Follow these steps for a quick and successful installation.
Step 1: Safety First – Turn Off the Power
Before you begin, locate the circuit breaker that controls your bathroom fan and turn it off. Flip the fan’s wall switch on and off to confirm that the power is completely disconnected. Safety should always be your top priority when working with electrical fixtures.
Step 2: Remove the Old Grille and Motor
Gently pull the old plastic grille down from the ceiling. You will feel resistance from two metal spring clips. Squeeze these clips together to release them from the slots in the fan housing and remove the grille completely.
Inside, you will see the motor and fan assembly plugged into a small electrical receptacle. Unplug the motor cord. The entire motor plate is held in place by friction and small tabs. Use a flathead screwdriver to carefully pry one edge of the metal plate loose, and the entire assembly will come out.
Step 3: Clean the Housing
With the old motor removed, you’ll likely see years of accumulated dust and debris inside the fan housing. Use a vacuum with a brush attachment to thoroughly clean the interior. A clean housing ensures optimal airflow for your new fan.
Step 4: Assemble and Install the New Motor
The upgrade kit comes with a new motor, a blower wheel, two different-sized motor plates, and hardware. Compare the old motor plate to the two new ones to find the matching size for your 696N housing. Attach the new motor to the correct plate using the included nuts and wrench.
Once assembled, plug the new motor’s cord into the receptacle inside the housing. Align the tabs on the new motor plate with the slots in the housing and push it firmly into place until it snaps in securely.
Step 5: Attach the New Grille
Take your new, clean white grille and locate the two spring clips. Squeeze the clips and insert them into the same slots that held the old grille. Push the grille up until it is flush with the ceiling.
Step 6: Restore Power and Test
Go back to your circuit breaker and turn the power back on. Flip the wall switch and enjoy your quieter, more powerful bathroom fan. The difference in sound and performance will be immediately noticeable.
Will the Upgrade Kit Fit? A Compatibility Checklist
The Broan-NuTone 690 Upgrade Kit is designed for versatility, but it’s wise to confirm compatibility before purchasing. The NuTone 696N B unit is listed as a compatible model. The key is the size of the fan housing already in your ceiling.
The upgrade kit is designed for housings that measure either 7.5″ x 7.25″ or 8″ x 7.25″. The original NuTone 696N housing fits these dimensions perfectly. If you are unsure, you can easily measure the metal box after removing the grille. This kit is a testament to smart engineering, providing parts to fit a range of common builder-grade models.
The table below highlights the performance jump you can expect and lists other common models this kit can upgrade.
| Model | Original CFM | Original Sones | Upgraded CFM | Upgraded Sones |
|---|---|---|---|---|
| NuTone 696N | 50 | 4.0 | 60 | 3.0 |
| NuTone 693 | 50 | 4.5 | 60 | 3.0 |
| NuTone 695 | 70 | 5.0 | 60 | 3.0 |
| Broan 688 | 50 | 4.0 | 60 | 3.0 |
| Broan 671 | 70 | 6.0 | 60 | 3.0 |
Beyond the Basic Kit: Advanced Upgrade Considerations
While the 690 kit is a fantastic solution, there are other ways to enhance your bathroom’s ventilation system for even better performance and convenience.
Consider a Humidity-Sensing Switch
For truly automated moisture control, consider replacing your standard wall switch with a humidity-sensing switch. This smart device automatically turns the fan on when it detects a rise in humidity (like during a shower) and turns it off after the moisture has cleared. This ensures your bathroom is always protected, even if you forget to run the fan, and it saves energy by not running unnecessarily.
Inspect Your Ductwork
An upgraded fan can only perform as well as the ductwork it’s connected to. The NuTone 696N uses a 3-inch diameter duct. Over time, this ducting can become disconnected, kinked, or clogged with debris, severely restricting airflow. While you have the fan motor out, it’s a good opportunity to peek into the duct connection.
Ensure the duct is securely attached to the housing and runs as straight as possible to the exterior vent. If you have flexible, foil-style ducting with sharp bends, straightening it out can significantly improve performance. While managing a whole-house renovation, one might be looking for project source cabinets parts, but small details like ductwork are just as crucial for a home’s longevity.
Motor-Only Replacements
If your fan’s only issue is a dead motor and you are not concerned with noise or performance, a direct motor replacement is an option. Models like the C350BN are designed as direct replacements for the 696N motor. However, for a few dollars more, the full upgrade kit offers far more value by addressing noise and airflow issues simultaneously.
When Is a Full Replacement the Right Choice?
The upgrade kit is a brilliant solution for most situations, but there are times when a complete replacement is necessary. Recognizing when a bigger project is needed can save you time and frustration.
Severe Rust or Housing Damage
If the metal housing of your fan is severely rusted or damaged, an upgrade kit won’t solve the structural problem. In this case, the entire unit should be replaced to ensure safety and stability. This is more common in homes with roof leaks or extreme, prolonged humidity issues.
Desire for Additional Features
The NuTone 696N is a fan-only unit. If you want to add features like an integrated light, a nightlight, a heater, or even a Bluetooth speaker, you will need to install a new, modern combination unit. These installations are more involved and may require attic access and new wiring. Sometimes, home systems become so outdated that a full replacement is the only path forward, similar to a situation where you find your whirlpool fridge doors not flush and realize a simple adjustment won’t fix the underlying issue.
Major Bathroom Remodel
If you are already planning a gut renovation of your bathroom, it’s the perfect time to install a brand-new, high-performance exhaust fan. Modern fans offer near-silent operation (some as low as 0.3 sones) and much higher CFM ratings, making them a worthwhile investment during a larger project.
Troubleshooting Common Upgrade Problems
Even a simple project can have hiccups. Here are solutions to a few common issues you might encounter during your NuTone 696N B unit upgrade.
The New Fan Seems Loud or Vibrates
If the upgraded fan is still noisy, first ensure the motor plate is snapped securely into the housing. A loose plate can cause rattling. Also, check that the blower wheel isn’t hitting the inside of the housing. If it is, gently adjust its position on the motor shaft.
The New Grille Feels Loose
A loose grille is almost always caused by the mounting springs not being fully seated in their slots. Pull the grille back down and re-insert the springs, ensuring they engage securely. The tension from the springs should hold the grille tight against the ceiling.
The Fan Doesn’t Turn On
The most obvious first step is to double-check that you turned the circuit breaker back on. If the breaker is on, the next most likely culprit is that the motor cord is not fully plugged into the receptacle inside the fan housing. Unplug it and plug it back in firmly. Just as a malfunctioning appliance can cause concern, so can mechanical issues in other parts of the home; for example, realizing you have a gas fireplace valve stuck is a problem that requires immediate and careful attention to safety, much like ensuring electrical connections are secure.
Conclusion: A Small Project with a Big Impact
Don’t let a loud, ineffective bathroom fan ruin your peace and potentially damage your home. The NuTone 696N B unit upgrade is one of the easiest and most rewarding DIY projects you can undertake. In just a few minutes, with a simple and affordable kit, you can drastically reduce noise, improve air quality, and give your bathroom a subtle yet meaningful modern facelift.
By tackling this simple upgrade, you’re not just replacing a part; you’re improving your home’s health and your own comfort. It’s a clear demonstration of how a targeted, intelligent solution can solve a common household problem without the need for a costly and disruptive renovation.