No Caulk Between Tub and Tile: The Hidden Dangers & Smarter Fixes
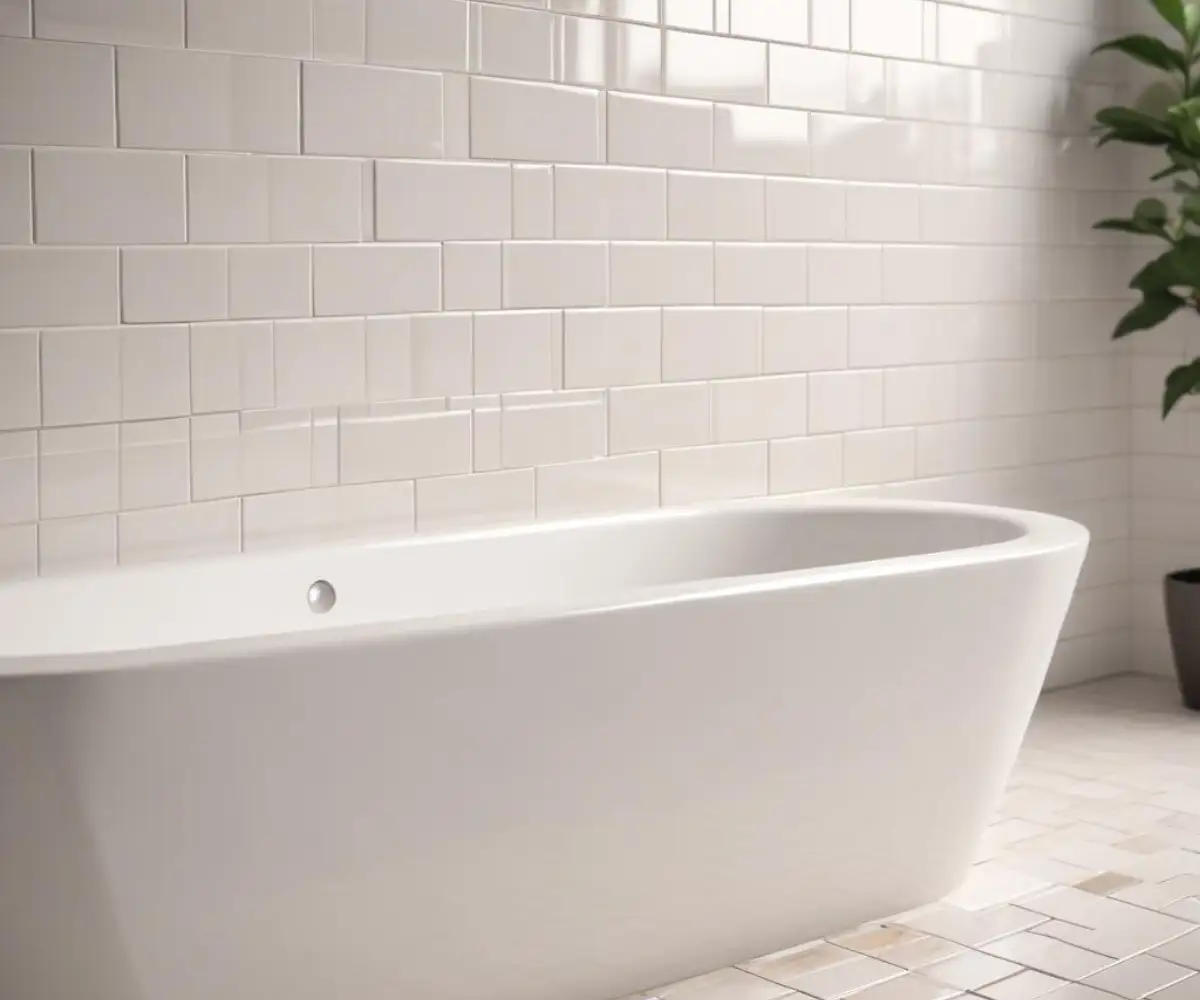
That clean, sharp line between a bathtub and the fresh tile surround can look deceptively perfect. It might even tempt you to skip the final step of applying a sealant. After all, old, moldy caulk is an eyesore, so why add something that might just look bad later? This thinking, while understandable, is a dangerous mistake.
An unsealed gap between your tub and tile is not a clean design choice; it’s a ticking time bomb for water damage. Leaving this joint exposed invites moisture into your walls, leading to a cascade of costly and unhealthy problems. This essential joint requires a flexible, waterproof seal, and skipping it can compromise your entire bathroom.
You'll Learn About
Why the Gap Between Your Tub and Tile is a Ticking Time Bomb
The joint where your bathtub meets the tile wall is not a static connection. It’s an expansion joint, designed to accommodate constant, subtle movement. This movement comes from several sources that are always at play in a home.
Thermal expansion is a major factor; the tub material expands with hot water and contracts as it cools. Furthermore, your house is always settling, and the simple act of stepping into the tub adds and removes hundreds of pounds, causing tiny shifts. Because of this movement, a rigid material like grout will inevitably crack and fail, opening a direct path for water.
The Unseen Damage of an Unsealed Joint
When that gap is left open, every shower and bath sends water cascading into your wall cavity. This creates the perfect environment for a host of destructive issues that often go unnoticed until the damage is severe.
The most immediate threats are mold and mildew. Once moisture gets behind the tile and soaks into drywall and wood studs, mold can flourish in the dark, damp space, posing potential health risks and creating persistent musty odors. This moisture also leads directly to structural damage, causing wood studs and subfloors to rot and weaken. Signs of this damage often appear as stained or sagging ceilings on the floor below.
The “No Caulk” Look: Exploring Modern Alternatives
The desire for a clean, caulk-free appearance is valid, as traditional caulking can fail if done poorly. However, the solution isn’t to omit the seal but to choose the right modern material and apply it correctly. The “caulk” many people dislike is often cheap acrylic latex, which is not suitable for such a high-moisture, high-movement area.
The gold standard for sealing this joint is 100% silicone sealant. Unlike acrylic latex, silicone is permanently waterproof, highly flexible, and contains antimicrobial agents to resist mold and mildew growth. It adheres strongly to non-porous surfaces like tile and tubs, creating a durable seal that can withstand years of movement and moisture.
Can Epoxy Grout Be Used?
Epoxy grout is known for being waterproof and stain-proof, making it an excellent choice for the joints *between* tiles. However, it is far more rigid than silicone. While some specialized professionals might use an epoxy-based product like Sentura in specific, highly stable situations (like a heavy cast iron tub on a concrete slab), it’s generally not recommended for the tub-to-tile movement joint in standard wood-frame homes. The lack of flexibility will likely lead to hairline cracks or bond failure over time as the house shifts and the tub expands.
What About Sealant Tapes and Strips?
Peel-and-stick sealant strips are often marketed as a quick and easy caulk alternative. While they can provide a temporary cosmetic fix, they are not a reliable long-term solution. The adhesive can weaken with repeated exposure to moisture and cleaning products, and the corners are notoriously difficult to seal perfectly. This can lead to the strip trapping water behind it, worsening the potential for mold and water damage.
The Professional-Grade Integrated Solution
For new construction or a complete remodel, the most seamless and durable solution is a pre-fabricated movement profile, such as those made by Schluter Systems. These profiles are installed *during* the tiling process and feature a flexible central zone that accommodates movement while creating a perfectly clean, maintenance-free seal. This is the ultimate “no caulk” look because the seal is an integrated part of the tile assembly itself, but it cannot be retrofitted into an existing installation.
Comparing Your Sealing Options
Choosing the right method to seal the joint between your tub and tile depends on your situation, budget, and desired longevity. Each option has distinct advantages and disadvantages.
| Sealing Method | Best For | Flexibility | Durability | DIY-Friendliness |
|---|---|---|---|---|
| 100% Silicone Sealant | Virtually all existing tubs and remodels. | High | High (5-10+ years) | High |
| Epoxy Grout/Sealant | Specialized cases; very stable tubs (e.g., cast iron on concrete). | Low | Very High | Low (less forgiving) |
| Peel-and-Stick Strips | Temporary cosmetic fixes. | Moderate | Low (1-2 years) | Very High |
| Schluter-DILEX Profile | New tile installations or major remodels only. | Very High | Permanent | Professional installation recommended |
Step-by-Step Guide: How to Properly Seal the Tub-to-Tile Joint
Achieving a waterproof, professional-looking seal is entirely possible for a DIYer. The secret isn’t a special skill, but rather patience and meticulous preparation. Rushing the job or cutting corners is what leads to sealant failure.
Step 1: Preparation is Everything
First, you must completely remove any old caulk or grout from the joint. A utility knife or a dedicated caulk removal tool works well. Once the old material is gone, vacuum out any debris. Then, thoroughly clean the joint and surrounding surfaces with denatured alcohol. This step is critical as it removes all soap scum and residue, which are the primary culprits of sealant adhesion failure.
Step 2: Choose the Right Sealant
Select a 100% silicone sealant specifically formulated for kitchens and baths. These products have enhanced mold and mildew inhibitors. Choose a color that matches your tile grout or a clear sealant for a less visible look. For an even more professional result, you can learn more about advanced caulk sealing secrets to ensure a flawless finish.
Step 3: Apply a Perfect Bead
For crisp, clean lines, apply painter’s tape to the tub and the tile, leaving a consistent gap (typically 1/8″ to 1/4″) for the sealant. Cut the tip of the sealant tube nozzle at a 45-degree angle, making the opening just large enough to fill the gap. Apply steady pressure to the caulking gun and move at a consistent speed to lay a smooth, even bead of sealant into the joint.
Step 4: Tool for a Professional Finish
Immediately after applying the sealant, smooth or “tool” the bead. You can use a caulk finishing tool or a wet finger. The goal is to press the silicone firmly into the joint to ensure a complete seal and create a clean, slightly concave profile that will shed water easily. This tooling step is what separates an amateur job from a professional one.
Step 5: Cure and Clean Up
Carefully remove the painter’s tape right after tooling, pulling it away at a 45-degree angle for the cleanest edge. Let the sealant cure for the time specified by the manufacturer, usually at least 24 hours, before exposing it to any water. Using a product like Flex Seal in the shower is not recommended for this application, as 100% silicone provides superior flexibility and durability for this specific joint.
Common Mistakes and How to Avoid Them
Even with the right materials, simple mistakes can lead to a failed seal. Avoiding these common errors is key to a long-lasting, waterproof barrier.
Applying new caulk over old caulk is the most frequent mistake. New silicone will not adhere properly to old, cured silicone, guaranteeing a quick failure. Another error is using the wrong sealant; acrylic latex caulk will crack and fail in this high-movement, wet environment.
Finally, inadequate surface preparation will undermine even the best application. If soap scum or moisture is present, the sealant cannot form a strong, permanent bond. The joint must be perfectly clean and bone-dry before you begin.
What If I Already Have Grout in the Joint?
If a previous installer mistakenly used grout in the tub-to-tile joint, it must be removed. Grout in this location is guaranteed to develop hairline cracks over time, allowing water to seep into the wall. Carefully use a grout removal tool or an oscillating multi-tool with a grout blade to grind it out, being careful not to scratch the tub or tile. Once removed, clean the joint and apply silicone sealant as described.
The Myth of Waterproof Grout and Tile
A crucial concept many homeowners misunderstand is that standard cement-based grout and tile are not inherently waterproof. They are water-resistant. Water can slowly penetrate cement grout over time. A proper shower installation relies on a waterproofing membrane *behind* the tile backer board. The sealant in the joints is the first and most important line of defense against bulk water intrusion. If you are preparing a wall for tiling, using a quality sealer such as a Gardz problem surface sealer alternative can help protect the underlying drywall from any potential moisture.
Conclusion: Don’t Gamble with Water Damage
The decision to leave no caulk between the tub and tile is not a stylistic choice, but a significant gamble against water damage. That small, seemingly innocent gap is a primary failure point in a bathroom, inviting moisture that can lead to rot, mold, and thousands of dollars in structural repairs.
The joint where the tub and tile meet is a dynamic expansion joint that demands a flexible, waterproof sealant. By choosing the right material—100% silicone sealant—and following proper preparation and application techniques, you can create a durable, professional-looking seal. This small task is one of the most important preventative maintenance steps you can take to protect the health and value of your home.