New Construction TV Wiring: Your Guide to a Clean, Future-Proof Setup
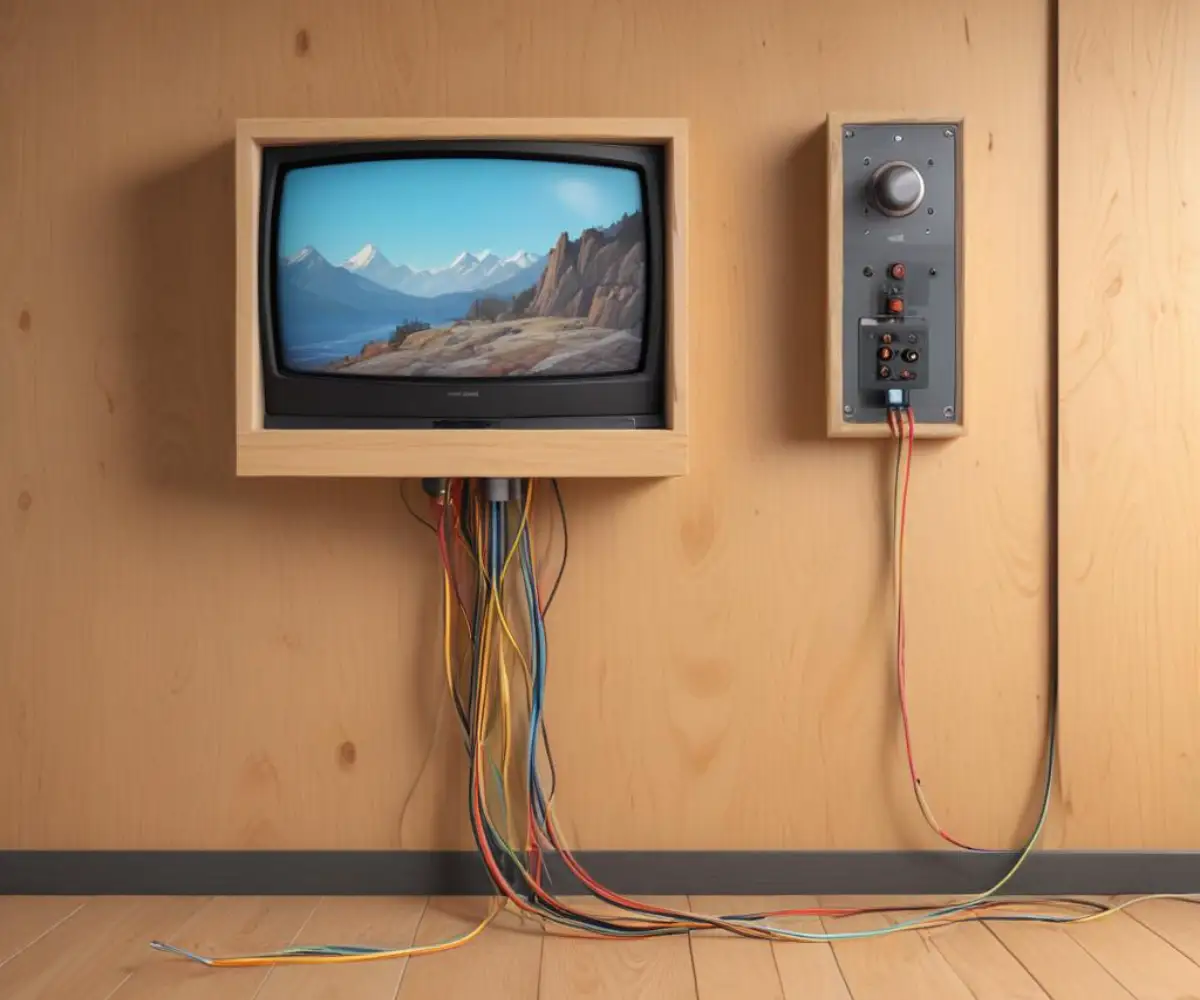
You’re building your dream home, and every detail matters. But in the chaos of choosing paint colors and countertops, one critical element is often overlooked: the wiring for your wall-mounted television. An afterthought installation leads to a mess of visible cables, trailing power cords, and the frustrating realization that you can’t easily connect your new soundbar or gaming console.
This oversight is the number one cause of post-move-in regret for homeowners who love a clean, modern aesthetic. The solution isn’t drilling messy holes after the drywall is up; it’s planning your TV wiring during the construction phase. Proper pre-wiring is the only way to guarantee a seamless, professional finish that hides every cable and prepares your home for future technology.
You'll Learn About
Why Planning Your TV Wiring Before Drywall is Non-Negotiable
The single best time to wire for a television is when the wall studs are still exposed. This “rough-in” phase is a golden opportunity that, once missed, is gone forever without costly and invasive retrofitting. Planning at this stage ensures all your high-voltage (power) and low-voltage (data, audio/video) cables are placed exactly where they need to be.
Failing to plan means you’ll be dealing with unsightly plastic raceways stuck to your new walls, or worse, dangerous extension cords running behind furniture. A well-executed pre-wiring plan not only provides a clean look but also significantly enhances the functionality and safety of your entertainment setup. It even touches on foundational topics like whether rewiring a house can add value, as thoughtful media wiring is a modern selling point.
The Core Components of a Flawless TV Pre-Wire
A successful new construction TV wiring project boils down to three key elements: power, signal, and a pathway for future upgrades. Each needs to be addressed to avoid common pitfalls. The goal is to create a centralized system that accommodates your current devices and whatever comes next.
This involves installing a recessed media box behind the TV, running the correct types of cables for video and data, and installing a conduit or “smurf tube” to easily add or replace cables later. Getting these components right is the difference between a setup that looks professionally done and one that’s a constant source of frustration.
Step 1: Power and Placement – The Foundation of Your Setup
Before any wires are run, you must decide on the exact location and height of your television. This is the most critical decision you will make. A common mistake is mounting the TV too high, leading to neck strain and poor viewing angles. A good rule of thumb is to have the center of the screen at eye level when you are seated.
Once you’ve determined the location, you need to install a recessed electrical box. These boxes sit inside the wall cavity, allowing your TV to be mounted flush against the wall without the plug getting in the way. It’s crucial this is a dedicated power outlet and not part of a larger circuit that could be overloaded by other appliances.
Choosing the Right Media Box
For a clean installation, a combination high- and low-voltage box is the best choice. These units, like the Arlington TVBU505, provide a dedicated space for the electrical outlet on one side and an open bay for all your low-voltage cables (HDMI, Ethernet, etc.) on the other. This keeps everything neat and organized within the wall.
Some kits even include a second lower box, connected by a tube or conduit, designed to be installed near your media console. This creates a clean, hidden pathway for cables to run from your devices (like a cable box or game console) up to the TV without ever being seen.
Step 2: Low-Voltage Cabling – Future-Proofing Your Connectivity
With power sorted, the next step is running the low-voltage wires that carry your audio, video, and internet signals. While Wi-Fi is convenient, a hardwired connection is always superior for speed and reliability, especially for 4K/8K streaming and online gaming. The bare minimum for each TV location should be two Cat6a Ethernet cables and at least one high-quality RG6 coaxial cable.

Even if you don’t have cable TV, running coax is a smart, inexpensive way to future-proof your home. It can be used for other technologies like MoCA (Multimedia over Coax Alliance), which can create a wired internet connection in places where running Ethernet isn’t feasible. Deciding on details like whether you should run coax in a new house is a key part of this planning phase.
The Magic of Conduit
Technology changes rapidly. The HDMI cable that’s standard today might be obsolete in five years. The single most important thing you can do to future-proof your TV wiring is to install a flexible conduit, often called “smurf tube,” from the TV media box to the lower connection point or a central media closet.
This empty tube provides a clear, accessible pathway to pull new cables through the wall long after the drywall is finished and painted. Installing a 1.25-inch or larger conduit is a small investment that can save you thousands of dollars and major headaches down the road. It ensures you’re ready for 8K, 10K, and whatever innovations come next without ever having to cut open your walls again.
Step 3: The Structured Media Center – Your Home’s Tech Hub
Where do all these cables go? The best practice is to run all low-voltage wiring from every TV, office, and bedroom location back to a central hub known as a Structured Media Center (SMC). This is essentially a recessed panel that serves as the brain for your home’s network, audio, and video distribution.
An SMC is where your internet modem, router, network switch, and any video distribution equipment will live. This centralized approach keeps your technology organized, cool, and out of sight. It also makes troubleshooting and upgrades significantly easier than having equipment scattered throughout the house.
Planning Your Hub
When selecting an SMC, bigger is always better. A 42-inch enclosure provides ample room for current equipment and future expansion. Ensure the location you choose has adequate ventilation to keep networking gear cool and at least one dedicated electrical circuit to power everything reliably. Placing it in a utility room, basement, or central closet is often the ideal solution.
| Cable Type | Primary Use | Minimum Recommendation per TV | Future-Proofing Notes |
|---|---|---|---|
| Category 6a (Cat6a) Ethernet | Internet, Smart TV Apps, Streaming | 2 Runs | Provides reliable, high-speed connectivity up to 10Gbps. Essential for stable 4K/8K streaming and gaming. |
| RG6 Quad-Shield Coax | Cable/Satellite TV, MoCA Network | 1 Run | Even if you plan to stream exclusively, this provides options for future connectivity or different service providers. |
| High-Speed HDMI 2.1 | Direct AV Connection (e.g., soundbar) | 1 Run (if applicable) | Only run if a device will be directly connected. Otherwise, rely on conduit for future AV standards. |
| 14-Gauge Speaker Wire | Surround Sound, In-wall Speakers | Run to all potential speaker locations | Wire is cheap when the walls are open. Run wires for a full 7.1.4 Dolby Atmos setup, even if you start with a soundbar. |
| Flexible Conduit (“Smurf Tube”) | Future Cable Runs | 1 Run (1.25″ or larger) | This is the most critical element. Allows you to easily add or replace any cable type in the future without opening walls. |
Beyond the TV: Wiring for a Complete Home Theater
Properly wiring for a TV is just the start. If you envision a true home theater experience, you need to plan for audio as well. This means running speaker wire for a surround sound system while the walls and ceilings are open. Wire is inexpensive, but retrofitting it is a nightmare.
Plan for at least a 5.1 or 7.1 surround sound system by running 14-gauge or 12-gauge speaker wire from the media hub location to each potential speaker position. For the ultimate setup, run wires for in-ceiling Dolby Atmos speakers to create a truly immersive soundscape. Also consider running an RCA cable for a subwoofer in a few different corners of the room to find the best bass response.
Integrating Soundbars and Other Devices
Even if you’re starting with a simple soundbar, proper wiring makes a world of difference. Many recessed media box systems offer add-on components for soundbars, allowing you to power the soundbar and hide its cables within the wall for a completely cordless look. This requires planning the placement of a second, smaller recessed box directly behind where the soundbar will be mounted.
Thinking about the future of your home’s infrastructure now is vital. While you’re focused on modern media wiring, don’t forget the history and safety of electrical systems, especially when dealing with older properties that might have outdated systems like cloth wiring vs. knob and tube.
Common Mistakes to Avoid at All Costs
Even with a good plan, pitfalls exist. Avoiding these common errors will ensure your project is a success and prevent costly corrections later on.
- Incorrect Outlet Height: Placing the media box too high or low is a frequent mistake. Double-check your TV’s VESA mounting pattern and the mount itself to ensure the box will be completely hidden yet accessible.
- Running Low-Voltage and High-Voltage Wires Too Close: Power cables can cause interference with signal cables. Keep them separated by at least 12 inches whenever possible. If they must cross, do so at a 90-degree angle to minimize interference.
- Forgetting a Pull String: When you install your conduit, always leave a nylon pull string inside. This simple step makes fishing new cables through the tube incredibly easy in the future.
- Not Taking Photos: Before the drywall goes up, take extensive photos and videos of your wiring layout, marking stud locations and cable paths. This documentation is invaluable for any future projects or troubleshooting.
By investing a little time and effort during the construction phase, you can create a clean, professional, and future-proof entertainment hub. Thoughtful wiring is the unseen foundation of a modern smart home, ensuring your technology works seamlessly without compromising your home’s design.

