New Construction Walk Through: Your Guide to Being Perfectly Picky
The final walk-through of your new construction home is a moment of excitement and anxiety. This is your last, best opportunity to identify and flag any issues for the builder to correct before you take ownership. Many buyers worry about “how picky” to be, fearing they will seem difficult while also being terrified of missing a costly defect.
The truth is, this is not the time to be shy. You are making one of the largest investments of your life, and you deserve a home that meets a high standard of quality. Being meticulous is not being difficult; it is being a smart, responsible homeowner.
You'll Learn About
Why This Final Inspection is Your Most Powerful Tool
Before closing, you hold significant leverage. The builder is motivated to complete the sale and will be more responsive to repair requests. After you close and the final payment is made, that leverage diminishes significantly, and you may find yourself wrestling with warranty claims instead of enjoying your new home.
Think of the walk-through as your final quality control check. It’s your job to create a thorough “punch list” of items that need attention. This list becomes the official record of defects the builder has agreed to fix.
Understanding the Difference: Quality vs. Code
A common misconception is that if a home passes all its inspections, it must be perfect. However, building codes exist to ensure safety and habitability, not necessarily craftsmanship. A wall can be structurally sound and up to code, but still have visible drywall seams, sloppy paint, and uneven texture.
Your walk-through is about ensuring the quality of the finishes and the proper function of all systems. It goes far beyond the minimum standards set by local ordinances. You are inspecting the work you paid for, and you have a right to expect it to be done well.
The Pre-Walk-Through Game Plan: Arrive Prepared
Do not show up empty-handed or rushed. Success depends on preparation. The builder’s representative may try to hurry you along, but you should take all the time you need to conduct a thorough inspection.
Bring a toolkit for your inspection. This should include a roll of blue painter’s tape, a notepad and pen, a camera (your phone is fine), a small level, a tape measure, and a small electrical tester or a phone charger to test outlets. These simple tools will empower you to identify and document issues with precision.
Timing is Everything
Schedule your walk-through during daylight hours. Natural light is your best friend for spotting imperfections in paint, drywall, and flooring that artificial lighting can hide. Ensure all utilities—water, electricity, and gas—are fully operational so you can test every system thoroughly.
Ideally, you should conduct this inspection after the house has been professionally cleaned. Dust and debris from construction can easily conceal scratches, dents, and other surface-level defects.
Your Comprehensive Walk-Through Checklist
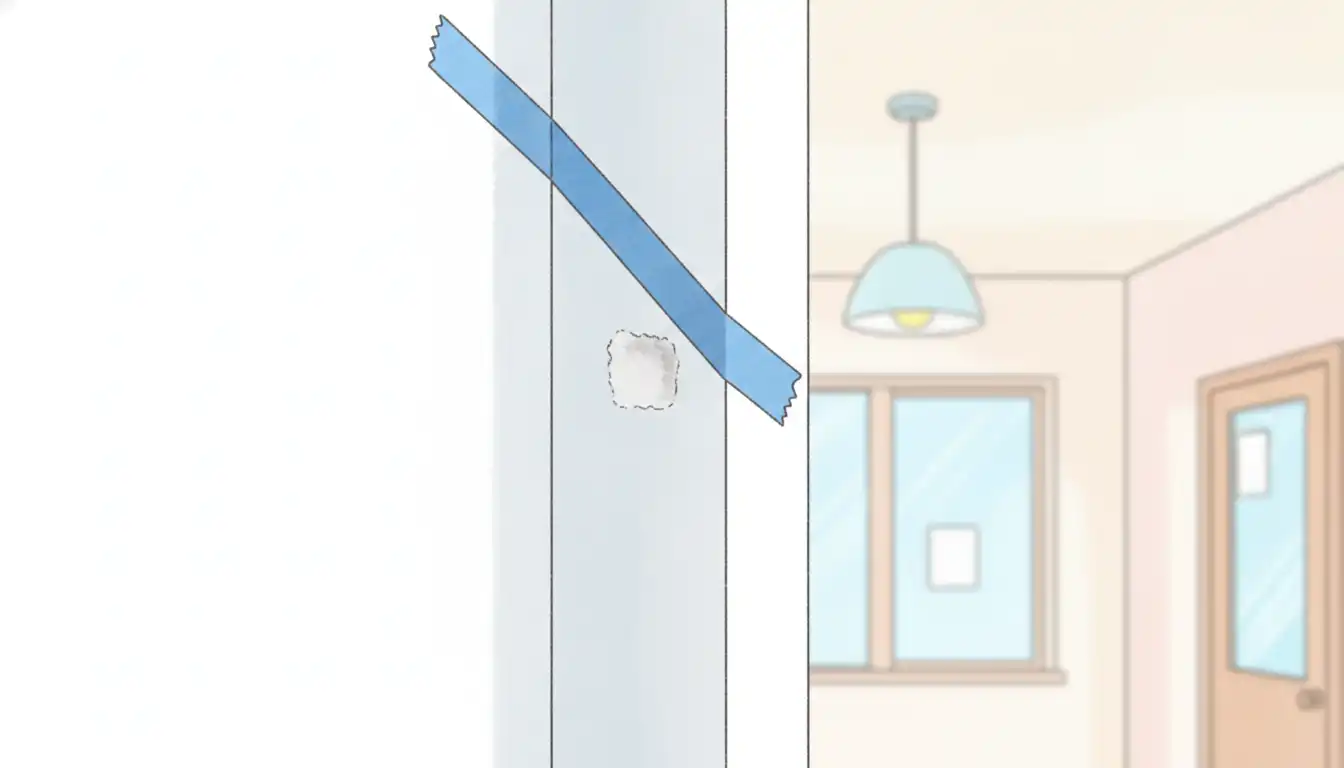
A systematic approach is crucial. Go room by room, and within each room, inspect from the ground up: floors, walls, and then ceilings. Use your blue painter’s tape to mark every single issue you find, no matter how small. Take a photo of each piece of tape, both up close and from a distance to show its location.
Exterior and Foundation
Your inspection starts before you even step inside. Examine the home’s exterior for any signs of trouble. Check the foundation for any visible cracks or chips in the concrete.
Look at the siding and trim for damage, gaps, or sloppy paint application. Ensure all exterior lights and outlets are working. Test the doorbell and any outdoor water spigots. Also, check that landscaping and grading direct water away from the foundation to prevent future water issues.
Interior Surfaces: Walls, Ceilings, and Floors
This is where cosmetic issues are most apparent. Look at walls from different angles to spot nail pops, uneven paint, visible drywall seams, and poor texture work. These are some of the most common punch list items.
Don’t forget to inspect the floors carefully. Look for scratches, chips, or gaps in hardwood or laminate flooring. For tile, check for cracked tiles and uneven grout lines. Walk across all carpeted areas to feel for any bumps or loose spots.
Kitchens and Bathrooms: The Functional Hubs
These rooms are packed with systems that need to be tested. Turn on every faucet and check for hot and cold water. Look under all sinks while the water is running to check for any leaks.
Flush all toilets to ensure they function properly and don’t continue to run. Test all appliances that are included with the home. Open and close every single cabinet door and drawer to ensure they align correctly and operate smoothly.
Digging Deeper: Systems and Structures
Beyond the cosmetic, a thorough inspection requires a deep dive into the home’s core systems. These are often the areas where missed issues can become major headaches later on.
Windows and Doors
Open and close every single window and door. Do they operate smoothly, or do they stick? Check that they latch and lock securely. Look for any drafts or visible gaps around the frames, as this can indicate poor sealing which leads to energy loss.
Examine the glass for any scratches or cracks. Also, check for any condensation between panes on double-pane windows, which is a sign that the seal has failed.
Electrical and HVAC Systems
Flip every light switch. Use your outlet tester or phone charger to test every single electrical outlet, including those in less obvious places like the garage, closets, or outside. This is also the time to think about future needs; if you’re already considering certain upgrades, check to see if you have the necessary hookups, like when installing an electrical outlet for a bidet.
Turn on the heating and air conditioning, regardless of the season. Ensure that air is flowing from all vents and that the system responds correctly to the thermostat controls. A quiet, efficient system is a sign of a quality installation.
The Unseen Spaces: Attic and Garage
Don’t neglect the less-glamorous parts of the house. In the garage, check the functionality of the garage door opener and its safety sensors. Look at the concrete floor for any significant cracks or stains.
If you can safely access the attic, take a quick look. You are checking for adequate insulation coverage and any signs of water intrusion or roof leaks. Proper ventilation is also key to a healthy roof system.
Prioritizing Your Punch List: A Triage Approach
You will likely find dozens of small issues. To communicate effectively with your builder, it helps to categorize your findings. This shows that you are reasonable and helps the builder prioritize the work.
| Category | Description | Examples |
|---|---|---|
| Cosmetic Flaws | Minor imperfections that do not affect the home’s function but impact its finished appearance. | Paint smudges, minor nail pops, small scuffs on flooring, slightly misaligned cabinet handles. |
| Minor Functional Issues | Items that do not work as intended but are generally simple for the builder to correct. | A door that sticks, a leaky faucet, a loose light fixture, a window that is difficult to open. |
| Major Functional Defects | Significant problems that affect the habitability or proper operation of the home’s systems. | A non-working HVAC system, a major plumbing leak, an appliance that does not function, a window with a broken seal. |
| Structural or Safety Concerns | The most critical issues that must be addressed immediately. These may violate building codes or pose a risk. | Significant foundation cracks, improper exterior grading causing drainage issues, faulty wiring, missing handrails on stairs. |
Effective Communication: From Punch List to Resolution
Your detailed, organized punch list is your primary communication tool. Submit it to the builder’s representative in writing, typically via email, so there is a digital record. Your list should be clear, concise, and reference the specific location of each issue.
Maintain a professional and calm demeanor. The goal is a partnership to get the house to the standard you both agreed upon. Frame your requests as items needed to complete the job to a high-quality standard.
Handling Pushback and Disagreements
Builders may sometimes dismiss certain items as “within tolerance” or “normal for new construction.” While some minor imperfections are expected, you have the right to question their judgment. If a floorboard has a noticeable scratch or a wall has a visible blemish, it is reasonable to ask for it to be fixed.
If you reach a significant impasse on a major issue, you may need to escalate the situation. In very rare and serious cases, you might face a scenario where a contractor did work without permission or refuses to correct a major defect, which may require consulting with a real estate attorney. However, most issues can be resolved through persistent and clear communication before closing.
The Final Re-Inspection
Do not close on the home until you have had a chance to re-inspect it and verify that all agreed-upon punch list items have been completed to your satisfaction. Do not accept promises that work will be done after you move in. The moment you close is the moment your leverage disappears.
Walk through the home with your original list and check off each item. If the work is done properly, you can proceed to closing with confidence. If items remain incomplete or are not fixed correctly, insist that they be addressed before you sign the final papers.
Embracing Your New Home
Once the walk-through is complete and the keys are in your hand, you can finally relax and begin to make the house your own. The diligence you invested in the final inspection will pay dividends in peace of mind for years to come.
Now the real fun begins, as you start planning projects that will reflect your personal style. Whether it’s planting a garden or even dreaming up creative uses for outdoor structures, like finding a way to turn a metal shed into a greenhouse, your home is a blank canvas. Your careful attention to detail during the walk-through ensures that your canvas is flawless from the start.