Nail Won’t Go Into Wall? Here’s the Shocking Reason Why
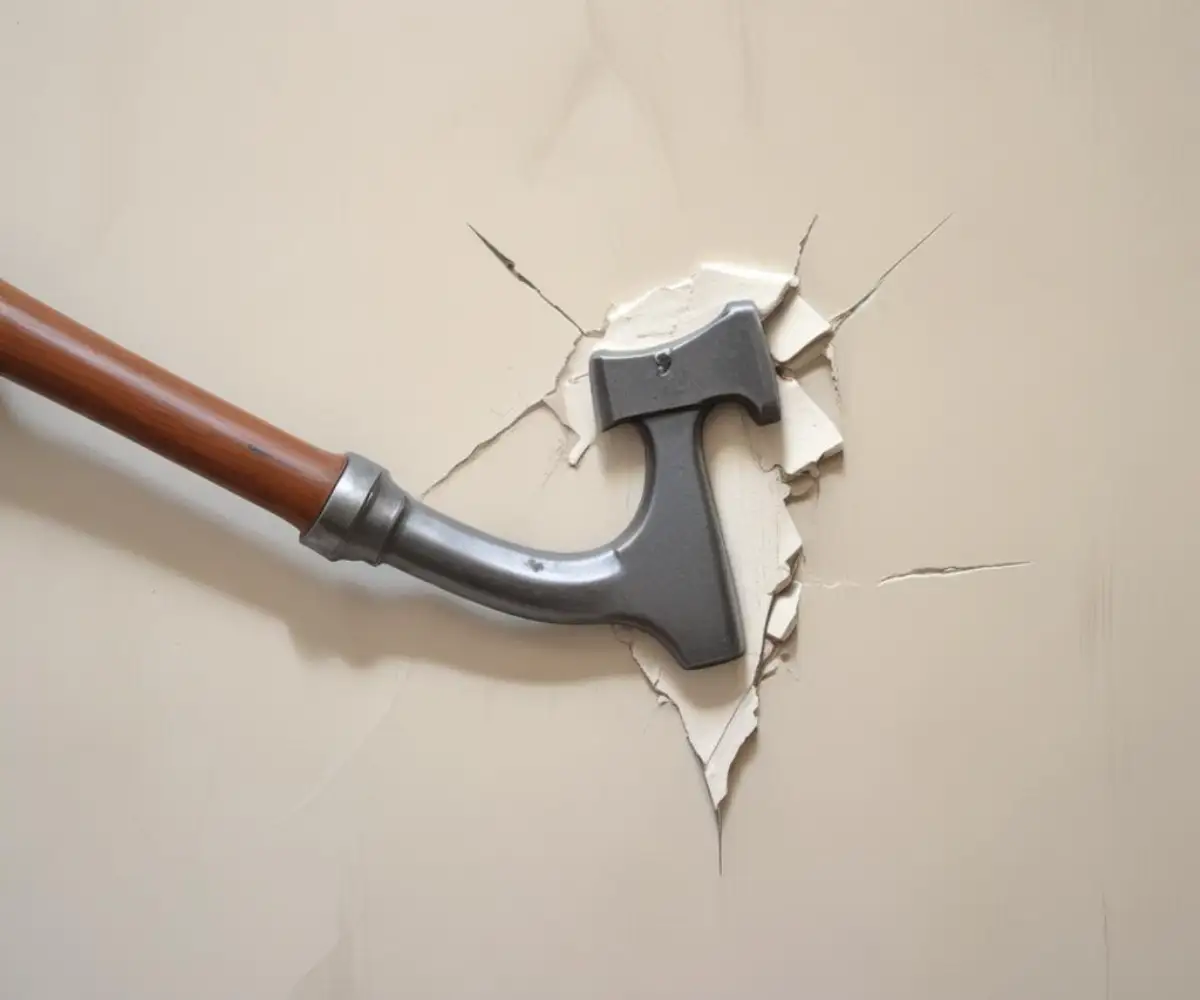
It’s one of the most common and frustrating home improvement moments. You have a picture to hang, a shelf to secure, or a piece of decor to mount. You grab your hammer, position the nail, take a confident swing, and then—THUD. The nail bends into a useless U-shape, or worse, it barely makes a dent before bouncing right off the wall.
This simple task suddenly becomes a perplexing mystery. Why won’t this nail go into the wall? The answer is almost never about your hammering technique; it’s about the unseen obstacles hiding just behind the surface of your paint and drywall. Understanding what you’re up against is the key to conquering any wall in your home.
Unmasking the Culprit: What’s Really Behind Your Wall?
Before you can solve the problem, you need to play detective. The reason your nail is failing is almost certainly due to the material it’s hitting. Modern and older homes use a variety of construction methods, and your wall could be hiding one of several stubborn materials that a standard nail simply cannot penetrate.
From dense wood studs to rock-hard plaster, each obstacle requires a different approach. Let’s break down the most common culprits that are stopping your nail in its tracks.
The Hard Truth: Hitting a Wall Stud
One of the most frequent reasons a nail stops dead is that you’ve hit a wall stud. Wall studs are the vertical framing members, typically made of wood or metal, that form the skeleton of your walls. Drywall is attached to these studs, which are usually spaced 16 or 24 inches apart.
While hitting a stud is actually ideal for hanging heavy items, a standard small nail can struggle to penetrate the dense wood. If you hit a metal stud, which is common in commercial buildings and some modern homes, your nail will stop completely. A stud finder is an essential tool for locating these, not only for finding a secure anchor point but also for avoiding them when you don’t need one.
The Unseen Danger: Metal Protector Plates and Pipes
Sometimes, the obstacle is there for your own protection. Electricians and plumbers run wires and pipes through holes drilled in wall studs. To prevent accidental puncture from nails or screws, building codes often require them to install a metal safety plate over the stud where the utilities pass through.
If your nail hits one of these plates, it will feel like hitting solid steel, because that’s essentially what you’re doing. Never try to force a nail through this resistance. You risk puncturing electrical wires, which can cause a fire or electrocution, or water pipes, leading to a disastrous leak inside your wall.
The Ancient Enemy: Plaster and Lath Walls
If you live in an older home, chances are you’re dealing with plaster and lath walls, not drywall. These walls are constructed from thin strips of wood (lath) nailed to the studs, with coats of plaster applied over them. This combination creates a surface that is much thicker, harder, and more brittle than modern drywall.
Hammering a nail directly into plaster is a recipe for frustration. The nail will likely bend, and the force of the hammer can easily crack and crumble the brittle plaster, leaving you with a bigger problem than just an unhung picture. When dealing with these classic walls, a different approach is non-negotiable, especially for more complex projects like installing wainscoting on plaster walls.
The Impenetrable Foe: Concrete or Brick Walls
In some cases, your interior wall might be made of something far more formidable. This is common in basements, lofts, or homes with solid masonry construction. If you’re trying to hammer a nail into a concrete or brick wall, you will make no progress and likely ruin the nail.
These materials are incredibly hard and require specialized tools and fasteners. A standard nail and hammer combination doesn’t stand a chance. Hitting this type of wall will feel like hitting a solid rock face, with zero give.
Your Step-by-Step Guide to Conquering Any Wall
Now that you know what might be lurking behind your wall, it’s time to arm yourself with the right knowledge and tools to succeed. The key is to identify your wall type and then choose the appropriate method. Brute force is not the answer; strategy is.
Follow these steps to go from frustrated to finished in no time, whether you’re hanging a simple picture frame or a heavy mirror.
Step 1: Identify Your Wall Type
First, figure out what kind of wall you have. For modern homes, it’s likely drywall. Gently push on the wall’s surface; if there’s a slight give or springiness, you’re probably dealing with drywall. Sometimes, you might even notice that the drywall moves when pushed, which could indicate other issues to address.
In contrast, plaster walls feel rock-solid with no flexibility. Knock on the surface; drywall produces a hollow sound between studs, while plaster has a duller, more solid thud. If you’re still unsure, try the pin test: push a thumbtack into an inconspicuous area. If it goes in easily, it’s drywall. If it meets strong resistance, it’s plaster.
Step 2: Investigate the Exact Location
Once you know the general wall type, investigate the specific spot giving you trouble. Use a stud finder to check for studs, pipes, or electrical wiring. A good quality stud finder can detect density changes in the wall and alert you to wood, metal, and even live AC wires.
If you don’t have a stud finder, you can use a strong magnet to search for the nails or screws that hold the drywall to the studs. If you hit something hard between stud locations, you may have encountered a protector plate. The safest course of action is to move your desired hanging spot up or down by a few inches to avoid it.
Step 3: Choose the Right Tool for the Job
Using the wrong fastener is a primary cause of failure. A one-size-fits-all approach doesn’t work for walls. Your choice of nail or screw is just as important as identifying the wall material itself. This choice also directly impacts safety and stability, as knowing how much weight a nail can hold is critical for heavy objects.
The table below provides a quick guide to selecting the right tools and fasteners for different wall types. It breaks down the common problems and offers the most effective solutions.
| Wall Type / Obstacle | Symptom | Recommended Fastener | Solution & Key Tools |
|---|---|---|---|
| Drywall (Hollow) | Nail goes in easily but feels loose. | Picture hanging hook, small nail, or drywall anchor with screw. | For light items, a small nail angled downward is fine. For heavier items, use a plastic wall anchor to provide grip. |
| Wood Stud | Nail meets strong resistance and may bend. | Sturdy nail or, preferably, a wood screw. | Use a hammer to tap the nail firmly. For screws, drill a small pilot hole first to prevent the wood from splitting. |
| Plaster and Lath | Nail bounces off or cracks the plaster. | Hardened steel picture hook or a screw. | Do not hammer directly. Drill a small pilot hole through the plaster and lath first, then use a screw for a secure hold. |
| Metal Stud / Protector Plate | Nail stops dead with a metallic sound and flattens. | Self-tapping metal screw (for studs); DO NOT PENETRATE PLATE. | If a metal stud, use a self-tapping screw. If a protector plate, move to a new location immediately. |
| Concrete or Brick | Nail makes no impression and may shatter. | Masonry nail or concrete screw (e.g., Tapcon). | Use a hammer drill with a masonry bit to create a pilot hole. Drive in a masonry nail with a heavy hammer or use a concrete screw. |
Step 4: Master the Art of the Pilot Hole
For any material harder than hollow drywall, the secret weapon is the pilot hole. A pilot hole is a small hole drilled into the wall that serves as a guide for your nail or screw. It removes just enough material to allow the fastener to go in smoothly without bending, cracking the wall, or requiring excessive force.
When drilling into plaster, place a piece of masking tape over the spot before you drill to help prevent the plaster from crumbling. Choose a drill bit that is slightly smaller in diameter than the nail or screw you plan to use. This ensures a snug and secure fit. For masonry, a hammer drill is essential as it combines rotation with a hammering action to power through concrete and brick.
Step 5: Perfect Your Technique
With the right preparation, the final step becomes much easier. When hammering, use short, firm taps to start the nail rather than full-force swings. This gives you more control and reduces the chance of the nail bending.
If you’re using screws, an electric drill or driver will make the job effortless. Apply steady pressure to keep the screw straight as it goes in. For very heavy items, especially on plaster or hollow drywall, consider using toggle bolts or molly bolts. These anchors expand behind the wall, providing a much stronger hold than a simple screw.
From Frustration to Flawless Execution
That feeling of a nail refusing to cooperate with your plans is universal, but it doesn’t have to end in defeat. By taking a moment to diagnose the situation and understand the structure of your walls, you can turn a frustrating task into a satisfying success.
Remember the golden rules: investigate before you hammer, choose the right fastener for the job, and when in doubt, drill a pilot hole. Armed with this knowledge, you can confidently hang anything, anywhere, knowing you’ve done it safely, securely, and without causing unnecessary damage to your home.