Mr Cool P6 Error Code? Your Discharge Temp Sensor Guide
Nothing disrupts your home comfort quite like a flashing error code on your mini-split. If your Mr Cool system is displaying a P6 error, you’re likely feeling frustrated and maybe a little warm. This common but serious error code points to a problem with your system’s high-temperature protection, and one of the most frequent culprits is a faulty discharge temperature sensor.
Don’t worry—this isn’t necessarily a catastrophic failure. Understanding what this sensor does and how to diagnose it can empower you to tackle the problem yourself, potentially saving you a costly service call. This guide will walk you through everything you need to know about the Mr Cool P6 error and the discharge temp sensor.
You'll Learn About
What Exactly is a Discharge Temp Sensor?
Think of the discharge temperature sensor as a crucial safety guard for the heart of your HVAC system: the compressor. Located on the refrigerant line right after it leaves the compressor, this sensor’s only job is to monitor the temperature of the hot refrigerant gas. This reading is vital for the system’s control board to ensure the compressor isn’t overheating.
If the temperature climbs too high, it can seriously damage the compressor, leading to a major and expensive repair. The sensor acts as an early warning system, telling the unit to shut down before that damage occurs. This shutdown is what triggers the P6 error code. Modern refrigerants often operate at higher temperatures, making this sensor’s role even more critical for system longevity.
Deconstructing the Mr Cool P6 Error Code
The P6 error on a Mr Cool unit specifically signals “compressor high-temperature protection.” The system has detected that the refrigerant leaving the compressor is dangerously hot and has shut down to protect itself. While a faulty discharge temp sensor is a prime suspect, it’s not the only possible cause.
Other potential issues that can trigger a P6 error include:
- Low Refrigerant Charge: A leak in the system can cause the compressor to work harder and overheat.
- Dirty Outdoor Coils: The outdoor unit needs to release heat. If the coils are clogged with dirt, leaves, or debris, it can’t do this effectively, causing temperatures to rise.
- Failing Outdoor Fan Motor: If the fan on the outdoor unit isn’t spinning correctly, it can’t pull air across the coils to dissipate heat.
- System Restrictions: A kink in the refrigerant lines or an internal blockage can also lead to high pressure and temperature.
Key Symptoms of a Failing Discharge Temp Sensor
Beyond the glaring P6 error code, other signs can point to a failing discharge temp sensor. A malfunctioning sensor can send incorrect readings to the control board, leading to erratic behavior long before it fails completely and triggers a protective shutdown.
You might notice inconsistent cooling or heating, with the unit struggling to maintain the set temperature. Your system may also start and stop more frequently than usual, a condition known as short cycling, which puts extra wear and tear on components. In some cases, you might even hear unusual noises from the outdoor unit as it struggles to operate under faulty sensor guidance.
How to Diagnose the Mr Cool Discharge Temp Sensor
Testing the sensor is a straightforward process that you can often do yourself with a basic tool. This diagnostic is key to confirming whether the sensor is the true cause of your P6 error before you spend money on a replacement part.
First and foremost: turn off all power to your HVAC system at the circuit breaker. Safety is non-negotiable when working with electrical components. Once you are certain the unit is de-energized, you can proceed with the diagnosis.
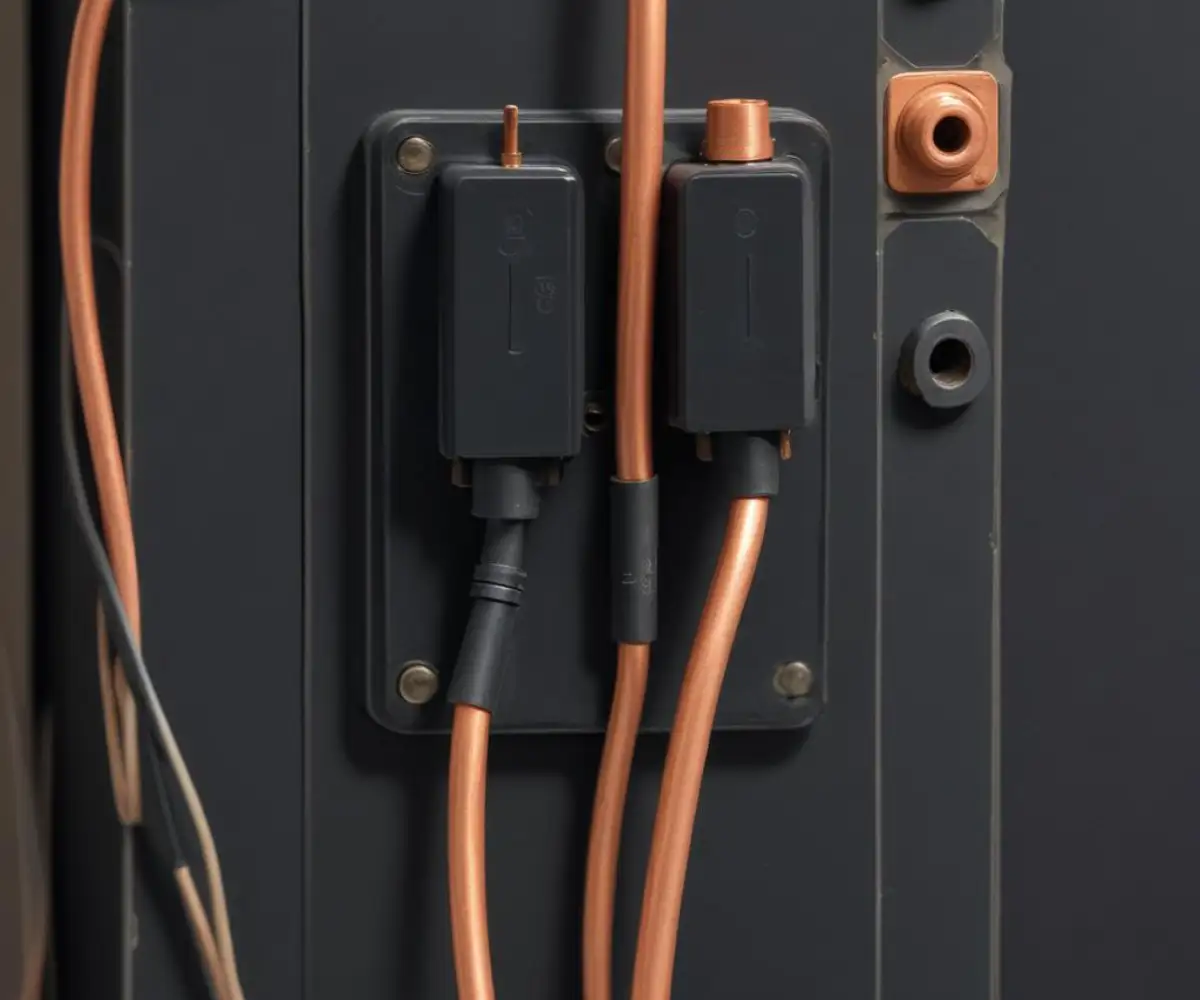
Your next step is to locate the sensor. You’ll need to remove the top and front covers of your outdoor condenser unit. The discharge temp sensor is a small probe, typically with a copper or black tip, clipped directly onto the thin copper refrigerant pipe coming out of the compressor. Follow its wires back to the main control board to see where it plugs in.
Once located, perform a quick visual inspection. Look for any signs of physical damage, corrosion on the clip, or frayed or loose wires. Sometimes, the connection to the board is simply loose, and reseating it can solve the problem. If everything looks physically intact, the next step is to test its electrical resistance with a multimeter.
Testing the Sensor with a Multimeter
A multimeter will tell you if the sensor is electrically sound. Set your multimeter to the ohms (Ω) setting, specifically the kilo-ohms (kΩ) range if available. Disconnect the sensor’s plug from the control board and touch the multimeter’s probes to the two metal pins on the sensor’s connector.
The sensor you are testing is a type of resistor called a thermistor, which means its resistance changes predictably with temperature. You should get a specific resistance reading that corresponds to the current outdoor air temperature. If the multimeter reads zero or infinite (often displayed as “OL”), the sensor is either shorted or open and must be replaced. For an accurate diagnosis, you’ll need to compare your reading to a temperature resistance chart. Mr Cool discharge sensors are typically 50kΩ thermistors.
| Temperature (°F) | Temperature (°C) | Typical Resistance (kΩ) for 50kΩ Sensor |
|---|---|---|
| 32 | 0 | 161 |
| 50 | 10 | 98 |
| 68 | 20 | 61.48 |
| 77 | 25 | 50 |
| 86 | 30 | 39.61 |
| 104 | 40 | 26.15 |
| 122 | 50 | 17.65 |
Measure the ambient air temperature near the sensor and compare your multimeter reading to the chart. A reading that is drastically different from the expected value indicates a faulty, out-of-calibration sensor that needs to be replaced.
Your Step-by-Step Replacement Guide
If your diagnosis confirms a bad sensor, the good news is that replacement is a manageable DIY task. Having the right tools on hand makes any job smoother. You’ll need a screwdriver or nut driver to open the unit, a new discharge temperature sensor, and some zip ties to secure the new wiring.
Ensuring you use high-quality components is crucial for a lasting repair. This principle applies to all home maintenance, from HVAC sensors to selecting the best screws for shelf brackets to ensure a secure installation.
Step 1: Power Down Completely
Before you begin, double-check that the power to the outdoor condenser is off at the breaker. It’s a simple step that prevents serious injury.
Step 2: Access the Control Board
Remove the necessary panels on the outdoor unit to get clear access to the control board and the compressor area where the sensor is located.
Step 3: Disconnect the Old Sensor
Carefully unplug the old sensor’s connector from the main control board. Take note of where it plugs in; taking a quick photo with your phone is always a good idea.
Step 4: Remove the Old Sensor from the Pipe
Unclip the old sensor from the compressor discharge pipe. It might be held on by a metal spring clip. Be gentle so as not to damage the pipe.
Step 5: Install the New Sensor
Clip the new sensor firmly onto the same spot on the discharge pipe. A secure connection is essential for accurate temperature readings. Route the new wire along the same path as the old one, using zip ties to keep it tidy and away from any moving parts like the fan.
Step 6: Reconnect and Reassemble
Plug the new sensor’s connector into the correct port on the control board. Replace the covers on the outdoor unit, making sure all screws are secure.
Step 7: Power Up and Test
Restore power to the unit at the circuit breaker. Turn your Mr Cool system on and let it run. The P6 error code should be gone, and your system should begin to cool or heat as normal.
What If the P6 Error Remains?
If you’ve replaced the sensor and the P6 error code persists or returns, it indicates the problem lies elsewhere in the system. The sensor was likely doing its job correctly by detecting a genuine overheating issue.
At this point, you should revisit the other potential causes. Thoroughly clean the outdoor condenser coils with a garden hose (never a pressure washer) to remove any built-up grime. While the system is running, check that the outdoor fan is spinning freely and moving a good amount of air. If the fan is struggling or not spinning at all, the fan motor may need to be replaced. Issues beyond these simple checks, especially those involving refrigerant levels, require professional help.
When to Call a Professional HVAC Technician
While replacing a sensor is a great DIY project, some HVAC problems are best left to the experts. If you suspect a refrigerant leak or if you’re not comfortable working with the electrical components of your unit, it’s time to call a licensed technician. Handling refrigerant requires specialized tools and certification. Some tasks are perfect for DIY enthusiasts, like figuring out how to revive a DeWalt 20v battery, but refrigerant work is not one of them.
A professional can diagnose complex issues, safely handle refrigerant, and ensure your system is running efficiently and safely. Think of it like home maintenance; you might know how to keep chair screws from loosening, but you’d call a carpenter for a structural issue. The same logic applies here.
Conclusion: Taking Control of Your Comfort
Facing a Mr Cool P6 error code can be daunting, but it often points to a fixable issue like a failed discharge temperature sensor. By understanding its function, learning how to diagnose it with a multimeter, and following the proper replacement steps, you can often resolve the issue yourself and restore comfort to your home.
Remember to always prioritize safety by shutting off the power before any work. And if the problem persists after replacing the sensor, don’t hesitate to call a professional for a deeper diagnosis. Taking these proactive steps will not only solve the immediate problem but also help ensure the long-term health and efficiency of your HVAC system.