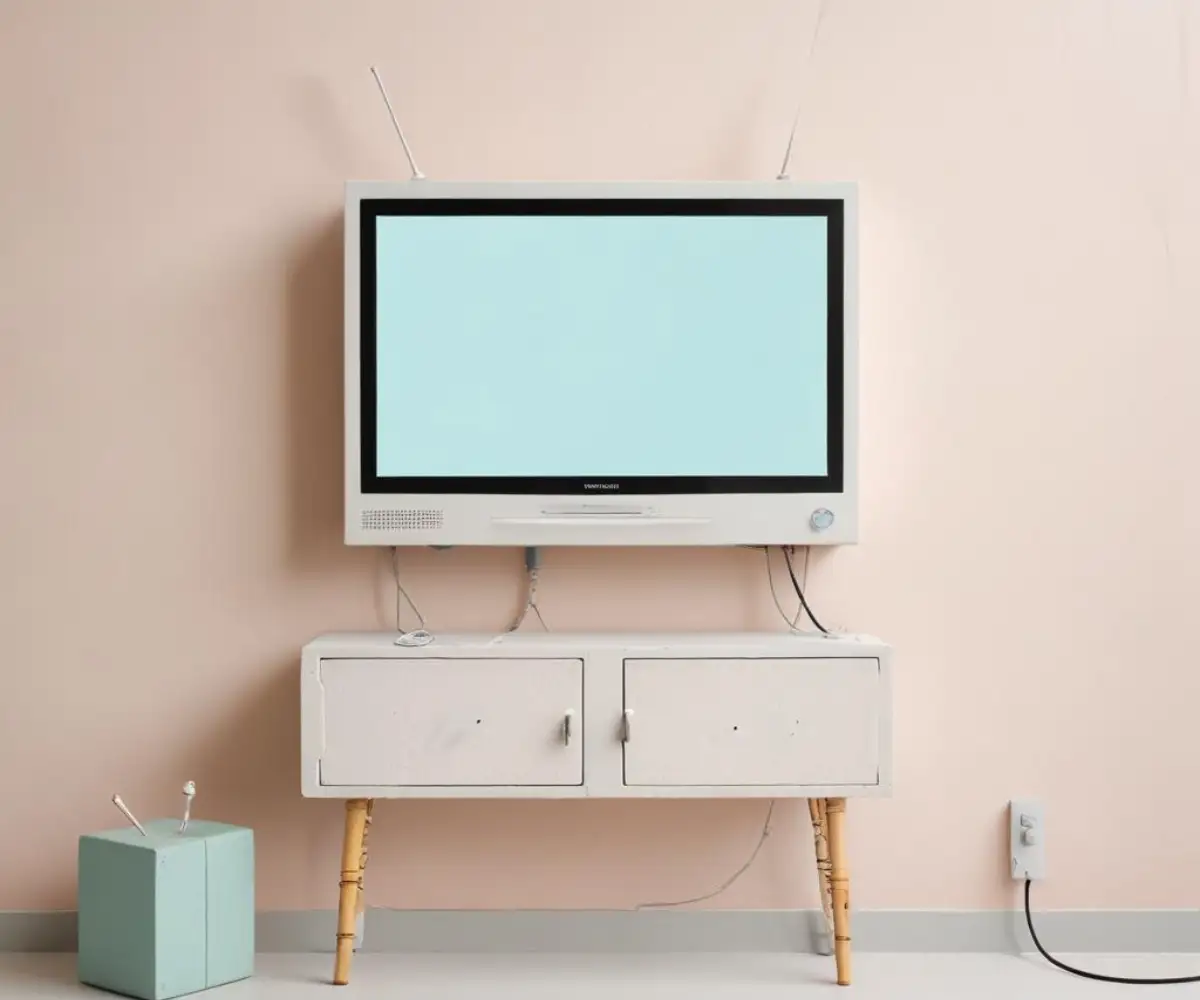
Mounting a TV on Drywall Over Concrete? Stop Before You Make This Disastrous Mistake
You have the brand-new flat-screen TV, the perfect wall mount, and a vision of cinematic bliss. There’s just one problem: your wall isn’t simple drywall or solid concrete. It’s a confusing combination of both—a layer of drywall hiding a concrete block wall behind it. This common construction method can turn a straightforward DIY project into a recipe for disaster.
Attempting to mount a heavy television on this type of wall without the right knowledge can lead to a catastrophic failure. Imagine the sickening crunch of your expensive TV crashing to the floor, leaving a gaping, irreparable hole in the wall. The secret to avoiding this nightmare lies in understanding the hidden gap between the drywall and the concrete and using the correct hardware to bridge it securely.
You'll Learn About
Why Drywall Over Concrete Block is a Mounting Nightmare
To safely mount anything heavy, you first need to understand the structure you’re working with. Drywall over concrete block walls typically comes in two flavors, and each presents a unique challenge. The core issue is the void, or gap, that almost always exists between the drywall surface and the structural block behind it.
The first and more predictable method uses furring strips. These are thin strips of wood or metal attached vertically to the concrete block. The drywall is then screwed into these strips, creating a consistent gap. The second, and often more problematic method, is called “dot and dab.” Here, large dollops of adhesive are applied to the back of the drywall sheet, which is then pressed onto the block wall. This creates an inconsistent, random gap that varies across the wall surface.
The Critical Flaw of Standard Anchors
This gap is precisely why standard mounting techniques fail spectacularly. Traditional drywall anchors, like toggle or expansion bolts, are designed for hollow walls and are useless here; they can’t support the TV’s weight in the drywall alone. Conversely, standard concrete anchors are often too short. They may not be long enough to pass through the drywall, cross the gap, and achieve the necessary embedment depth into the concrete block to hold securely.
Using the wrong anchor can lead to two failure points. First, as you tighten the mounting bolts, the pressure can crush the drywall into the void, cracking the wall and creating an unstable mount. Second, an anchor that isn’t deep enough in the concrete block has very little pull-out strength, putting your TV at serious risk.
Your Pre-Flight Checklist: What to Do BEFORE You Drill
Proper preparation is more than half the battle. Rushing this stage is a common mistake that leads to frustration and poor results. Before you even think about drilling, gather the right tools and assess your wall structure with precision.
Essential Tools and Materials:
- Hammer Drill: A standard drill will not be effective against concrete block. A hammer drill is non-negotiable.
- Masonry Drill Bits: Ensure you have the correct size bit for your chosen anchors.
- High-Quality Stud Finder: A magnetic or deep-scan model can help locate metal or wood furring strips.
- Level: A 2-foot or 4-foot level is crucial for a professional-looking installation.
- Tape Measure and Pencil: For accurate marking.
- Socket Wrench Set: For tightening the lag bolts securely.
- Safety Goggles: Protect your eyes from concrete dust and debris.
- The Correct Anchors: This is the most critical component (more on this below).
Determine Your Wall’s Secrets
Your first task is to figure out what’s in the gap and how deep it is. If you have furring strips, a good stud finder should be able to locate them. Mark their positions. These strips can provide some stability, but the ultimate goal is to anchor into the concrete block itself. Knowing how much weight furring strips can hold is useful, but they should not be your primary anchor point.
To find the gap depth, drill a small, exploratory hole in an inconspicuous area that will be hidden by the TV. Insert a piece of bent wire or a small nail until it touches the concrete block. Mark the wire at the drywall surface, pull it out, and measure the distance. This tells you the depth of the gap you need to bridge.
The #1 Secret to a Secure Mount: Choosing the Right Anchor
Your entire project’s success hinges on selecting the right type of anchor. The anchor must be long enough to span the drywall, the air gap, and embed itself at least 1.5 to 2 inches into the solid concrete block. For this specific wall type, three types of anchors stand out as superior choices.
Sleeve Anchors: These are heavy-duty metal anchors consisting of a bolt and an expanding sleeve. As you tighten the bolt, the sleeve expands, creating immense pressure against the inside of the drill hole in the concrete. They are excellent for bridging gaps and provide incredible shear and tensile strength.
Long Concrete Screws (e.g., Tapcon): These screws are specifically designed to cut their own threads into concrete, brick, or block. They offer a secure hold and are relatively easy to install. The key is to select a screw long enough for your wall. For example, if you have 1/2″ drywall and a 3/4″ gap, you’ll need a screw that is at least 3 inches long to get a proper 1.5-inch embedment into the block. In situations like these, it is vital to know just how strong are Tapcon screws, as their holding power is directly related to proper installation.
Heavy-Duty Toggler or Chemical Anchors: For hollow concrete blocks or blocks of questionable integrity, these provide a robust solution. Heavy-duty toggles can expand within the hollow cavity of the block. For a truly fail-safe method, especially with crumbly block, chemical anchors (epoxy) can be injected into the hole to create a bond that is often stronger than the block itself.
Anchor Comparison Table
To simplify your choice, here is a direct comparison of the top anchor types for this application:
| Anchor Type | How It Works | Best For | Pros | Cons |
|---|---|---|---|---|
| Sleeve Anchor | An expanding sleeve grips the inside of the hole in the concrete block. | Heavy TVs, full-motion mounts, walls with larger gaps. | Extremely high strength, excellent at bridging voids. | Requires a larger drill hole, can be difficult to remove. |
| Long Concrete Screw (Tapcon) | Cuts its own threads directly into the concrete block for a tight fit. | Fixed or tilting mounts, situations requiring a clean installation. | Easy to install, removable, smaller hole required. | Requires precise hole size, strength depends on block quality. |
| Chemical (Epoxy) Anchor | A two-part adhesive is injected into the hole, bonding a threaded rod to the block. | Crumbling or old block, hollow block, maximum security applications. | Creates the strongest possible bond, distributes load, seals the hole. | More complex installation, requires curing time, permanent. |
The Foolproof 7-Step Guide to Mounting Your TV
With the right knowledge and hardware, you are now ready to begin the installation. Follow these steps meticulously to ensure a safe and secure mount that will last for years.
Step 1: Mark Your Mounting Holes
Position the TV mount’s wall plate at the desired height. Use a level to ensure it is perfectly horizontal. Use a pencil to carefully mark the center of each drill hole.
Step 2: Drill a Pilot Hole Through Drywall
Using a standard wood drill bit slightly smaller than your masonry bit, drill through the drywall at each of your marks. This creates a clean entry point and prevents the masonry bit from “walking” or tearing the drywall paper.
Step 3: Drill into the Concrete Block
Switch to your hammer drill and the appropriately sized masonry bit. To ensure you drill to the correct depth, measure the length of your anchor and add the depth of your gap. Mark this total depth on your drill bit with a piece of tape. Drill into the concrete block at each mark until you reach the tape.
Step 4: Clean the Hole Thoroughly
This is a critical step that many people skip. Use a vacuum with a narrow attachment and a small wire brush to completely clean all dust and debris from inside the drill hole. The holding power of your anchor depends on a clean, solid connection with the block.
Step 5: Install the Anchors
Gently tap your sleeve anchors into the holes until they are flush and fully seated. For concrete screws, you will drive them in later. For chemical anchors, inject the epoxy and insert the threaded rod according to the manufacturer’s instructions.
Step 6: Attach the Wall Mount
Position the wall plate over the installed anchors. Insert the lag bolts through the mount and into the anchors. Use a socket wrench to tighten the bolts evenly. Do not over-tighten! You want the mount to be snug and secure, but excessive force can crack the block or strip the anchor.
Step 7: Hang the TV and Manage Cables
Attach the mounting brackets to the back of your television. With a helper, carefully lift the TV and hook it onto the wall plate. Secure any locking screws on the mount. A clean installation isn’t complete without cable management, and this is also a good time to consider how to handle TV audio. Excessive volume can vibrate through the wall, so you may want to learn how to muffle TV noise for a better home experience.
What If…? Solving Common Drywall-Over-Block Disasters
Even with careful planning, you can run into unexpected issues. Here are solutions to the most common problems that can derail your project.
Problem: The Wall is “Dot and Dab” with an Inconsistent Gap
This is the most frustrating scenario. When you tighten the mount bolts, some areas may feel solid while others crush the drywall. The professional solution is to create custom spacers. After drilling your holes, measure the exact gap at each hole. Cut short lengths of metal tubing or stack washers to match each specific gap. Slide these spacers over your bolts so they sit between the back of the mount and the concrete wall. This transfers the clamping force directly to the block, preventing any damage to the drywall and creating a rock-solid installation.
Problem: The Concrete Block Feels Soft or Crumbles
If you drill and the dust is soft or the hole seems to widen easily, you may have old or low-quality block. This is a red-flag situation where a mechanical anchor like a sleeve or screw may not hold reliably. This is the perfect application for chemical anchors. The epoxy adhesive will seep into the pores of the block and harden, creating an incredibly strong anchor point that distributes the load over a wider area.
Problem: You Hit a Mortar Joint
The mortar between concrete blocks is significantly weaker than the block itself. If you drill and realize you’ve hit a mortar joint, it’s best to adjust your mounting position. Shift the mount up or down slightly to ensure all your anchors are going into the solid center of the blocks. Never rely on a mortar joint to hold the weight of a heavy TV.
The Final Word: Safety Checks to Prevent a TV Catastrophe
Once the mount is installed but before you hang the TV, perform a final, crucial safety test. Grab the mount with both hands and pull down on it with your full body weight. It should feel completely solid, with no movement, flexing, or creaking sounds. If there is any give whatsoever, you must re-evaluate your anchors and installation.
Remember the non-negotiable rules: never trust drywall alone, always anchor deep into the concrete block, and use hardware specifically designed to bridge the gap. By understanding the unique challenges of a drywall-over-concrete wall and following these expert steps, you can confidently and safely complete your project, achieving that clean, professional, wall-mounted look you’ve been dreaming of.