Why is There Mold Behind Your Mirror? The Hidden Dangers & How to Fix It FAST!
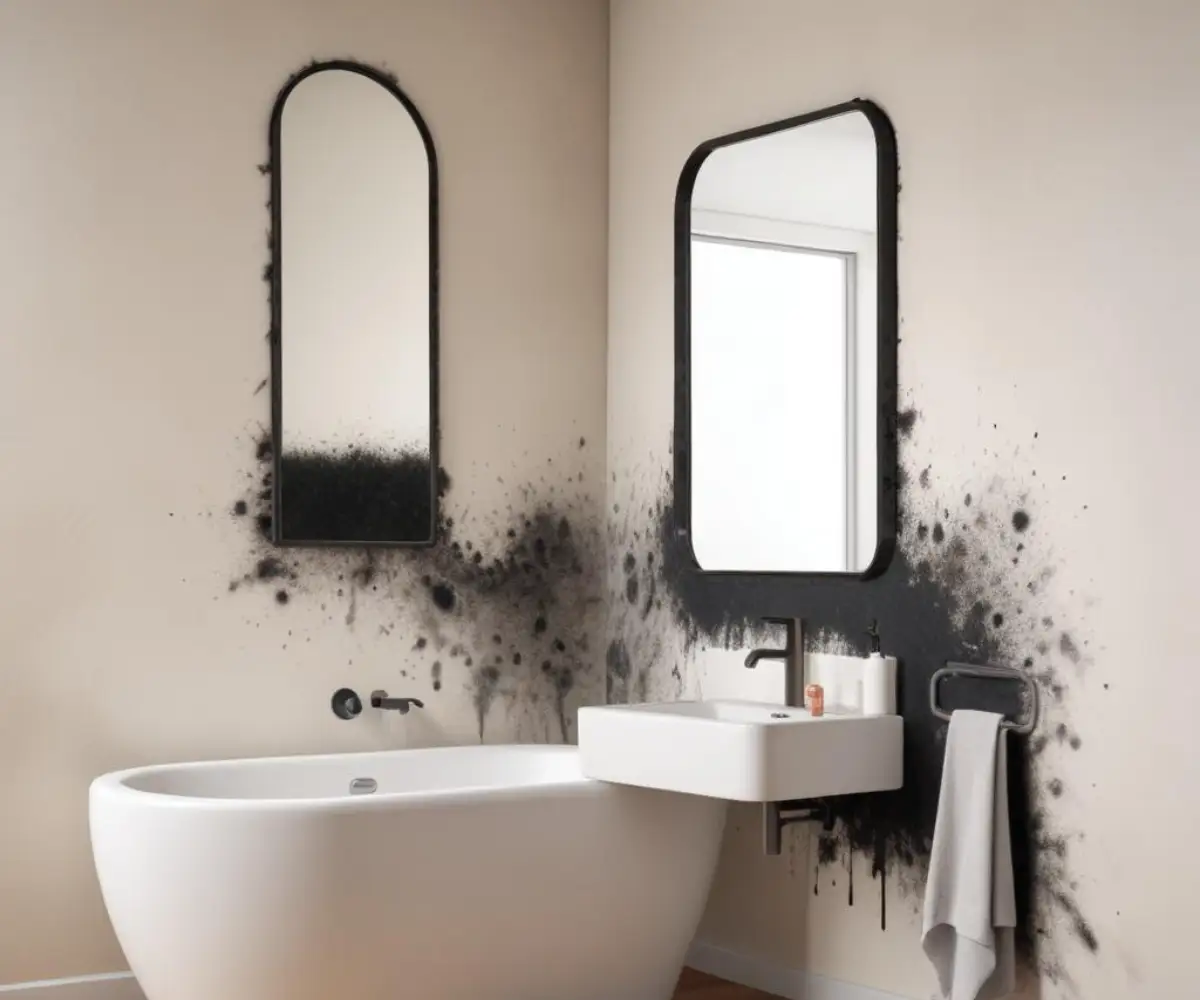
You catch a faint, musty odor in your bathroom that you can’t quite place. Or perhaps you spot some dark, shadowy discoloration creeping out from the edges of your vanity mirror. The moment you decide to investigate and take the mirror down, you’re met with an unpleasant sight: a sprawling patch of dark, ugly mold on the wall. This discovery is unsettling and, unfortunately, far more common than many homeowners realize.
Finding mold behind a mirror feels like a betrayal of a clean space. But it’s a clear signal of an underlying moisture problem that requires immediate and proper attention. Ignoring it not only risks damage to your home but can also pose health concerns for your family.
You'll Learn About
Why Your Mirror is a Secret Haven for Mold
At first, the wall behind a mirror seems like an unlikely place for a mold infestation. It’s a flat, sealed-off area. However, the very nature of its installation, especially in a bathroom, creates a perfect micro-environment where mold doesn’t just survive—it thrives.
The Unholy Trinity: Moisture, Darkness, and Trapped Air
Mold needs three key ingredients to grow: a food source (like the paper on drywall), darkness, and most importantly, moisture. Your bathroom provides an abundance of moisture through the steam generated by hot showers and baths. This humid air gets trapped in spaces with poor air circulation.
The area behind a large, flat-mounted mirror is one of the most poorly ventilated spots in the entire room. It’s dark, the air is stagnant, and it offers a prime location for moisture to settle and begin the process of mold growth, completely hidden from view.
The Silent Culprit: Condensation and Leaks
When you take a hot shower, the warm, moist air fills the room. The wall behind your mirror is typically cooler than the surrounding air, causing condensation to form on its surface. Since the mirror prevents this moisture from evaporating, it gets absorbed by the porous drywall paper.
This process can be made worse by tiny, undetected leaks. A small splash from the sink that trickles down the wall, a failing grout line in a nearby shower, or a slow leak from a plumbing fixture inside the wall can all introduce a steady supply of water, fueling a more aggressive mold colony.
How Mirror Adhesive Traps Moisture Against Drywall
One of the most significant, yet least discussed, culprits is the adhesive used to glue many bathroom mirrors directly to the wall. Installers often apply a thick, snake-like pattern of mastic or construction adhesive. This method creates an impermeable barrier that physically traps moisture against the drywall.
If any humidity or condensation finds its way into the small gaps, it has absolutely no way to dry out. The adhesive dams prevent air circulation, creating pockets of locked-in dampness. This turns the drywall into a permanently damp sponge, an ideal buffet for mold spores waiting for their chance to grow.
Identifying the Intruder: What Does Mold Behind a Mirror Look Like?
Mold can present itself in various colors and textures. What you find may range from small, isolated spots to a large, well-established colony. The most common types found in homes often appear as black, green, or white patches on the drywall.
You might see speckled black spots, which many people fear is “toxic black mold” (Stachybotrys chartarum). However, many different types of mold are black. You could also find greenish or brownish patches, which could be species like Aspergillus or Penicillium. It’s crucial to understand that you cannot identify a mold species by sight alone; proper identification requires laboratory testing. Regardless of the color, all mold should be removed safely and promptly.
Is It Dangerous? The Health Risks You Can’t Ignore
The presence of mold in your home is not just an aesthetic issue; it can lead to a variety of health problems. Mold releases spores into the air, which can be inhaled and cause allergic reactions in sensitive individuals. Common symptoms include sneezing, a runny nose, red eyes, and skin rashes.
For people with asthma, mold spores can trigger asthma attacks. In more severe cases, or for those with compromised immune systems, prolonged exposure can lead to more serious respiratory conditions. It is the potential for these health risks that makes addressing a mold problem so critical.
Your Step-by-Step Action Plan for Mold Removal
Tackling mold requires a methodical approach to ensure you remove it completely and safely without spreading spores to other areas of your home. If the affected area is larger than 10 square feet or if you suspect it has penetrated deep into the drywall, it is always best to consult a professional mold remediation service.
Step 1: Safety First – Gear Up for Battle
Before you begin any cleanup, protecting yourself is non-negotiable. Mold spores can become airborne easily once disturbed. Equip yourself with the proper personal protective equipment (PPE).
This includes an N-95 respirator mask to prevent inhaling spores, rubber gloves to protect your hands, and safety goggles to shield your eyes. It’s also wise to turn off your home’s HVAC system and seal the bathroom doorway with plastic sheeting to contain any airborne spores.
Step 2: Carefully Removing the Mirror
How the mirror is attached will determine the removal method. If it’s held by clips, simply unscrew them and lift the mirror off. If it’s glued on, the process is more difficult. You may need to use a long, thin tool like a piano wire to saw through the adhesive behind the mirror.
Gently heating the mirror surface with a hairdryer can sometimes soften the adhesive, but exercise extreme caution as this can also increase the risk of the glass cracking. Always have a second person to help you support the mirror’s weight to prevent it from falling and shattering.
Step 3: Cleaning the Wall – Choosing Your Weapon
Once the mirror is off and the mold is exposed, you must choose an effective cleaning agent. It is a common misconception that chlorine bleach is the best solution for mold on drywall. While bleach can kill surface mold, its water base can soak into the porous drywall, often failing to kill the mold’s roots and feeding the problem further.
Instead, opt for a more effective solution. White vinegar, with its acidic properties, is excellent at killing the roots of the mold. Hydrogen peroxide is another effective and safer alternative. There are also many commercial mold removers designed specifically for this purpose.
| Cleaning Solution | Effectiveness on Drywall | Safety Precautions | Best For |
|---|---|---|---|
| Distilled White Vinegar (5%) | High – Kills mold roots due to its acidity. | Well-ventilated area. Do not mix with bleach (creates toxic gas). | Porous surfaces like drywall and wood. Great for homeowners wanting a natural solution. |
| Hydrogen Peroxide (3%) | High – Antifungal and antiviral. Bubbles on contact. | May cause slight discoloration on some surfaces. Wear gloves. | Effective on most surfaces and a safer alternative to harsh chemicals. |
| Commercial Mold Remover | Very High – Formulated specifically to kill mold and inhibit regrowth. | Follow manufacturer’s instructions precisely. Requires good ventilation and PPE. | Stubborn mold stains and homeowners wanting a powerful, targeted solution. |
| Chlorine Bleach (Diluted) | Low – Kills surface mold but does not penetrate porous materials well. | Extremely harsh fumes. Requires excellent ventilation. Never mix with other cleaners. | Non-porous surfaces like tile or glass. Not recommended for drywall. |
Step 4: The Cleaning Process
Begin by applying your chosen cleaner directly to the moldy area using a spray bottle. Let the solution sit for at least an hour to penetrate the surface and kill the mold at its roots. After it has soaked, use a soft brush or disposable rag to scrub the surface mold away.
Wipe the area clean with a damp cloth, then dry it thoroughly. Pointing a fan at the wall or using a dehumidifier in the room for 24-48 hours is crucial to ensure all moisture is gone before you proceed with any repairs.
Step 5: When to Call a Professional
DIY mold removal is suitable for small, contained areas. However, there are clear signs that you need to call in the experts. If the mold patch is extensive, if the drywall is soft and crumbling, or if you smell mold even after cleaning, it likely indicates a deeper problem within the wall cavity.
Furthermore, if anyone in your household has a respiratory condition or a compromised immune system, it is always safest to leave mold remediation to certified professionals who have the proper equipment and training to handle it without risk.
The Ultimate Prevention Guide: Keeping Mold Away for Good
Removing the mold is only half the battle. The other half is creating an environment where it cannot return. This involves controlling moisture and improving ventilation in your bathroom.
Master Your Bathroom’s Airflow
The single most effective tool against bathroom mold is a high-quality exhaust fan. It should be sized appropriately for your bathroom’s square footage and vented directly to the outside, not into the attic. Make it a habit to run the fan during every shower or bath and for at least 30 minutes afterward to vent all moist air out.
When possible, cracking a window open can also significantly improve natural airflow and help the room dry out faster. Regular ventilation is your number one defense against the damp conditions mold loves.
Rethink Your Mirror Installation
When it comes time to put a mirror back up, avoid the method that caused the problem in the first place. Instead of using a full spread of adhesive, opt for mechanical fasteners like mirror clips or a J-channel. These methods create a small air gap between the wall and the mirror.
This tiny gap is a game-changer. It allows air to circulate behind the mirror, which helps any moisture that might form on the wall to evaporate quickly before it can be absorbed by the drywall. This simple change in installation technique can prevent mold from ever taking hold again.
Waterproofing the Wall: A Proactive Shield
For the ultimate protection, especially during a renovation or in a new build, consider applying a waterproofing membrane to the wall before the mirror is installed. Products like RedGard create a completely waterproof barrier over the drywall. This ensures that even if condensation forms, it cannot penetrate the wall material.
Applying a coat or two of high-quality, mold-resistant primer and paint can also add a valuable layer of defense. These products contain antimicrobial agents that inhibit the growth of mold and mildew on the paint film.
The Bigger Picture: Your Bathroom Vanity and Beyond
Sometimes, the moisture source is less obvious than shower steam. A vanity installed without proper sealing can allow water to splash behind it, or a slow drain leak can introduce moisture into the wall cavity. During a bathroom remodel, ensuring every component is installed correctly is key. Assessing the overall project can make you consider factors like the Lowe’s vanity installation cost versus doing it yourself, as a professional job can prevent these very leaks.
Reinstalling Your Mirror and Restoring Your Peace of Mind
After you have thoroughly cleaned the wall and are confident the moisture source is controlled, it’s time to repair the damage and finish the job.
Repairing the Drywall
If the drywall paper was damaged but the core is still solid, you can proceed with sealing it. Apply a coat of a stain-blocking, mold-inhibiting primer, such as a shellac-based primer. This will seal the surface and prevent any residual stains from bleeding through your topcoat of paint.
If the drywall is soft, warped, or crumbly, it must be cut out and replaced. There is no saving water-damaged drywall. Cut a square section that extends to the nearest wall studs and replace it with a new piece of moisture-resistant drywall.
Choosing the Right Hanging Method
When hanging your new or cleaned mirror, prioritize strong, reliable hardware. Using mirror clips screwed directly into wall studs provides the most secure hold. If you’re hanging a heavy, framed mirror, understanding fastener strength is essential. It might lead you to ask how much weight can a 16-gauge nail really hold, but for heavy items, lag screws into studs are a much safer bet. The goal is to use a method that not only supports the weight but also promotes that crucial air gap behind the mirror.
Discovering mold behind your mirror is a problem, but it is a solvable one. By understanding its causes, performing a safe and thorough cleanup, and implementing smart preventative measures, you can eliminate the threat. You can restore not only the beauty of your bathroom but also the peace of mind that comes from knowing your home is healthy and safe.