Miracle-Gro Garden Soil for Grass Seed? Stop Before You Ruin Your Lawn
You have a bag of Miracle-Gro Garden Soil in the garage and a bare patch of lawn that desperately needs seeding. The thought is tempting: can you use this nutrient-rich garden soil to give your new grass seed a head start? It seems logical, but this common impulse is one of the biggest mistakes a homeowner can make and can lead to a patchy, weak, and ultimately disappointing lawn.
The truth is, the very properties that make Miracle-Gro Garden Soil excellent for your tomatoes and marigolds make it a terrible choice for germinating grass seed. Understanding the fundamental difference between the needs of a garden and the needs of a lawn is the first step toward building a lush, durable carpet of green. This guide will break down why reaching for that bag of garden soil is a critical error and what you should be doing instead.
You'll Learn About
Why Using Garden Soil for Grass Seed Is a Huge Gamble
The core of the issue lies in the soil’s formulation. Garden soil and lawn soil are engineered for vastly different purposes. Using them interchangeably is like putting diesel in a gasoline engine—it might seem like fuel, but the results will be disastrous.
Miracle-Gro All-Purpose Garden Soil is specifically designed for use in flower beds and vegetable gardens. It’s packed with quick-release fertilizers and organic materials like peat and compost to support robust, fast-growing annuals and vegetables. This composition, however, creates a hostile environment for delicate grass seedlings for several key reasons.
The Danger of “Fertilizer Burn” on New Seedlings
The primary threat to new grass seed in garden soil is the high concentration of nitrogen. Miracle-Gro Garden Soil is fortified with fertilizer to feed established plants for up to three months. While a mature tomato plant can handle this nutrient load, a tiny grass seedling cannot.
This excess of nitrogen and other fertilizer salts creates a condition known as “fertilizer burn” or “nitrogen burn.” The high salt concentration in the soil draws moisture out of the grass seeds and new roots through osmosis. Instead of absorbing the water they need to germinate and grow, the seeds dehydrate and die, resulting in sparse, patchy growth or complete germination failure.
Poor Drainage and Compaction Issues
Garden soil is formulated to retain moisture. It often contains a high percentage of organic materials like peat moss and compost, which act like sponges. This is beneficial for keeping thirsty vegetable and flower roots hydrated.
However, for grass, this level of water retention can be fatal. Grass roots require a balance of moisture and oxygen. Soil that stays constantly soggy suffocates the roots, preventing them from breathing and leading to root rot. Over time, this overly organic soil will compact under foot traffic and rain, creating a dense layer that new grass roots struggle to penetrate.
Incorrect Texture and Long-Term Problems
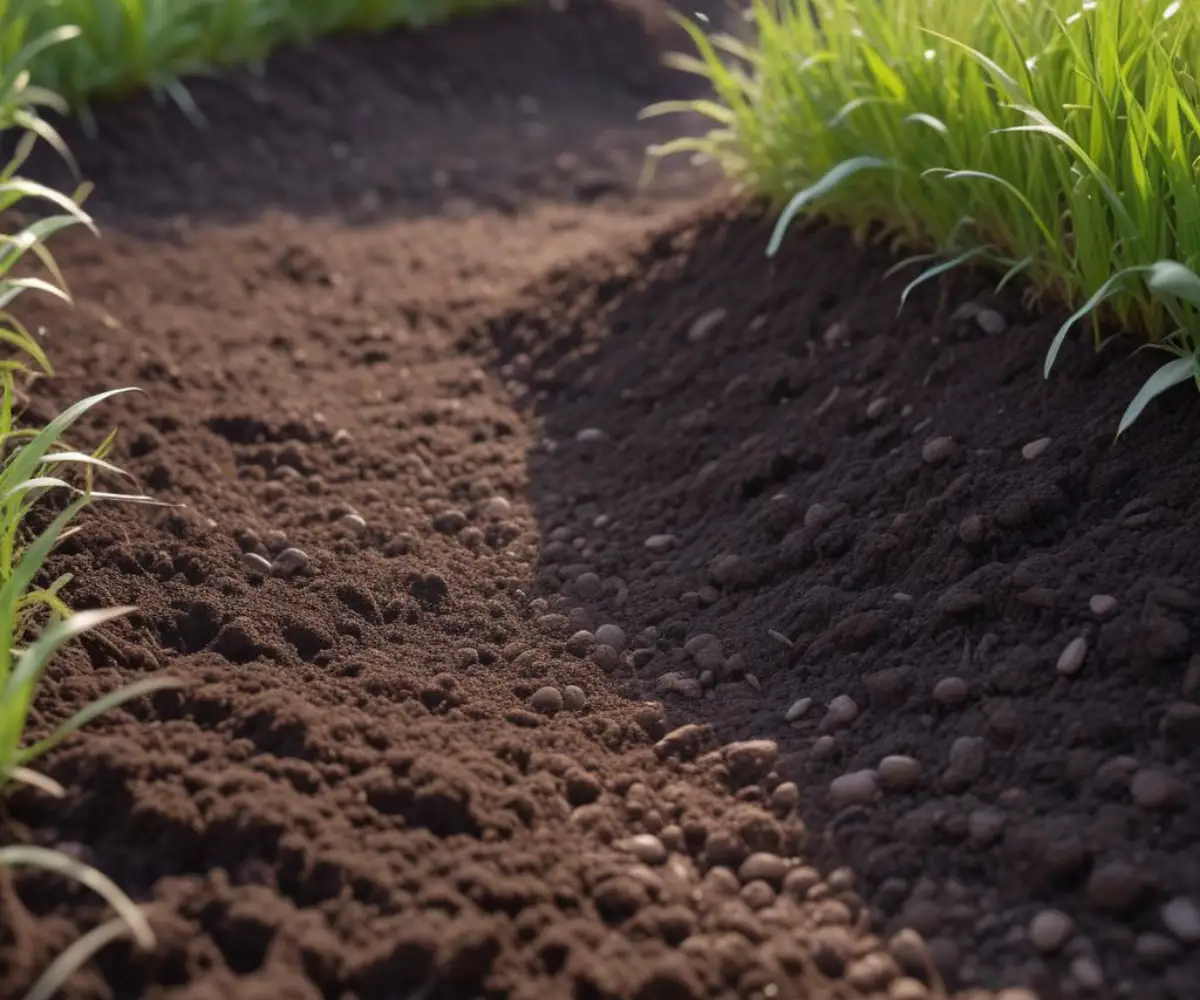
Take a close look at garden soil. You’ll often find larger pieces of organic matter like wood fines, bark, and twigs. In a garden bed, this material slowly breaks down, releasing nutrients and improving soil structure over time. In a lawn, this is a significant problem.
As these larger pieces decompose, they create air pockets and cause the soil to settle unevenly. This leads to a bumpy, lumpy lawn surface that is difficult to mow and maintain. A successful lawn requires a fine, consistent soil texture to ensure good seed-to-soil contact and a level, stable surface for years to come.
The Right Soil for Seeding a Lawn: What Grass Actually Needs
To thrive, grass seed needs a growing medium that provides three essential things: excellent seed-to-soil contact, consistent moisture without waterlogging, and a stable, fine texture for root establishment. The ideal soil is typically a loam, which is a balanced mix of sand, silt, and clay.
When preparing to seed a new area, the goal is to create this ideal environment. This often means using products specifically labeled as “Lawn Soil,” “Topsoil,” or “Seed Starting Mix.” These products are formulated with the specific needs of turfgrass in mind.
Miracle-Gro’s Lawn-Specific Products: The Better Choice
Miracle-Gro itself understands this distinction and offers products specifically for lawns. Miracle-Gro Lawn Soil, for example, is very different from its garden soil counterpart. It has a finer texture, lower fertilizer content that is often slow-release, and is balanced to promote seedling germination without causing burn.
Using a dedicated lawn soil product ensures that you are providing the correct foundation. It’s an investment in the long-term health of your lawn, preventing the headaches of a failed seeding project and the need to start over from scratch.

Step-by-Step Guide: The Correct Way to Prepare Soil for Grass Seed
Achieving a lush, green lawn starts long before you ever open the bag of grass seed. Proper soil preparation is the single most important factor for success. Follow these steps to create the perfect seedbed.
Step 1: Clear the Area and Assess Drainage
First, remove all existing vegetation, including dead grass, weeds, and rocks from the area. Rake thoroughly to expose the bare soil. This is also the perfect time to assess your yard’s drainage. If you have areas where water tends to pool, you may need to address larger grading issues. For persistent uphill water problems, exploring a solution like a french drain to manage uphill water can prevent future soggy spots and protect your new lawn.
Also, consider how water is shed from your home. Poorly managed runoff from your roof can easily wash away new seed. Ensure your downspouts effectively direct water away from the planting area.
Step 2: Test Your Soil pH
Grass grows best in soil with a pH between 6.0 and 7.0. You can get an inexpensive soil test kit from any garden center. This simple test will tell you if your soil is too acidic or too alkaline, allowing you to make necessary adjustments with amendments like lime (to raise pH) or sulfur (to lower pH).
Step 3: Loosen and Amend the Existing Soil
Use a tiller or a sturdy garden rake to loosen the top 4-6 inches of your native soil. This breaks up compaction and allows new roots to penetrate deeply. This is the time to work in any amendments recommended by your soil test.
If your soil is heavy clay, adding compost will improve its texture and drainage. For sandy soil, a layer of compost or peat moss will help it retain necessary moisture. The goal is to create a rich, workable base layer.
Step 4: Add a Thin Layer of Lawn Soil
Now, spread a 1-2 inch layer of high-quality screened topsoil or a dedicated lawn soil product over the loosened area. Do not use garden soil. Rake the new soil into the top layer of your existing soil to create a smooth transition, preventing drainage problems between the layers.
Step 5: Rake, Level, and Firm the Surface
Use the back of a rake to create a perfectly smooth and level surface. Remove any remaining small rocks or debris. The surface should be firm, but not compacted. Lightly walk over the area or use a lawn roller partially filled with water to firm the soil just enough so that your footprints are barely visible.
Step 6: Spread the Seed and Fertilize
Use a broadcast or drop spreader to apply the grass seed evenly according to the package directions. It’s wise to apply a starter fertilizer at this stage. Starter fertilizers are low in nitrogen but high in phosphorus, which is crucial for strong root development without burning the seeds.
Step 7: Lightly Rake and Roll
Gently rake the area one last time so that most of the seed is covered by about ¼ inch of soil. Do not bury the seeds too deep, as they need light to germinate. If desired, you can lightly roll the area again to ensure good seed-to-soil contact.
Step 8: Water, Water, Water
Water the newly seeded area lightly but frequently. The goal is to keep the top inch of soil consistently moist like a damp sponge, but not flooded. This may mean watering 2-3 times a day for short periods, especially in warm weather, until the grass is well-established.
| Characteristic | Garden Soil (e.g., Miracle-Gro All-Purpose) | Lawn Soil / Screened Topsoil | Native Soil (Unamended) |
|---|---|---|---|
| Nutrient Content | Very high, often with quick-release fertilizer. | Low to moderate, balanced for new seedlings. | Varies greatly; often nutrient-deficient. |
| Texture | Coarse, may contain wood chips and bark. | Fine, screened, and uniform. | Can be heavy clay, sandy, or rocky. |
| Water Retention | High; designed to stay moist. | Moderate; promotes drainage to prevent root rot. | Can be poor (sandy) or excessive (clay). |
| Primary Use | Vegetable gardens, flower beds, containers. | Establishing new lawns, topdressing, patching. | The base foundation of a yard. |
| Risk to Grass Seed | High risk of fertilizer burn and root rot. | Low risk; formulated for safe germination. | Poor germination due to compaction and low fertility. |
What If You ALREADY Used Garden Soil? A Rescue Plan
If you’ve already spread Miracle-Gro Garden Soil on a patch of your lawn and seeded it, don’t panic. While it’s not ideal, you might be able to salvage the situation with quick action and careful monitoring.
First, begin a heavy but gentle watering regimen. Your goal is to try and leach some of the excess fertilizer salts down past the root zone of the new seedlings. Water deeply for several days, allowing the area to drain between waterings. This can help dilute the high concentration of nitrogen.
Monitor the area closely for signs of trouble. If you see sparse germination, yellowing seedlings, or areas that seem to be struggling, the soil is likely too “hot” or wet. If the area becomes a muddy mess, the poor drainage of the garden soil is the culprit. You can try to lightly topdress with a very thin layer of sand to improve surface drainage, but avoid smothering any seedlings that have managed to sprout. In cases of severe erosion where soil has washed away, you may need to learn how to properly fill the erosion hole before attempting to reseed.
The Foundation of a Great Lawn is No Miracle—It’s Proper Soil
Ultimately, there are no shortcuts to a beautiful, healthy lawn. While the promise of a “miracle” in a bag is alluring, the real magic happens when you provide the right fundamental conditions for nature to thrive. Using a product designed for vegetables to grow a lawn is a fundamental mismatch that sets you up for failure.
By investing the time to properly prepare your yard with the correct type of soil—a dedicated lawn soil or high-quality topsoil—you create a foundation that will support a dense, resilient, and beautiful lawn for many years. It’s a bit more work upfront, but it saves you the immense frustration and expense of trying to correct a mistake later on.

