Miracle-Gro Garden Feeder Old Style: The Ultimate Guide
There’s a certain satisfaction that comes from using a tool that has stood the test of time. In the world of gardening, the Miracle-Gro Garden Feeder old style is a perfect example. Many gardeners have one tucked away in their shed, a nostalgic green and yellow tool that brings back memories of lush, vibrant gardens.
But with this nostalgia comes a common problem. Instructions get lost, parts wear out, and questions arise. How do you use it correctly? Is it still as effective as modern feeders? This guide will solve these problems, providing everything you need to know to use, maintain, and master your vintage garden feeder.
You'll Learn About
Why Gardeners Still Love the Old Style Miracle-Gro Feeder
In an age of complex gadgets, the simplicity of the old style feeder is its greatest strength. Its design is intuitive, with fewer parts that can break or malfunction. This durability is a hallmark of its era, often featuring thicker, more resilient plastic and sometimes even brass components that you won’t find on newer models.
This “they don’t make them like they used to” quality is why so many gardeners hold onto them. The feeder provides a direct, reliable method for delivering nutrients, connecting the gardener to the process in a way that automated systems can’t. It’s a tool built for a lifetime of use, not just a single season.
Understanding Your Vintage Feeder: A Component Breakdown
Before you can master your feeder, you need to understand its parts. The classic design consists of a few key components, each with a specific function. Knowing how they work together is the first step to troubleshooting any issues.
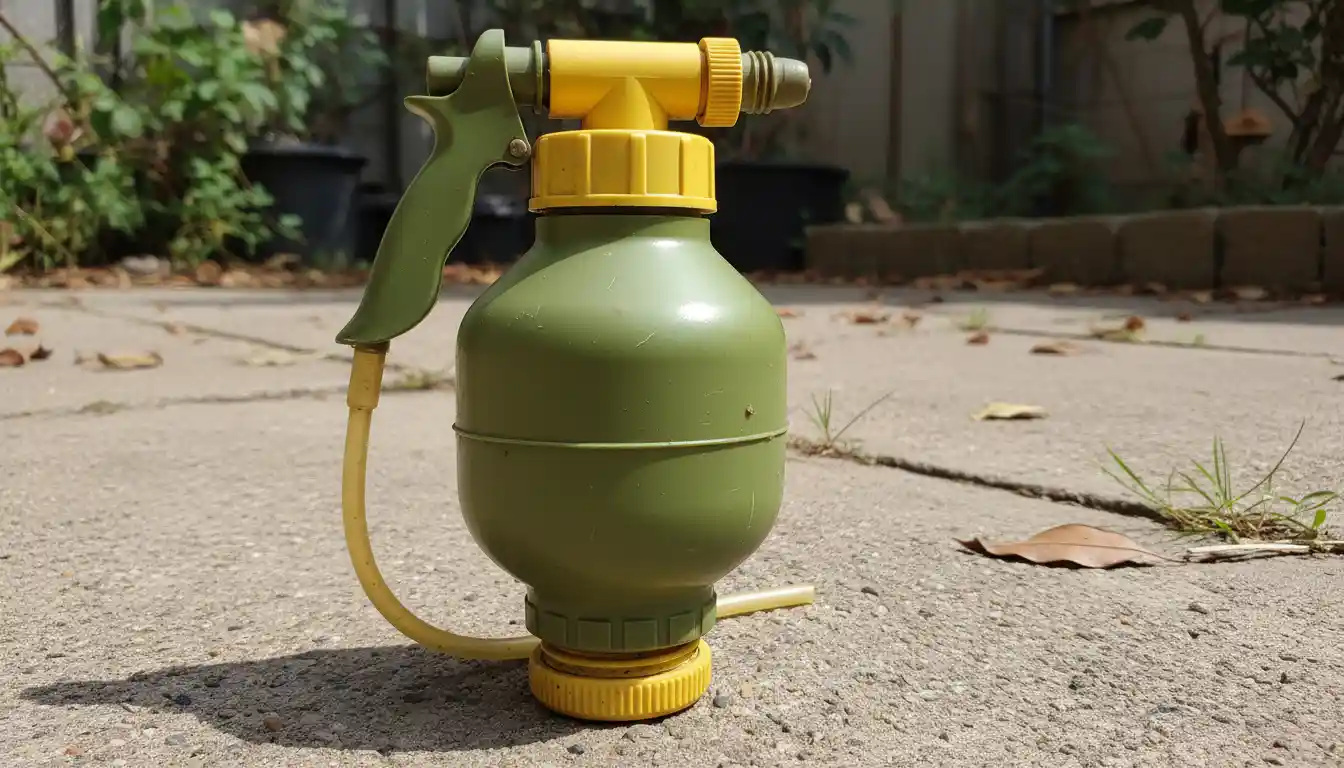
The main body includes the jar, where the fertilizer is held, and the sprayer head. The head contains the most critical parts: the siphon tube that draws the fertilizer concentrate, the trigger for controlling water flow, and the nozzle that creates the spray pattern. Understanding that the system works on a venturi effect—where flowing water creates a vacuum to pull up the fertilizer—is key to diagnosing most problems.
The Key Components
The feeder is brilliantly simple. You have the main jar, typically made of a sturdy, semi-transparent plastic so you can see the fertilizer level. This jar screws into the sprayer head, which is the operational hub of the tool.
Inside the head, a thin plastic siphon tube extends down into the jar. This tube is responsible for drawing the dissolved fertilizer up into the water stream. The head also features a simple trigger mechanism and a multi-pattern spray nozzle, allowing you to choose between a gentle shower for delicate flowers and a more direct stream for shrubs.
The Complete Guide to Using Your Old Style Garden Feeder
Using your vintage feeder correctly is all about following a few simple steps. From getting the fertilizer-to-water ratio right to mastering your spraying technique, this process will ensure your plants get the nutrients they need without the risk of over-fertilizing or causing leaf burn.
Proper application is just as important as the fertilizer itself. The goal is to deliver a consistent, diluted solution that plants can easily absorb through both their leaves and their roots. This method, known as foliar feeding, can lead to quicker results and healthier, more vibrant growth.
Step 1: Achieving the Perfect Fertilizer Ratio
The most critical step is mixing the fertilizer correctly. The old style feeder is designed to automatically dilute the concentrate in the jar at a specific rate as water passes through the sprayer head. Your job is to create the right starting concentrate.
For most Miracle-Gro water-soluble plant foods, the rule is simple: fill the jar with the dry fertilizer powder up to the marked fill line. Then, add water to the jar to dissolve the powder and screw the sprayer head on securely. This creates the concentrate that the feeder will then mix with the hose water.
| Plant Type | Fertilizer Amount | Feeding Frequency |
|---|---|---|
| Outdoor Flowers & Vegetables | Fill jar to the line with Miracle-Gro powder | Every 7-14 days |
| Roses | Fill jar to the line with Miracle-Gro powder | Every 7-14 days |
| Trees & Shrubs | Fill jar to the line with Miracle-Gro powder | Every 2-4 weeks during growing season |
| Houseplants (Outdoor Use) | Use half the amount of powder | Every 2 weeks |
Step 2: Proper Assembly and Connection
Once your fertilizer is mixed, assembly is straightforward. Ensure the siphon tube is firmly attached to the underside of the sprayer head. Screw the head onto the jar, making sure not to cross-thread it, which can cause leaks.
Next, attach your garden hose to the connector at the back of the feeder handle. Make sure the rubber washer is inside the connector to create a tight seal. A missing or worn-out washer is the most common cause of leaks.
Step 3: Mastering Your Spraying Technique
With the feeder connected, turn on the water. Begin by spraying away from your plants to ensure the feeder is working correctly. You should see the fertilizer solution being drawn up through the siphon tube.
Apply the solution evenly, starting at the base of the plants and working your way up to wet the foliage. The best time to feed is in the early morning or evening to avoid the midday sun, which can cause the liquid on the leaves to heat up and scorch them. Move at a steady pace to ensure even coverage across your entire garden.
Troubleshooting Common Issues with Vintage Feeders
Even the most durable tools can have problems. Fortunately, most issues with the old style Miracle-Gro feeder are easy to fix. From clogs to leaks, a little know-how is all you need to get your feeder back in perfect working order.
Don’t be quick to discard your feeder if it’s not working. The robust construction means that a simple cleaning or a minor adjustment is often all that’s required. These common problems and their solutions will help you keep your classic tool in service for years to come.
Problem: The Feeder Isn’t Siphoning Fertilizer
This is the most common issue. If the fertilizer level in the jar isn’t going down, no nutrients are reaching your plants. The cause is almost always a clog or a lack of proper suction.
First, check the thin siphon tube for any blockages from undissolved fertilizer. More importantly, locate the tiny vent hole on the top of the sprayer head. If this hole is clogged with dirt or debris, it creates a vacuum lock that prevents the solution from being drawn up. Use a paperclip or a thin wire to clear both the tube and the vent hole.
Problem: Leaks, Drips, and Sprays
A leaky feeder is messy and wasteful. Most leaks occur at the point where the hose connects to the feeder. The first thing to check is the rubber washer inside the connector. If it’s old, cracked, or missing, it won’t create a proper seal. This is an easy and inexpensive part to replace.
Leaks can also happen if the jar is not screwed on tightly or if the threads are crossed. If you notice a crack in the jar or the sprayer head itself, it may be time to retire the tool, but this is rare given its durable construction.
Problem: The Spray is Weak or Inconsistent
A weak spray is usually a sign of low water pressure or a blockage in the nozzle. Ensure your spigot is turned on all the way. If the pressure is good, the problem lies in the spray nozzle itself.
Unscrew the nozzle head and inspect the small holes for mineral deposits or debris. Use a small brush or a pin to clean out each hole. Soaking the nozzle head in vinegar can also help dissolve hard water buildup that restricts water flow.
Deep Cleaning and Long-Term Maintenance
The secret to keeping your old style feeder working for decades is regular maintenance. A thorough cleaning after each use prevents fertilizer from crystallizing and causing clogs. This proactive approach is far easier than fixing a problem later.
Proper care ensures every component, from the jar to the nozzle, remains in optimal condition. Think of it like maintaining any other important home asset. A structure with a solid foundation, for instance, avoids issues like needing to apply stucco without proper sheathing. The same principle of preventative care applies here.
Your Post-Feeding Cleaning Routine
After you’ve finished feeding your garden, empty any unused solution from the jar. It’s best to mix only what you need for each session. Fill the jar with plain water, reattach it to the sprayer head, and spray until the water runs clear. This flushes out any remaining fertilizer from the internal components.
For a deeper clean, disassemble the feeder. Wash the jar with soap and water, and use a small brush to clean the siphon tube. Store the feeder in a dry place away from direct sunlight, which can make the plastic brittle over time.
Is the Old Style Feeder Still Relevant Today?
With so many new products on the market, is this vintage tool still a good choice? The answer is a resounding yes. For the average home gardener, its combination of simplicity, durability, and effectiveness is hard to beat.
While newer models may offer more precise dilution settings, the old style feeder provides more than enough accuracy for general-purpose feeding. Its timeless design proves that some tools are classic for a reason. Their quality and reliability endure, much like a well-crafted piece of furniture becomes a fixture in a home. The feeder’s straightforward mechanics are a welcome contrast to overly complicated modern gadgets, similar to how one might appreciate the clear functional differences between a basic and advanced KitchenAid mixer.
Pros and Cons for the Modern Gardener
The primary advantages are its durability and ease of use. There are no batteries to replace or complex dials to interpret. Its main disadvantage is that it offers a single, preset mixing ratio, which may not be ideal for highly specialized gardening that requires variable nutrient concentrations.
However, for feeding a diverse garden of flowers, vegetables, and shrubs, the factory-set ratio is perfectly balanced. It remains a cost-effective and environmentally friendly option, as you are reusing the same durable tool year after year rather than disposing of single-use applicators.
Conclusion: The Enduring Legacy of a Simple, Powerful Tool
The Miracle-Gro Garden Feeder old style is more than just a piece of vintage equipment; it’s a testament to a time when tools were built to last. It is a reliable workhorse that, with proper care and understanding, can serve a gardener faithfully for a lifetime.
By following this guide, you can confidently use and maintain your classic feeder, ensuring your garden continues to thrive. Embrace the simplicity and effectiveness of this timeless tool, and let it continue to work its magic in your garden.