Milwaukee Drill vs Hammer Drill: The Critical Choice Most People Get Wrong
Choosing a new power tool can be a daunting task, especially when two options look nearly identical but have vastly different purposes. This confusion is common when comparing a Milwaukee drill and a Milwaukee hammer drill. Making the wrong choice isn’t just an inconvenience; it can lead to damaged tools, ruined projects, and wasted money.
The core of the problem lies in a misunderstanding of their internal mechanisms and intended applications. Many users assume a hammer drill is simply a more powerful version of a regular drill, leading them to buy a tool that is overkill for their needs or, worse, use it incorrectly and cause damage. This article will demystify the differences, helping you select the perfect tool for your projects.
You'll Learn About
What’s the Real Difference? It’s More Than Just Noise
The fundamental distinction between a standard drill driver and a hammer drill is the type of force they apply. A standard drill uses only rotational force. It spins a bit to cut through materials like wood, metal, and plastic, much like a sharp knife slicing through an apple.
A hammer drill, on the other hand, combines this rotational force with a rapid, forward-thrusting “hammering” action. This percussive motion pulverizes hard, brittle materials like concrete and brick, allowing the rotating flutes of the bit to clear away the debris. Think of it as combining the spin of a drill with the rapid blows of a small jackhammer.
The Anatomy of Power: A Look Inside the Mechanism
To truly grasp the difference, one must look at the internal mechanics. A standard drill driver’s power flows from the motor through a gearbox to the chuck. It includes a clutch that disengages the motor at a set torque to prevent over-tightening screws or damaging the material.
A hammer drill adds another layer to this system. Behind the chuck, it contains a hammer mechanism, which typically consists of two hardened, ridged discs. When hammer mode is engaged, these discs ride over each other as they spin, forcing the chuck and bit to rapidly pulse forward and backward, creating thousands of impacts per minute.
This internal difference is why a hammer drill feels, sounds, and performs drastically differently on hard surfaces. It’s also why you should never use the hammer mode when drilling into wood, metal, or plastic, as the chipping motion is ineffective and can damage the workpiece.
When to Use a Milwaukee Drill Driver: Precision and Finesse
A Milwaukee drill driver is the master of tasks requiring precision and control. Its lighter weight and more compact size make it comfortable for extended use. It excels at a wide range of common jobs around the house, workshop, and job site.
Primary applications for a drill driver include:
- Driving Screws: This is its specialty. The adjustable clutch allows you to set the perfect amount of torque to drive screws flush without stripping the head or damaging the material.
- Drilling in Wood: From small pilot holes to large holes with spade bits or hole saws, a drill driver offers the smooth rotational power needed for clean cuts in all types of wood.
- Drilling in Metal: Paired with the right drill bits, it can cleanly bore through steel, aluminum, and other metals.
- Working with Plastics: It provides the controlled speed necessary to drill through plastic without melting or cracking it.
When to Unleash the Hammer Drill: Brute Force for Tough Materials
A Milwaukee hammer drill is the designated tool for conquering hard, aggregate materials. Attempting to drill into concrete with a standard drill is a lesson in futility; the bit will skate across the surface, overheat, and dull, and the drill’s motor can burn out from the strain.
Primary applications for a hammer drill are:
- Drilling into Concrete: Whether you’re setting anchors for shelving in a garage or drilling into a foundation, the hammer action is essential.
- Drilling into Brick and Block: Hanging items on a brick wall or running conduit through a cinder block requires the percussive force of a hammer drill.
- Working with Stone and Masonry: For any task involving drilling into natural stone or mortar joints, a hammer drill is the only viable option.
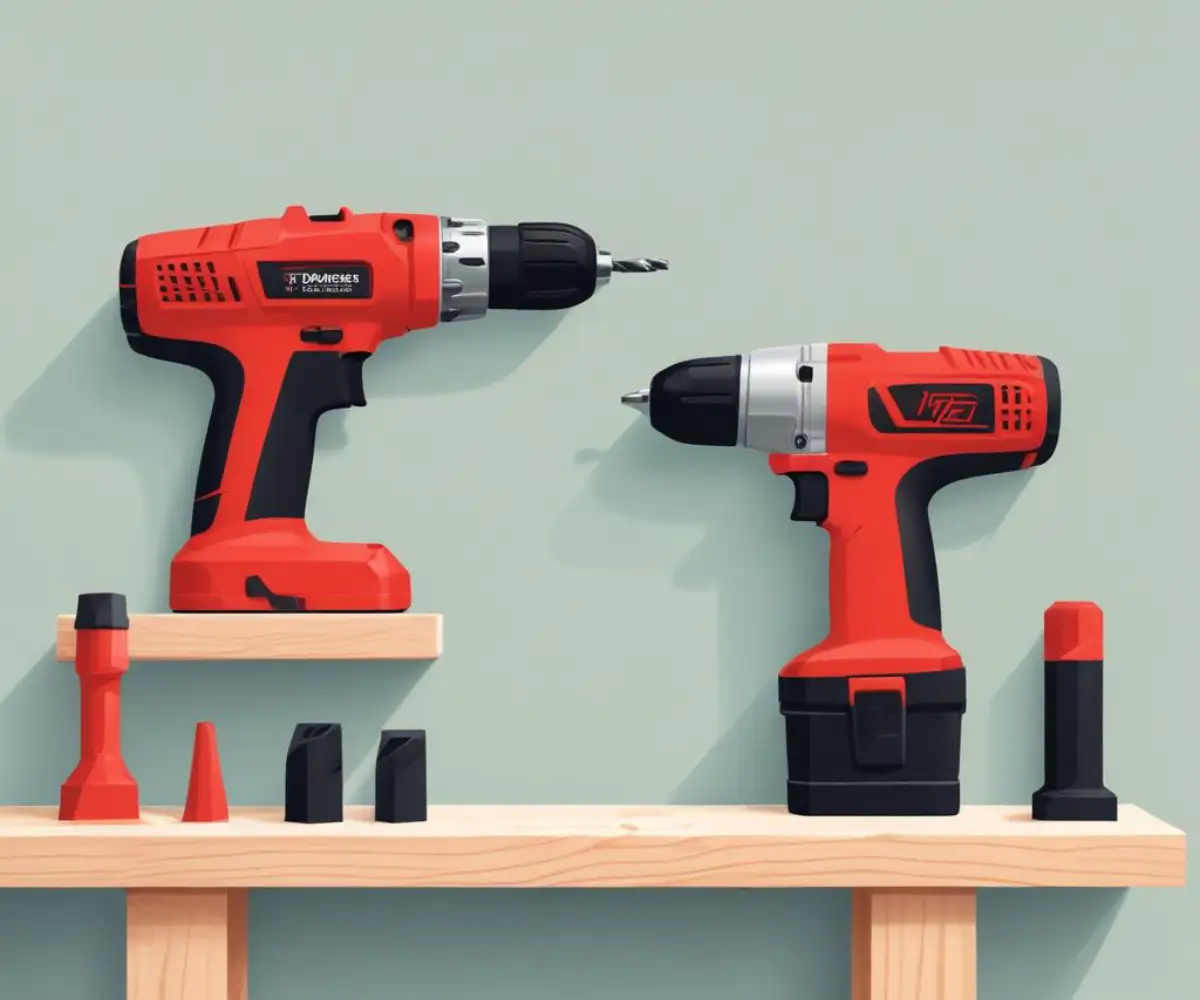
Feature Face-Off: Key Milwaukee Technologies Compared
To provide a clearer picture, let’s compare two popular models from Milwaukee’s M18 FUEL lineup. While specifications can vary, this table offers a general overview of the differences you can expect.
| Feature | Milwaukee M18 FUEL Drill/Driver (e.g., 2903-20) | Milwaukee M18 FUEL Hammer Drill (e.g., 2904-20) |
|---|---|---|
| Primary Function | Drilling and Driving | Drilling, Driving, and Hammer Drilling |
| Max Torque | ~1,200 in-lbs | ~1,400 in-lbs |
| Max RPM (Speed 2) | 0 – 2,000 RPM | 0 – 2,100 RPM |
| Max BPM (Blows Per Minute) | N/A | 0 – 33,000 BPM |
| Chuck Type | 1/2″ All-Metal Ratcheting | 1/2″ All-Metal Ratcheting |
| Length | ~6.9 inches | ~6.9 inches |
| Weight (Tool Only) | ~3.2 lbs | ~3.3 lbs |
| Best For | Wood, metal, plastics, driving fasteners | Concrete, brick, masonry, plus all drill/driver tasks |
The Hidden Trap: Can You Just Use a Hammer Drill for Everything?
Since a hammer drill can turn its hammering function off and act as a regular drill, a common question arises: why not just buy the hammer drill for all-purpose use? While logical on the surface, there are crucial drawbacks to this “one-tool-fits-all” approach. The ongoing Milwaukee hammer drill vs drill driver debate often centers on this very question.
Hammer drills are typically slightly heavier, longer, and more expensive than their drill driver counterparts. While modern brushless designs have minimized these differences, the added weight can cause fatigue during prolonged overhead work or when driving many screws. For professionals who use their drill for hours every day, this small difference in ergonomics is significant.
Furthermore, the added complexity of the hammer mechanism is another potential point of failure over the tool’s lifespan. If you never plan to drill into masonry, you are paying for a feature you don’t need and carrying extra weight for no reason. The best tool is the one designed specifically for the job at hand.
Making the Right Choice: A Decision-Making Framework
Choosing the right tool ultimately depends on your current and future needs. An honest assessment of the types of projects you’ll be tackling will lead you to the correct decision.
For the DIY Homeowner
If your projects primarily involve hanging pictures, assembling furniture, and light-duty repairs in wood or drywall, a standard drill driver is more than sufficient. However, if you anticipate projects like installing a mailbox into a brick facade or mounting shelves in a basement, spending the small extra amount for a hammer drill provides valuable versatility.
For the Professional Contractor
For tradespeople like electricians, plumbers, and general contractors, owning both is often the best solution. A lightweight drill driver is ideal for routine tasks, while a dedicated hammer drill is ready for the inevitable encounters with concrete and block. This ensures maximum efficiency and reduces wear and tear on the tools.
For the Woodworker or Fabricator
For specialists who work exclusively with wood or metal, a hammer drill is unnecessary. The focus should be on a high-quality drill driver that offers the best balance of power, precision, and ergonomic comfort for their specific tasks.
Beyond the Tool: Why Your Choice Matters for Your Entire Kit
Your first major tool purchase is a foundational decision. It often locks you into a specific battery platform. Committing to Milwaukee’s M18 line, for example, means future tool purchases will likely be from the same family to ensure battery compatibility. This makes it critical to think long-term about your needs when making this initial choice, as it’s the first step in building out your best power tool ecosystem.
Choosing a tool that doesn’t fit your primary needs can lead to frustration and the need to invest in a second system later on. It’s about selecting not just a single drill, but the starting point for a versatile and efficient collection of tools.
A Note on Brands: What About Cheaper Alternatives?
While this article focuses on Milwaukee, a brand renowned for its performance and durability, many budget-friendly options exist. When considering these, it’s important to weigh the initial savings against potential long-term costs. While premium brands offer immense value, some users might compare budget options, a topic explored in a Hart vs Hyper Tough analysis. Cheaper tools may have less robust motors, lower-quality chucks, and less advanced battery technology, which can result in shorter lifespans and lower performance on demanding tasks.
Pro Tips for Maximum Performance and Longevity
Regardless of which tool you choose, proper usage is key to getting the best results and ensuring a long service life. Always match the bit to the material. Using a standard wood bit on concrete will destroy the bit instantly. Masonry bits are required for hammer drilling, and they have reinforced carbide tips designed to withstand the percussive impacts.
Let the tool do the work. Applying excessive pressure will not make the drill work faster; in fact, it can cause the motor to overheat and the bit to bind. Maintain steady, consistent pressure and allow the tool’s power and mechanism to perform the cutting or pulverizing action. Regularly clean the tool’s air vents to prevent dust buildup, which can lead to overheating.
The Final Verdict: Don’t Buy the Wrong Tool
The choice between a Milwaukee drill and a hammer drill is not about which is “better,” but which is right for the job. A drill driver offers precision, control, and lightweight ergonomics for working with wood, metal, and plastics. A hammer drill provides the brute, percussive force necessary to conquer concrete, brick, and masonry.
Understanding this fundamental difference is the key to avoiding a costly mistake. By evaluating your specific needs and choosing the tool designed for your most common tasks, you ensure that every project is completed efficiently, effectively, and with the professional results you expect.