Window Gap Nightmares? The Maximum Gap Size You Can’t Ignore
Discovering a sizable gap between your window frame and the wall can be alarming. You might see daylight peeking through, feel a persistent draft, or wonder if your home is secure. This isn’t just a cosmetic issue; it’s a critical flaw that can lead to staggering energy bills, water damage, and even pest infestations.
Many homeowners assume a window should fit perfectly into the wall with no space at all. However, a small, intentional gap is a crucial part of a successful window installation. The real question is: how much is too much?
Understanding the acceptable maximum gap between a window frame and wall is the first step toward protecting your home’s value and comfort. Ignoring an excessive gap can turn a simple fix into a costly, whole-home disaster.
You'll Learn About
Why That Gap Exists in the First Place
Before you panic, it’s important to understand why there’s a gap around your window frame. This space, known as the “rough opening,” is deliberately framed slightly larger than the window unit itself. This isn’t a mistake; it’s a necessity for a proper installation.
This wiggle room allows installers to set the window perfectly level, plumb, and square, using shims to secure it in place. Without this gap, it would be nearly impossible to adjust the window to counteract the imperfections found in virtually every wall framing.
The Three Main Causes of Window Gaps
While a small gap is normal, a large or uneven one often points to a problem. The cause usually falls into one of three categories.
Standard Installation Practice: The most common reason is simply the space left for installation. Professional installers use this gap to insulate and seal the window properly, ensuring it performs efficiently.
House Settling and Shifting: Over years and decades, all houses settle. This movement can cause the framing around windows to shift, either creating new gaps or widening existing ones. This is especially common in older homes.
Poor or Rushed Installation: Unfortunately, not all installations are created equal. An inexperienced or careless installer might create an excessively large rough opening or fail to properly fill and seal the gap, leaving the homeowner with a host of future problems.
The Critical Numbers: How Big is Too Big?
This is the core of the issue for most homeowners. While opinions can vary slightly, industry standards provide a clear guideline for the acceptable gap between the window frame (the jamb) and the wall framing (the jack stud).
Generally, the ideal gap is between 1/4 inch and 1/2 inch on all sides. This provides enough room for shims and insulation without compromising structural stability or making it difficult to seal effectively. A gap smaller than 1/4 inch can make it challenging to level the window and properly insulate it.
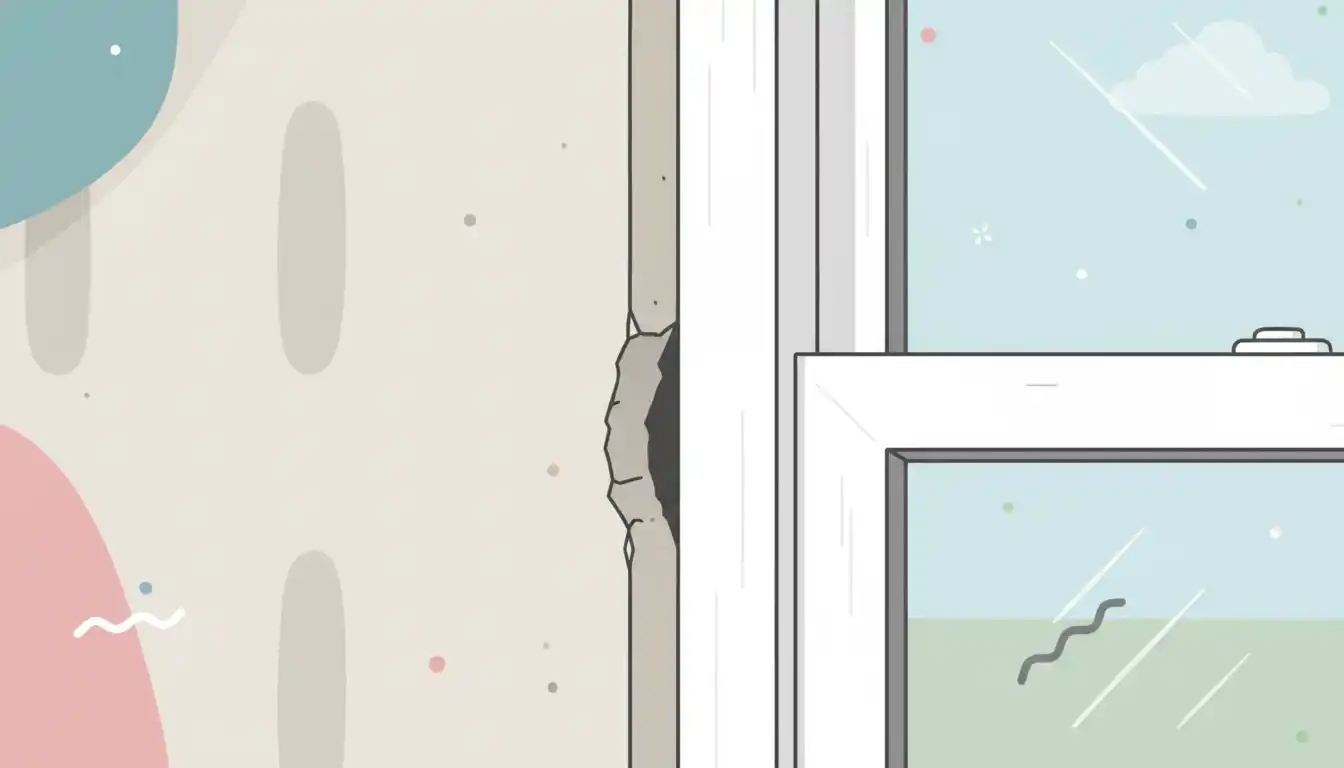
Conversely, a gap that exceeds 3/4 inch to 1 inch should be considered a red flag. A gap this large makes it difficult to secure the window properly and can lead to significant challenges in creating an airtight and watertight seal. It often suggests a mistake was made during the framing or window ordering process.
Your Gap-Filling Game Plan: A Quick Guide
The size of the gap dictates the best method for sealing it. Using the wrong material can be ineffective or, in some cases, even damage your window frame. This table breaks down the best approach for different gap sizes.
| Gap Size | Recommended Solution | Key Considerations |
|---|---|---|
| Under 1/4 Inch | High-Quality Caulk | Ensure the caulk is rated for exterior use and is flexible to accommodate movement. Look for “window and door” sealant. |
| 1/4 Inch to 1/2 Inch | Low-Expansion Spray Foam | Crucially, use low-expansion foam. High-expansion foam can bow the window frame, leading to serious operational issues. |
| Over 1/2 Inch | Backer Rod & Foam/Caulk | First, insert a foam backer rod into the gap to fill the bulk of the space. Then, seal over it with low-expansion foam or caulk. |
| Over 1 Inch | Shims, Trim, & Insulation | This requires a more structural approach. Add wood shims or a solid piece of trim to reduce the gap before insulating and sealing. |
The Hidden Dangers of an Unsealed Window Gap
That seemingly small space around your window frame is a superhighway for problems to enter your home. Ignoring it is one of the most common mistakes a homeowner can make, leading to issues that are far more expensive to fix than the initial sealing job.
From compromised insulation to structural rot, the consequences are severe. Addressing the gap is not just about comfort; it’s about protecting your entire home’s integrity.
Skyrocketing Energy Bills
The most immediate impact of an unsealed gap is massive energy loss. Air leakage around windows can account for up to 30% of a home’s heating and cooling energy costs. That gap essentially leaves a window open all year round.
During winter, warm air escapes, and cold drafts pour in, forcing your furnace to work overtime. In the summer, hot, humid air infiltrates your home, making your air conditioner struggle to keep up. Sealing these gaps is one of the fastest ways to lower your utility bills.
The Threat of Water Damage and Mold
An unsealed exterior gap is a direct entry point for rain and moisture. Water can seep into your wall cavity, saturating insulation and soaking the wooden frame. This creates the perfect breeding ground for mold and mildew, which can pose serious health risks.
Over time, this moisture will lead to wood rot, compromising the structural integrity of your wall. This can be a particularly nasty problem in kitchens, where a leaky window can damage expensive features; for instance, a poorly sealed frame can compromise a beautiful quartz backsplash around a window, causing stains or delamination.
An Open Invitation for Pests
Insects and rodents need only a tiny opening to invade your home. A gap around a window frame is an easy and attractive entry point for ants, spiders, wasps, and even mice.
Once inside the wall void, they can multiply and spread throughout your house, creating a much larger and more difficult pest control problem. Sealing these gaps is a critical first line of defense in any pest management strategy.
The Definitive Guide to Fixing Gaps Around Your Windows
Now that you understand the risks, it’s time to take action. Fixing the gap between your window frame and the wall is a manageable DIY project for most homeowners, provided you use the right materials and techniques. Follow these steps for a professional-grade seal that will last for years.
Step 1: Thoroughly Clean and Prepare the Area
You cannot get a proper seal on a dirty surface. Start by removing any old, cracked caulk, loose debris, or peeling paint from the gap area. Use a putty knife or a utility knife to carefully scrape the surfaces clean.
Once the loose debris is gone, use a vacuum with a brush attachment to remove all dust and dirt from inside the gap. Finally, wipe the area down with a damp cloth and allow it to dry completely. A clean, dry surface is essential for proper adhesion of sealants.
Step 2: Choose and Apply the Correct Filler
Refer back to the table to select the right material for your gap size. This is the most critical step. Using the wrong product will result in a failed seal.
For Large Gaps (>1/2 Inch): Gently push a foam backer rod into the gap with a putty knife. It should be snug but not stretched. The backer rod provides a solid surface for the sealant to adhere to and prevents you from wasting caulk or foam by filling an enormous void.
For Medium Gaps (1/4 to 1/2 Inch): Use a can of low-pressure, low-expansion spray foam specifically designed for windows and doors. Insert the nozzle deep into the gap and apply a steady, slow bead. Fill the gap only about 50% full, as the foam will expand to fill the rest. Overfilling can exert immense pressure, potentially warping the window frame and causing serious operational issues, a topic often discussed by homeowners struggling with specific window types, from basic models to those with complex mechanisms like certain Marvin Tilt Pac windows.
For Small Gaps (<1/4 Inch): Apply a continuous bead of high-quality, exterior-grade siliconized acrylic or polyurethane caulk. Hold the caulk gun at a 45-degree angle and push the bead into the joint. Use your finger or a caulk-smoothing tool to press the sealant firmly into the gap for a clean, airtight seal.
Step 3: Trim and Finish for a Professional Look
If you used spray foam, allow it to cure completely according to the manufacturer’s instructions (usually a few hours). Once it’s hard, use a serrated knife or a utility blade to carefully trim the excess foam flush with the window frame and wall.
The foam itself is not UV-stable and must be covered. The final step is to cover the sealed gap with your interior and exterior window trim (casing). This provides the finished aesthetic and acts as a final layer of defense against the elements.
When DIY Isn’t the Answer: Calling a Professional
While sealing minor gaps is a straightforward task, some situations require an expert. If you discover a gap that is consistently larger than an inch, it could indicate a more significant framing or structural issue.
Additionally, if the window is difficult to open or close, or if you see signs of significant water damage like soft wood or discoloration, it’s time to call a professional window contractor. Attempting to fix a major structural problem with caulk or foam will only hide the issue, not solve it.
For those who prefer to research extensively before making a decision, online communities can be a valuable resource. Just be wary of anecdotal advice, as sometimes a forum thread can lead you down the wrong path; our guide on the GardenWeb Windows Forum explores this very topic, showing how to sift through user experiences to find credible information.
Your First Line of Defense for a Healthy Home
The space between your window frame and the wall is one of the most critical joints in your home’s entire building envelope. It’s a key factor in your home’s energy efficiency, weather resistance, and overall health.
By understanding the acceptable gap size and knowing how to properly seal it, you are taking a crucial step in preventative home maintenance. Don’t let a simple gap turn into a costly nightmare. A small investment of time and the right materials will pay for itself many times over in energy savings and peace of mind.