Marble Tile Countertop No Grout: The Secret to a Flawless Look
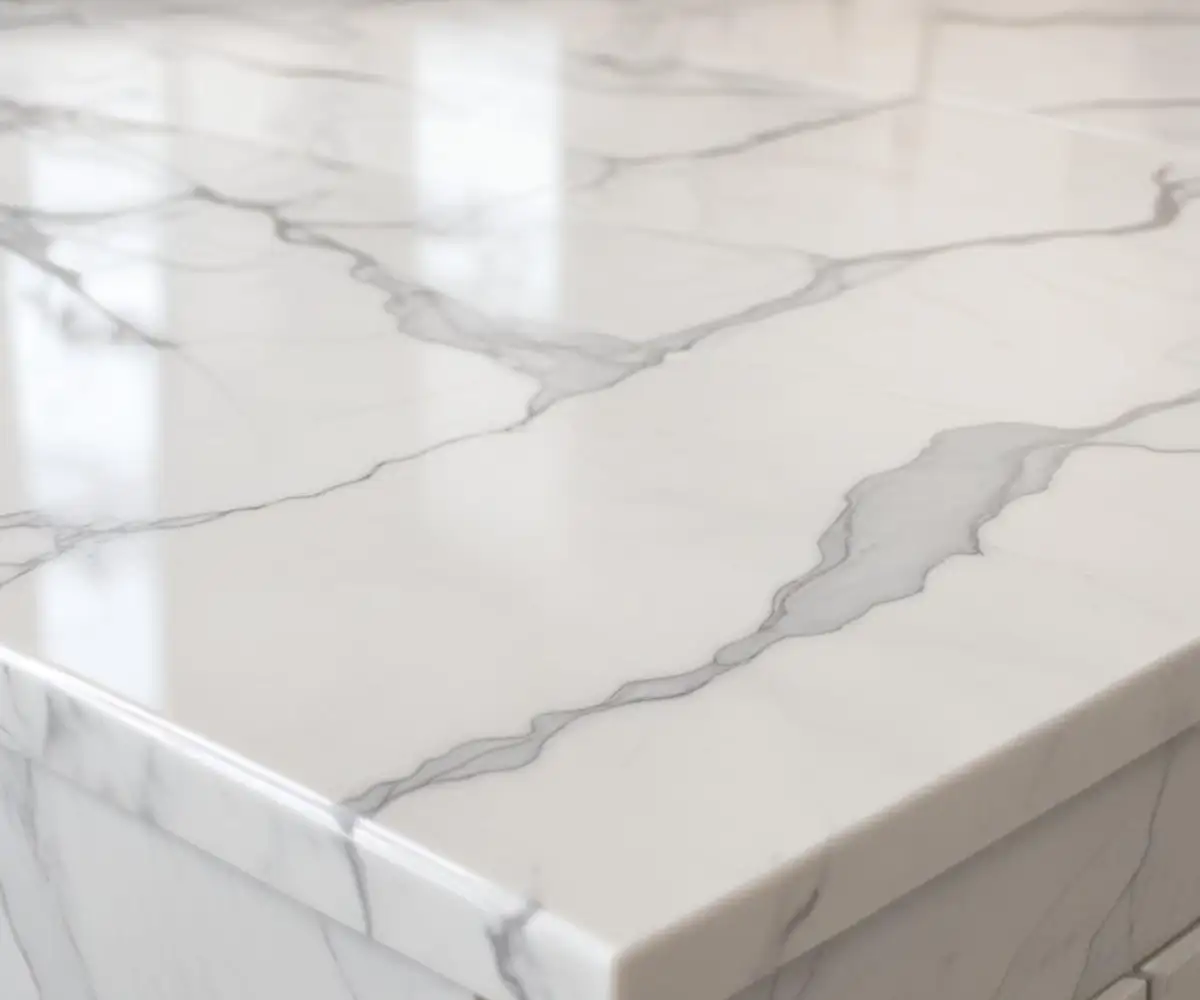
You crave the timeless, luxurious look of a solid marble slab countertop. You picture a seamless, elegant surface gracing your kitchen, free from any distracting lines. But then reality—and the price tag of a single, massive piece of quarried stone—sets in. So, you consider the more budget-friendly option: marble tiles.
The problem? Grout. Those gritty, porous lines are a magnet for coffee spills, wine stains, and grime. They disrupt the beautiful, natural veining of the marble and create a cleaning nightmare. What if you could have the affordability of tile with the seamless, monolithic beauty of a slab? This is the core appeal of a marble tile countertop with no grout, a high-end technique that transforms a standard tile installation into a work of art.
This guide will demystify how to achieve that coveted seamless look, moving beyond traditional methods to deliver a truly flawless finish. We will explore the materials, techniques, and critical steps required to create a durable, hygienic, and stunningly beautiful groutless marble surface.
You'll Learn About
Why Grout is the Enemy of a Perfect Marble Countertop
Before diving into the solution, it’s essential to understand the problem. Traditional cement-based grout, while functional, is the weakest link in any tile installation, especially on a high-traffic surface like a kitchen countertop. It fundamentally undermines the luxury of marble.
The core issues with grout are its porosity and texture. It acts like a tiny sponge, absorbing spills and developing stains that are nearly impossible to remove completely. Over time, it can discolor, crack, and become a breeding ground for bacteria, no matter how diligently you clean it. This not only looks unsightly but also detracts from the clean, elegant aesthetic you chose marble for in the first place.
The “No Grout” Method: It’s All About a Near-Invisible Seam
Achieving a “groutless” appearance doesn’t mean smashing tiles together with no filler at all. That would create a countertop that’s impossible to clean and vulnerable to water damage. The secret lies in using superior materials and precision techniques to make the seam so minimal and smooth that it becomes virtually invisible to the eye and touch.
This is accomplished by combining two key elements: perfectly uniform, rectified tiles and a high-performance epoxy or urethane filler. This combination allows you to set the tiles with a razor-thin 1/16-inch (or even 1/32-inch) gap, which is then filled with a durable, non-porous material that perfectly matches the color of the marble. The result is a continuous, uninterrupted surface.
Step 1: Tile Selection is Non-Negotiable
This technique begins and ends with the quality of your tiles. You absolutely must use rectified marble tiles. A rectified tile has been mechanically finished on all four sides to ensure its dimensions are exact and its corners are perfectly square. This precision is what allows for the ultra-tight spacing required for a seamless look.
Attempting this with non-rectified tiles, which have slight size variations, will result in uneven gaps and a sloppy, unprofessional finish. Choose large-format rectified tiles to further minimize the number of seams and enhance the slab-like appearance.
Step 2: A Rock-Solid and Level Foundation
Even the slightest flex in your countertop will cause micro-cracks in the tight seams, ruining the seamless effect. The substrate must be perfectly level, stable, and rigid. This typically means a minimum of 1.25 inches of plywood, topped with a cement backer board, all securely screwed to the cabinets.
Ensuring the surface is perfectly flat is critical. Use a level to check for any dips or high spots, and use a self-leveling compound if necessary to create a flawless plane before you even think about laying the first tile.
Step 3: Choosing the Right Filler (and Why It’s Not Grout)
Traditional cement grout has no place in a high-end, seamless installation. It’s too porous, too prone to staining, and it will crack in such a narrow joint. The professional choice is a modern epoxy or urethane-based filler. These materials are not just fillers; they are powerful bonding agents.
Epoxy is the gold standard for this application. It cures into a hard, non-porous, plastic-like substance that is completely waterproof and stain-proof. It bonds to the tile edges with incredible strength, adding to the overall rigidity of the countertop. The key is to select an epoxy color that perfectly matches the primary tone of your marble, which helps the seam disappear.
The following table breaks down why choosing the right filler is so critical.
| Feature | Traditional Cement Grout | High-Performance Epoxy Grout |
|---|---|---|
| Stain Resistance | Poor (highly porous) | Excellent (non-porous) |
| Water Absorption | High | Virtually Zero |
| Durability & Strength | Low (prone to cracking) | Very High (adds structural bond) |
| Minimum Joint Size | 1/8 inch | 1/16 inch or less |
| Color Consistency | Can be inconsistent | Perfectly consistent and stable |
| Cost | Low | High |
The Ultimate Finish: Epoxy Flooding and Professional Honing
For those who want a truly monolithic surface, there is a next-level technique that professionals use to create an absolutely flawless countertop from tiles. This method, known as an epoxy flood coat, takes the concept of a seamless finish to its logical conclusion. After the rectified tiles are set with minimal gaps, a custom-color-matched stone epoxy is poured over the entire surface.
This epoxy “flood” fills the minuscule seams and creates a single, unified layer across the whole countertop. Once cured, the entire surface is then mechanically honed down with diamond abrasives. This process of honing polished marble and epoxy together creates a perfectly flat, smooth surface where the transition between tile and seam is completely indistinguishable.
The result is a custom-made, solid-surface countertop with the unique veining of natural marble. It’s incredibly durable, completely non-porous, and offers a level of stain and etch resistance that is superior to even a sealed marble slab. While not a DIY project, it’s the secret to achieving a true high-end look without the expense of a single giant slab.
What About Silicone at the Seams?
It can be tempting to consider using silicone caulk in the tile joints, but this is a mistake. Silicone is a flexible sealant, not a rigid filler designed for horizontal surfaces. It remains soft, attracts dirt, and can be difficult to apply neatly and evenly across a countertop.
The role of silicone is at the perimeter, not between the tiles. You should use a 100% silicone sealant, carefully chosen for its properties, at the joint where the countertop meets the wall or backsplash. To understand more about the crucial differences in formulas, learning about Silicone 1 vs 2 can prevent a costly error in material selection for these critical expansion joints.
The Final, Mandatory Step: Sealing the Entire Surface
Even after creating a near-perfect, non-porous surface with epoxy, remember that the marble itself is still a porous natural stone. The final, non-negotiable step is to apply a high-quality impregnating sealer. This is not a step to cut corners on.
Using a professional marble sealer is essential. These advanced formulas penetrate deep into the stone’s pores, creating an invisible barrier that repels water, oil, and other potential stains. This protective layer is your final line of defense, ensuring your beautiful, seamless countertop stays pristine for years to come.
Is a Groutless Marble Countertop Right for You?
Creating this seamless look requires a higher level of precision and better materials than a standard tile job. It is an excellent choice for a meticulous DIYer who is patient and detail-oriented. The result is a stunning, easy-to-clean surface that rivals the look of a solid slab for a fraction of the cost.
However, if the process seems too daunting, it is wise to hire a professional tiler or stone restoration specialist who has experience with this technique. And for those still in the exploratory phase of a kitchen remodel, looking into all of your options, including clever temporary countertop ideas, can be a great way to manage your project in stages.
Ultimately, a marble tile countertop without grout offers a brilliant solution to an age-old problem. It blends the natural beauty of marble with modern technology to create a surface that is as practical as it is beautiful, proving you don’t need a massive slab to achieve a flawless, high-end look.