Mantis Tiller No Spark? The Ultimate Fix-It Guide Now
There’s nothing more frustrating than pulling the starter cord on your Mantis tiller, ready to tackle the garden, only to be met with silence. When your trusty tiller refuses to start, a lack of spark is one of the most common culprits.
This guide will walk you through a systematic approach to diagnose and fix the “no spark” issue on your Mantis tiller. We will cover everything from the simplest checks to more advanced diagnostics, ensuring you can get back to cultivating your garden quickly and efficiently.
You'll Learn About
Why Your Mantis Tiller Has No Spark: The Core Issues
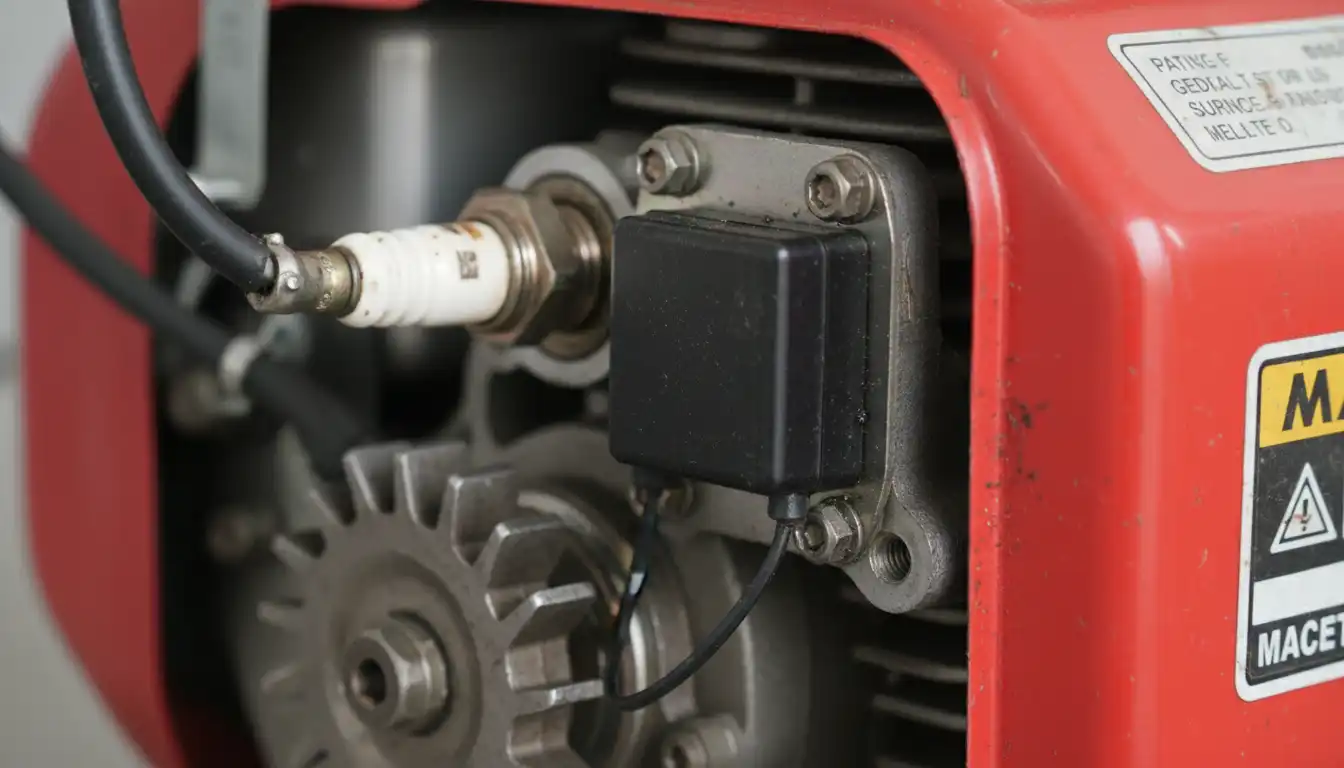
The ignition system on a 2-stroke engine like the one on your Mantis is relatively simple. It consists of a flywheel with magnets, an ignition coil (or magneto), a spark plug wire, and a spark plug. When you pull the starter cord, the flywheel spins, its magnets pass the ignition coil, and a high-voltage electrical pulse is generated and sent to the spark plug, creating the spark that ignites the fuel.
A failure in any part of this chain can result in a no-spark condition. The key is to identify which component is failing without blindly replacing parts. This process saves both time and money.
The First Suspect: A Faulty Spark Plug
The spark plug is the easiest and cheapest component to check, making it the perfect starting point. A plug can fail due to fouling from carbon or oil buildup, physical damage to the electrode, or an incorrect gap.
To inspect it, use a spark plug socket to carefully remove the plug from the engine cylinder. Look for a wet, oily, or black sooty deposit on the tip. A light tan or grey color indicates a healthy engine, but a fouled plug is a clear sign of trouble and will prevent a strong spark.
The Ignition Coil (Magneto): The Heart of the Spark
The ignition coil is the component that transforms the low voltage generated by the flywheel’s magnets into the high voltage needed for a spark. While coils are generally robust, they can fail over time due to heat or internal shorts.
Signs of a failing coil include a weak or intermittent spark, or no spark at all. Testing a coil often requires a specialized ignition tester, but you can perform a basic resistance test with a multimeter if you have the manufacturer’s specifications.
Step-by-Step Guide to Diagnosing Your No-Spark Problem
Now, let’s get hands-on. Follow these steps methodically to pinpoint the exact cause of your tiller’s failure to spark. This structured approach will prevent you from missing a simple fix.
Safety First: Essential Precautions
Before beginning any work, your safety is paramount. Always disconnect the spark plug wire from the spark plug to prevent any chance of the engine accidentally starting. Work in a well-ventilated area on a stable, level surface.
Ensure the tiller is cool to the touch, especially around the engine and exhaust areas. Having the right tools, like a spark plug socket and a feeler gauge, will make the job much safer and easier.
The Easiest Check: The On/Off Switch
It may sound obvious, but the simple on/off switch, or “kill switch,” is a common point of failure. Its job is to ground the ignition coil, stopping the spark and shutting off the engine. If the switch is faulty or the wire is shorted, it can permanently ground the coil, preventing a spark.
To test this, locate the kill switch wire that connects to the ignition coil. Carefully disconnect this wire and then perform a spark test. If you suddenly have a spark, the problem lies within your switch or its wiring.
Performing a Spark Test the Right Way
The definitive way to confirm a no-spark issue is to test for it visually. You can use an inexpensive inline spark tester, which connects between the spark plug and the plug wire and lights up if a spark is present. This is the safest method.
Alternatively, you can carefully remove the spark plug, re-attach it to the spark plug wire, and hold the metal base of the plug firmly against a clean, unpainted metal part of the engine block. Ensure you are holding the insulated boot, not the metal connector. Have a helper pull the starter cord while you watch the plug’s tip for a bright blue spark in a dimly lit area.
Advanced Troubleshooting for a Stubborn Mantis Tiller
If the basic checks don’t reveal the problem, it’s time to dig a little deeper. These advanced steps cover less common but equally critical components of the ignition system that are often overlooked.
The Critical Air Gap: Coil and Flywheel Spacing
For the ignition coil to generate a proper charge, it must be spaced at a precise distance from the flywheel magnets. This is known as the air gap. If the gap is too wide, the magnetic field will be too weak to induce a strong current, resulting in a weak or nonexistent spark.
The correct air gap is typically between 0.010 and 0.014 inches. A common and effective trick is to use a standard business card as a feeler gauge. Loosen the coil’s mounting bolts, slip the card between the coil and the flywheel magnets, let the magnets pull the coil into place, and then re-tighten the bolts.
Has the Flywheel Key Sheared?
The flywheel key is a small, soft metal part that aligns the flywheel in the correct position on the crankshaft. This ensures the magnets pass the coil at the exact right moment for proper ignition timing. If the tiller’s tines hit a rock or root, the sudden stop can shear this key to protect the engine’s more expensive components.
When the key shears, the flywheel can spin out of time, meaning the spark happens at the wrong moment or not at all. You will need to remove the starter housing and the flywheel nut to visually inspect the key and its slot on the crankshaft for any damage.
Checking the Wiring for Damage
Don’t overlook the simple wires. The spark plug wire and the kill switch wire can become frayed, cracked, or damaged from vibration and heat over time. A break in the spark plug wire can prevent voltage from reaching the plug.
A kill switch wire with worn insulation can ground out against the metal frame or handles, constantly preventing a spark. Carefully inspect the entire length of these wires for any visible signs of wear and tear, paying close attention to connection points.
A Quick-Reference Troubleshooting Table
Use this table to quickly diagnose symptoms and find potential solutions. This at-a-glance guide can help you narrow down the possibilities and focus your efforts on the most likely cause.
| Symptom | Possible Cause | Solution |
|---|---|---|
| No spark at all (verified with tester) | Faulty kill switch or shorted wire | Disconnect the kill switch wire from the coil and re-test for spark. |
| No spark at all (verified with tester) | Failed ignition coil | Test the coil with a multimeter or replace it if other tests fail. |
| Weak or intermittent yellow spark | Fouled or bad spark plug | Clean and re-gap the spark plug, or replace it with a new one. |
| Weak or intermittent yellow spark | Incorrect air gap between coil and flywheel | Reset the air gap using a business card as a feeler gauge. |
| Engine kicks back hard when pulling cord | Sheared flywheel key | Remove the flywheel and inspect the key; replace if damaged. |
| Spark is present, but engine won’t start | Fuel or compression issue | Shift diagnosis to the fuel system (carburetor, fuel lines) or check engine compression. |
Prevention is Better Than a Cure: Maintaining Your Tiller’s Ignition
Regular maintenance can prevent most no-spark issues from ever happening. A little care goes a long way in ensuring your Mantis tiller starts reliably every time you need it for your garden tasks.
At the beginning of each gardening season, make it a habit to replace the spark plug. It’s an inexpensive part that is crucial for reliable starting and efficient engine performance. Also, keep the engine’s cooling fins clean to prevent the ignition coil from overheating.
The Hidden Impact of Old Fuel
While not a direct part of the ignition system, old fuel can create symptoms that mimic a no-spark condition. Fuel left over the winter can degrade and leave gummy deposits that completely foul a brand-new spark plug in seconds.
This fouling can be so severe that it shorts the plug, preventing any spark. Always use fresh, properly mixed fuel at the start of the season. If you suspect old fuel is the issue, drain the tank completely and clean the carburetor before installing a new spark plug.
Choosing the Right Tools for the Job
Having the correct tools makes any repair job easier and more successful. For this task, a dedicated spark plug socket, a feeler gauge or business card for the air gap, and an inline spark tester are invaluable.
Just as knowing the difference in construction materials is important for home projects, like asking is 7/16 OSB the same as 1/2 inch, using the right tool for the engine repair is crucial for a successful outcome.
When to Call a Professional
There is no shame in knowing your limits. If you’ve gone through all these steps and are still facing a no-spark issue, or if you’re not comfortable performing some of the more advanced checks like removing the flywheel, it may be time to consult a small engine repair professional.
Knowing when to delegate a task to an expert is a valuable skill, whether it’s fixing a tiller or deciding who do I call to remove a satellite dish from your roof. A professional can quickly diagnose complex issues and prevent you from causing further damage.
Get Your Mantis Tiller Roaring Back to Life
A Mantis tiller with no spark can bring your gardening plans to a halt, but it’s a problem that is often straightforward to fix. By following this diagnostic guide, from checking the spark plug and kill switch to inspecting the air gap and flywheel key, you can methodically uncover the root cause.
With a little patience and the right approach, you can restore that vital spark and get your machine running smoothly again. Then, after a productive day of tilling, you can relax and admire your hard work, perhaps from the comfort of your patio after reading some Enola sectional reviews.