Lubricating Pop Up Sprinkler Heads: Your #1 Fix for a Faulty System
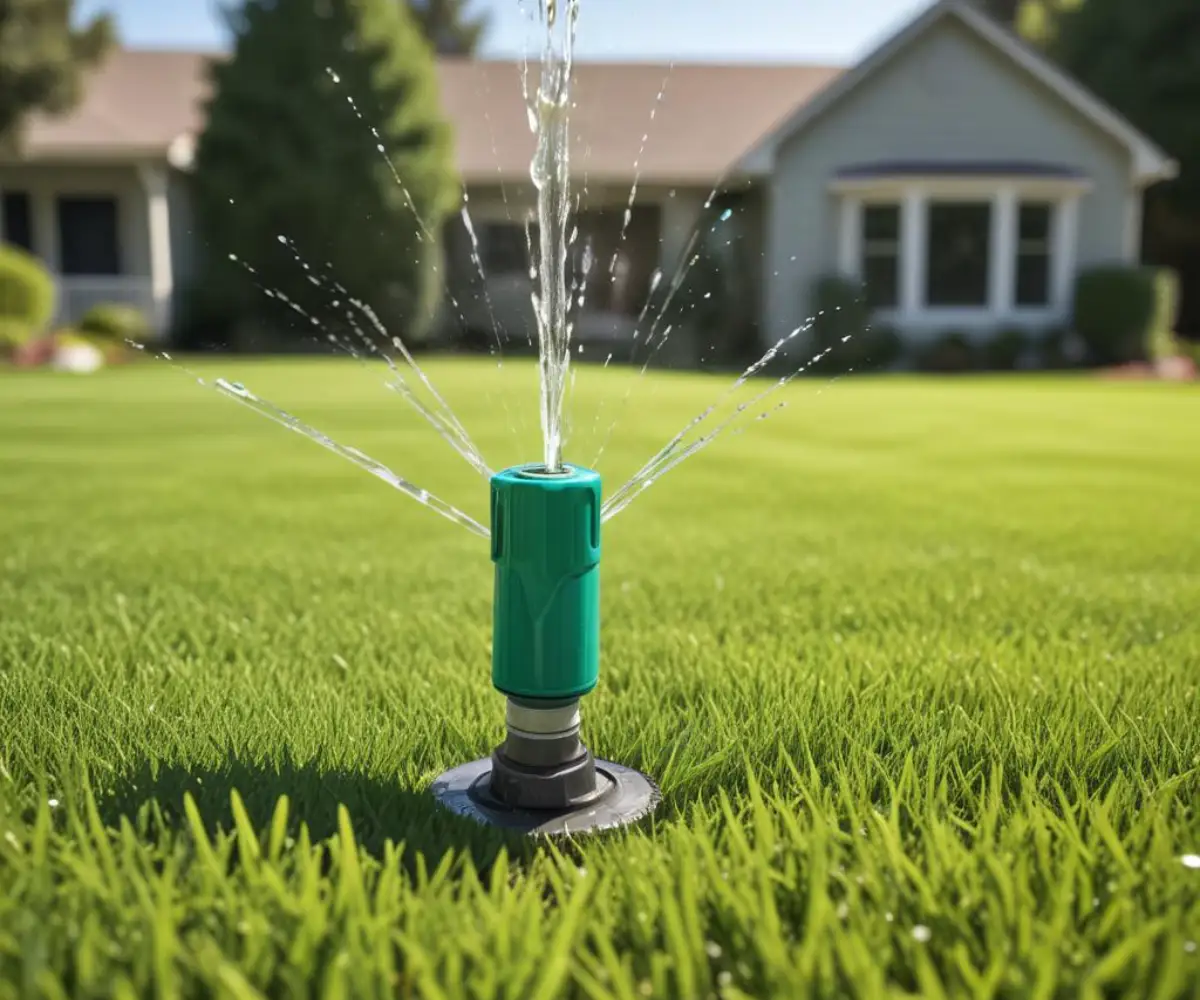
A lush, green lawn is the pride of any homeowner, but that perfection depends on a fully functional irrigation system. When you see dry, brown patches emerge, the culprit is often a pop-up sprinkler head that has failed to do its one job: pop up.
This common frustration leads many to believe they need an expensive replacement or a professional call-out. However, the solution is often surprisingly simple and costs just a few dollars: proper cleaning and lubrication.
You'll Learn About
Why Do Sprinkler Heads Get Stuck? Uncovering the Root Causes
Before you can fix the problem, it’s essential to understand why your pop-up sprinklers are sticking. The issue almost always comes down to friction, caused by external and internal contaminants that grind the system to a halt. Ignoring these signs can lead to permanent damage.
The most common cause is simple debris intrusion. Over time, dirt, sand, mud, and grass clippings get forced down into the gap between the pop-up riser and the stationary body. This grit acts like sandpaper, making it difficult for the riser to move freely.
Another factor is long periods of inactivity, especially over the winter. When the sprinkler system is not used, the seals can dry out and stick to the plastic riser, causing it to seize up when the system is turned back on in the spring.
The Silent Killers of Sprinkler Performance
Beyond the obvious dirt and grime, there are other, less-discussed factors that silently degrade your sprinkler’s performance. Understanding these can help you prevent problems before they start. Hard water is a primary hidden culprit.
If you live in an area with hard water, minerals like calcium and magnesium are constantly flowing through your system. These minerals leave behind scale deposits on the riser shaft, creating a rough, friction-heavy surface that prevents smooth movement. Your soil composition also plays a significant role.
Clay-heavy soils can expand and contract significantly, putting pressure on the sprinkler body and misaligning the internal components. Conversely, very sandy soil allows for more fine grit to wash down into the mechanism, accelerating wear on the critical wiper seal.
The Lubrication Solution: Choosing the Right Product is Crucial
When it comes to lubricating pop up sprinkler heads, the type of product you use is the single most important decision. Using the wrong lubricant will not only fail to solve the problem but will actively make it worse over time, leading to costly replacements.
You must never use petroleum-based lubricants on your sprinklers. This includes common household products like WD-40, grease, or any kind of oil. These substances are sticky and act like a magnet for dirt, sand, and dust, creating a thick, gummy sludge that will completely jam the riser. Furthermore, petroleum distillates will degrade the plastic and rubber o-rings and wiper seals, causing them to become brittle and crack.
The only correct choice is a 100% silicone-based lubricant. Silicone spray is ideal because it is waterproof, temperature-resistant, and dries to a non-sticky film. It lubricates the plastic and rubber parts without attracting grit or causing the seals to deteriorate, ensuring long-lasting, smooth operation.
A Step-by-Step Guide to Lubricating Your Pop Up Sprinkler Heads
This simple maintenance task can be completed in just a few minutes per sprinkler head and requires no special skills. Following these steps will restore your sprinklers to optimal performance and extend their lifespan significantly.
Step 1: Safety and Preparation
Before starting, turn off the water supply to your irrigation system at the main valve or controller. Gather your tools: a can of silicone spray (preferably with a thin straw applicator), a small trowel or shovel, a clean cloth, and a bucket of water.
Step 2: Expose the Sprinkler Head
Use your trowel to carefully dig away the turf and soil from around the sprinkler head you intend to service. You need clear access to the top of the unit and the area where the riser emerges.
Step 3: Clean the Exterior
Wipe down the top of the sprinkler head and the surrounding area with your cloth. The goal is to prevent any more dirt from falling into the mechanism while you are working on it.
Step 4: Manually Extend the Riser
Grasp the top of the nozzle and gently but firmly pull the pop-up riser all the way out of the sprinkler body. If it is very stiff, you may need to twist it slightly as you pull.
Step 5: Thoroughly Clean the Riser and Wiper Seal
This is the most critical step for a successful repair. Dip your cloth in water and meticulously wipe down the entire extended riser shaft, removing all dirt, grit, and mineral buildup. Pay special attention to the black rubber or plastic wiper seal at the base of the riser, as this is where debris gets trapped.
Step 6: Apply the Silicone Lubricant
With the riser clean and dry, take your can of silicone spray. Attach the applicator straw and apply a light, even coat of lubricant directly onto the entire surface of the riser shaft.
Step 7: Work the Lubricant In
Manually push the riser up and down inside the sprinkler body 5 to 10 times. This action distributes the lubricant evenly across the shaft and onto the internal seals, ensuring smooth movement. You should immediately feel a significant decrease in resistance.
Step 8: Test the System
Turn the water supply back on and activate that specific sprinkler zone. Watch the head to ensure it now pops up crisply and retracts fully when the cycle is complete. If it functions correctly, your job is done.
Step 9: Backfill and Tidy Up
Once you have confirmed the repair is successful, carefully push the excavated soil and turf back into place around the sprinkler head. Ensuring a proper foundation prevents the sprinkler from tilting over time, which can affect coverage.
Beyond Lubrication: A Proactive Sprinkler Maintenance Checklist
Lubrication is a powerful tool, but it’s part of a larger maintenance routine. Adopting a few simple habits will keep your entire irrigation system healthy and prevent future issues from developing, saving you time and money.
Periodically walk your property and clear away any grass, mulch, or soil that has built up around the sprinkler heads. This simple act prevents debris from being forced into the seals during operation. It’s also wise to watch your system run in its entirety at least once a month to spot problems like clogged nozzles, misaligned spray patterns, or heads that fail to pop up.
Much like a hidden issue in your home’s heating system, where troubleshooting bleeding radiators no hissing sounds can point to a pressure problem, observing your sprinklers can reveal underlying issues with water pressure or blockages in the lines. Early detection is key to avoiding bigger problems.
Advanced Troubleshooting for Persistent Problems
Sometimes, lubrication alone isn’t enough to solve a stubborn problem. If a sprinkler head continues to malfunction after a thorough cleaning and lubrication, it may indicate a more significant issue with the unit itself or the water line.
The table below outlines common problems that go beyond simple friction and provides the most likely causes and solutions. Addressing these issues often requires replacing a part or the entire sprinkler body.
| Problem | Likely Cause | Solution |
|---|---|---|
| Head still sticks after lubrication. | The wiper seal is worn out, damaged, or the internal spring is broken. | Disassemble the sprinkler head and replace the seal. If the spring is broken, you must replace the entire sprinkler body. |
| Head pops up but will not retract. | Debris is trapped inside the body, preventing the riser from seating fully. | Unscrew the cap, pull out the entire riser assembly, and flush the inside of the body with water to clear any trapped sand or pebbles. |
| Water leaks from the base when running. | The wiper seal has failed completely or the sprinkler body is cracked. | First, try replacing the seal. If leaking persists, the sprinkler body is likely cracked and must be replaced. |
| Sprinkler head doesn’t pop up at all. | The nozzle is completely clogged, or the head is not receiving water pressure. | Unscrew the nozzle and clean its filter screen. If it’s still not working, check the line for a blockage or leak before replacing the head. |
The process of digging up and replacing a sprinkler head should be done with care to ensure the lawn looks undisturbed afterward. The goal is a seamless repair, not unlike home improvement projects where you want to avoid issues like seeing drywall tape showing through mud after a patch job.
Frequently Asked Questions (FAQs)
Homeowners often have similar questions about this important maintenance task. Here are clear answers to some of the most common inquiries regarding sprinkler head lubrication.
How often should I lubricate my sprinkler heads?
As a preventative measure, it’s a good practice to clean and lubricate your sprinkler heads once per year, typically in the spring when you first de-winterize your system. You should also perform this maintenance any time you notice a head is sticking or not retracting properly.
Can I use Vaseline on my sprinkler heads?
No, you should never use Vaseline or any other petroleum jelly. It is a thick, sticky substance that will immediately attract and hold onto dirt, creating a grinding paste that will quickly ruin the sprinkler’s seals and jam the mechanism completely.
What’s the difference between a stuck head and a broken head?
A stuck head is a mechanical issue caused by friction, which can almost always be resolved with cleaning and silicone lubrication. A broken head has a physically damaged component, such as a cracked plastic body, a failed internal spring, or a completely destroyed seal, and will require replacement.
Can lubricating a sprinkler head improve water pressure?
No, lubrication will not affect water pressure. Lubrication solves the mechanical problem of the riser moving within the body. Low water pressure is an entirely separate hydraulic issue, likely caused by a leak in the line, a partially closed valve, or too many heads on one zone.
The Final Word on Sprinkler Maintenance
A stuttering, sticking sprinkler system is a common headache but rarely a catastrophic failure. In the vast majority of cases, it’s simply a sign that your system needs a little attention.
By taking a few minutes each year to perform a thorough cleaning and apply the correct silicone-based lubricant, you can ensure flawless operation. This simple act of proactive maintenance will protect your investment, save water, and keep your lawn looking its absolute best.