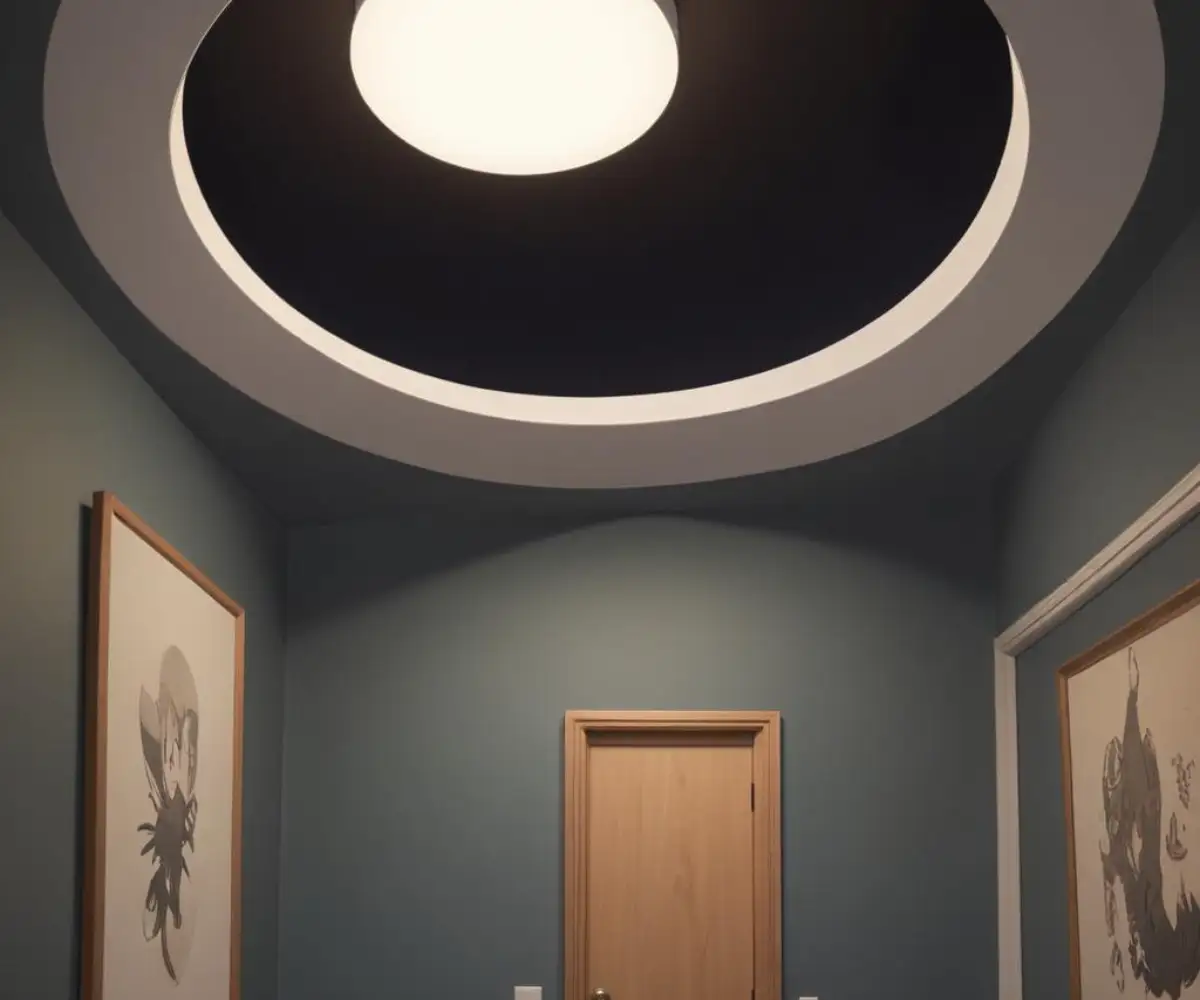
Light Fixture Not Flush With Ceiling? Here’s the Easy Fix!
You’ve installed a beautiful new light fixture, stepped back to admire your work, and then you see it: a frustrating, unsightly gap between the light’s canopy and the ceiling. It’s a common problem that can make an otherwise perfect installation look sloppy and unfinished. That gap isn’t just a cosmetic issue; it can also expose wiring and the electrical box, which isn’t ideal.
Fortunately, you don’t have to live with it. Most causes for a light fixture not sitting flush are surprisingly easy to fix yourself. This guide will walk you through identifying the root cause of the problem and provide clear, step-by-step solutions to get your fixture perfectly snug against the ceiling.
You'll Learn About
Why Is My Light Fixture Gapping? Uncovering the Common Causes
Before you can fix the problem, you need to understand what’s causing it. That annoying gap is almost always the result of one of a few common issues hiding behind the fixture. Taking a moment to diagnose the specific cause will save you time and ensure you apply the right fix.
The Electrical Box Is Protruding
One of the most frequent culprits is an electrical box (also called a junction box) that isn’t sitting flush with the drywall. If the box sticks out even a fraction of an inch, it will prevent the light fixture’s canopy from making full contact with the ceiling. This often happens in older homes or during renovations when new layers of drywall are added without adjusting the box depth.
You might be able to simply tighten the screws holding the box to the joist to pull it up. In other cases, the box may need to be replaced with a shallower “pancake” box or adjusted on its mounting bracket.
An Uneven or Textured Ceiling Surface
Ceilings are rarely perfectly flat. Years of paint, settling of the house, or heavy texturing (like popcorn ceilings) can create an irregular surface. When you try to mount a flat fixture canopy against it, high spots prevent it from sitting evenly, creating gaps in the low spots.
This is especially true for plaster ceilings, which can have subtle waves, or when dealing with unique materials. Successfully finding a solution often involves a bit of creativity, which is also true when figuring out how to mount a light on uneven stone surfaces, where the principles of accommodating irregularity are similar.
The Mounting Bracket Is Bent or Installed Incorrectly
The mounting bracket, or crossbar, is the metal strap that attaches to the electrical box and holds the weight of your light fixture. If this bracket is bent, warped, or installed upside down, it can hold the fixture away from the ceiling. Overtightening the fixture’s mounting screws can sometimes cause the bracket to flex and bow downwards.
It’s also possible the screws holding the bracket to the junction box are too long or aren’t tightened correctly, causing the whole assembly to be unstable. A loose fixture is often a sign of an issue with the bracket or its connection to the box.
Wiring Is Obstructing the Canopy
Sometimes, the simplest explanation is the right one. A bundle of bulky wires and wire nuts crammed into the electrical box can physically block the fixture’s canopy from getting close enough to the ceiling. If there isn’t enough space in the box, the excess wiring gets pinched between the canopy and the ceiling or mounting bracket, creating a gap.
Carefully organizing and tucking the wires as far back into the box as possible is crucial for a flush fit. Pushing them to the sides, away from the center mounting screws, can often solve the problem instantly.
Safety First: Prepping for the Fix
Before you touch a single wire or screw, your absolute first step is to ensure your safety. Always turn off the power to the light fixture at the circuit breaker or fuse box. Use a voltage tester at the fixture to confirm there is no live current before proceeding. Having the right tools on hand will also make the job go much smoother.
| Tool/Material | Purpose |
|---|---|
| Voltage Tester | To confirm the power is off before starting work. |
| Screwdriver Set | For removing the fixture and adjusting mounting screws. |
| Pliers | For handling wires and tightening nuts. |
| Ladder or Step Stool | To safely and comfortably reach the ceiling fixture. |
| Utility Knife | For cutting away excess drywall or old paint/caulk. |
| Paintable Caulk | An easy solution for filling small, stubborn gaps. |
| Ceiling Medallion | A decorative piece used to cover larger gaps or holes. |
Step-by-Step Solutions to Close the Gap for Good
With the power off and your tools ready, it’s time to solve the problem. Start by carefully removing your light fixture to get a clear look at the ceiling, electrical box, and mounting bracket. Once you’ve identified the cause from the list above, follow the corresponding solution below.
Solution 1: Fixing a Protruding Electrical Box
If the electrical box itself is the problem, you have a couple of options. First, check if the screws holding it to the ceiling joist can be tightened. Sometimes this is enough to pull the box upward and make it flush with the drywall.
If tightening doesn’t work, you may need to replace the box. For this, you might have to carefully cut a slightly larger hole, remove the old box, and install a new “old work” or “remodel” box designed to be installed from below. For very tight spaces, a shallow “pancake” box might be the best choice, but ensure it has enough capacity for your wiring.
Solution 2: Dealing with an Uneven Ceiling
For small gaps caused by an uneven ceiling, the simplest fix is often a thin bead of paintable acrylic caulk. Apply the caulk neatly into the gap, smooth it with a damp finger, and once dry, paint it to match your ceiling. This will create a seamless look and hide minor imperfections.
For larger, more significant gaps or holes, a ceiling medallion is a fantastic solution. These decorative elements are installed between the fixture and the ceiling, easily covering any gaps or damaged drywall. They come in many styles and sizes, adding a touch of elegance while solving the problem.
Solution 3: Adjusting or Replacing the Mounting Bracket
Carefully inspect the mounting bracket. If it’s bent, try to gently straighten it with pliers. Ensure it’s installed correctly according to the fixture’s instructions—some are designed to have the center section recessed towards the box.
If the bracket seems flimsy or is permanently warped, it’s best to replace it. Hardware stores sell universal crossbars that fit most standard electrical boxes. When reinstalling, make sure the screws are snug but not so tight that they cause the bracket to bend.
Solution 4: Managing Excess Wiring
This is often the easiest fix of all. Disconnect the fixture and carefully rearrange the wires inside the electrical box. Neatly fold them in an accordion style and push them to the sides and back of the box, away from the path of the mounting screws.
This ensures the central area is clear for the fixture’s mounting hardware. When you reattach the fixture, its canopy should now have enough clearance to sit flush against the ceiling. This concept of accessing and managing internal components is also key if you ever need to figure out how to remove a ceiling fan canopy without screws, as both tasks require careful manipulation of the fixture’s housing.
Solution 5: Using a “Goof” Ring or Spacer
If the hole in the ceiling is cut too large for the fixture’s canopy to cover, a “goof ring” can be a lifesaver. These are thin, white rings of varying diameters that sit behind the fixture canopy to cover oversized holes or damaged drywall edges.
They are simple to install and can be painted to match your ceiling for a clean, professional finish. It provides a wider base for your light fixture, ensuring no part of the junction box or messy drywall is visible.
When to Call a Professional Electrician
Most of the fixes described here are well within the capabilities of a confident DIYer. However, you should always call a licensed electrician if you encounter issues beyond your comfort level. This includes situations involving old or frayed wiring, a junction box that is completely loose and unsecured, or if you need to run new wiring.
Electrical work can be dangerous if not done correctly, and a professional can ensure the job is done safely and up to code. While tasks like figuring out how to remove emergency light cover units might be straightforward, anything involving the home’s main wiring is best left to an expert.
Enjoying Your Flawlessly Installed Fixture
A light fixture that isn’t flush with the ceiling is an annoying detail that can spoil the look of a room. But with a little investigation and the right technique, it’s a problem you can easily solve. By addressing the root cause—be it a protruding box, a warped bracket, or a textured ceiling—you can achieve that clean, professional finish.
So next time you see that gap, don’t ignore it. Take an hour to diagnose and fix the issue. You’ll be rewarded with a secure, beautifully installed light fixture that looks exactly as it should: perfectly flush against the ceiling.