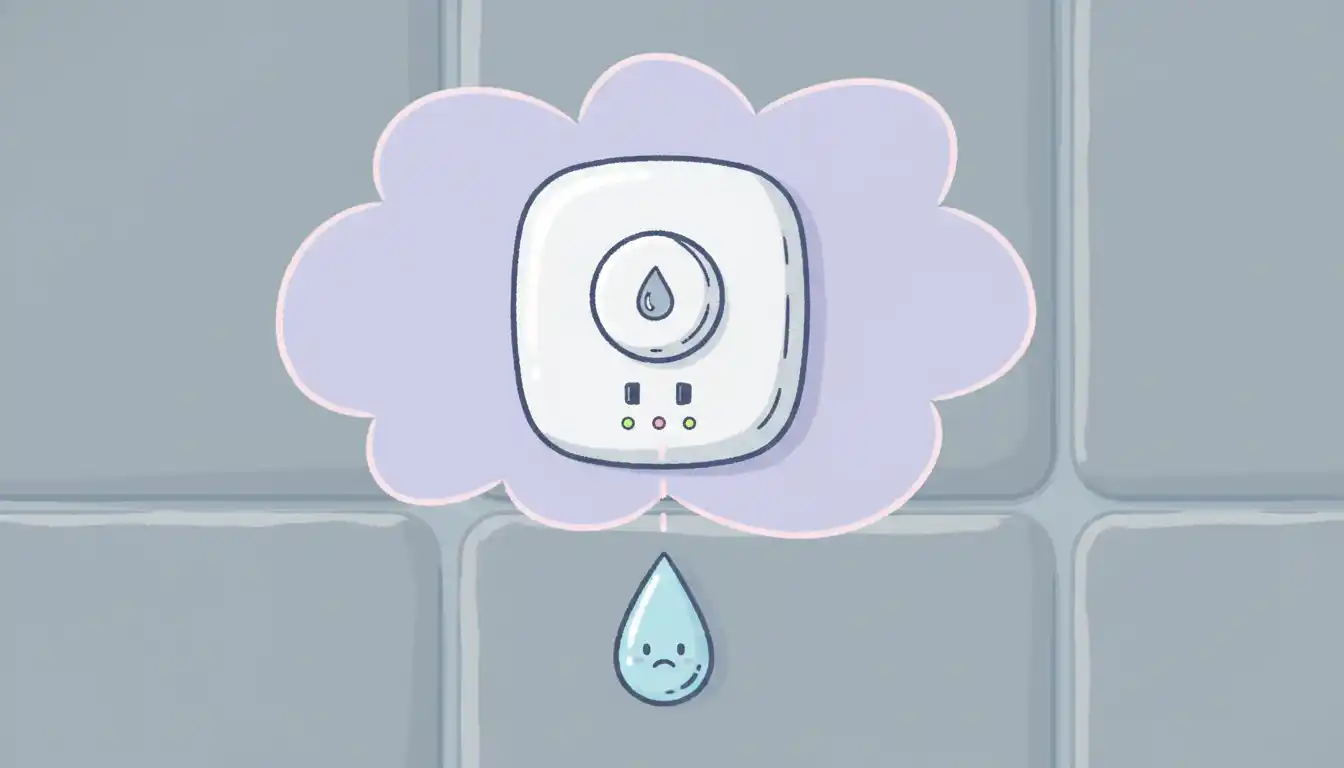
Leviton Humidity Sensor Not Turning On? Ultimate Fix Guide
A Leviton humidity sensor is a fantastic tool for automating bathroom ventilation and preventing mold growth. But it’s incredibly frustrating when the device fails to turn on, leaving your space damp and defeating its purpose. This guide provides a definitive walkthrough to diagnose and resolve the issue.
Many factors can prevent your sensor from activating, ranging from simple power supply problems to incorrect settings or wiring. By methodically working through these potential causes, you can get your automated fan working correctly and protect your home from moisture damage.
You'll Learn About
Understanding Why Your Leviton Sensor Isn’t Working
Before diving into solutions, it’s crucial to understand the common reasons a Leviton humidity sensor fails to activate. Often, the issue is simpler than a defective unit. The problem typically falls into one of four categories: power, wiring, settings, or the sensor itself.
No Power: The Most Common Culprit
The most frequent reason any electrical device fails to work is a lack of power. This can happen if a circuit breaker has tripped or if there’s a loose wire connection at the switch. Always start your troubleshooting by confirming the sensor is receiving electricity.
A tripped breaker cuts off the flow of power to the entire circuit. It’s a safety feature that can be triggered by overloads but sometimes trips for no apparent reason. Verifying the breaker is the quickest and easiest first step.
Incorrect Wiring: A Silent Saboteur
Modern humidity sensors are more complex than simple light switches and require specific wiring to function. A missing or improperly connected neutral wire is a primary cause of failure. These sensors need a constant power supply to operate their internal electronics, which the neutral wire provides.
Even if the manual mode on the switch works, the automatic sensor function may fail without correct wiring. Swapping the “line” and “load” wires can also cause issues, though some Leviton models are designed to be interchangeable to prevent this.
Faulty Settings and Calibration
Your Leviton sensor may be working perfectly but is simply configured in a way that prevents it from turning on. If the humidity threshold is set too high, the fan will never activate in a less humid environment. Likewise, if the sensitivity is set too low, it may not detect the rapid rise in humidity from a shower.
These devices have adjustable dials for humidity level, sensitivity, and timer duration that can be customized. It’s essential to understand what each setting does and configure it for your specific bathroom environment.
The Sensor Itself: Is It Blocked or Defective?
The small vents on the humidity sensor are where it samples the air. If these vents become clogged with dust, drywall particles, or paint, the sensor cannot accurately measure the room’s humidity. This physical obstruction can prevent the device from ever triggering the fan.
While less common, it’s also possible for the internal components of the sensor to fail. If you’ve exhausted all other troubleshooting steps, you may be dealing with a defective unit that needs replacement.
Step-by-Step Troubleshooting Guide to Fix Your Sensor
Follow these steps in order to diagnose and fix your Leviton humidity sensor. This process starts with the simplest and safest checks before moving to more complex electrical work.
Step 1: Essential Safety Precautions
Before you touch any wires, you must turn off the power at the circuit breaker. This is a critical safety step to prevent fire, shock, or death. After switching the breaker off, use a non-contact voltage tester at the switch box to confirm the power is completely disconnected.
Having the right tools, like insulated screwdrivers and a reliable voltage tester, is essential for working with electrical wiring safely. If you are ever unsure or uncomfortable, it is always best to consult a licensed electrician.
Step 2: The Power Check-Up
First, locate your home’s electrical panel and find the breaker that controls the bathroom fan. Ensure the breaker is firmly in the “ON” position. If it has tripped to the middle or “OFF” position, reset it by pushing it fully to “OFF” and then back to “ON.”
After confirming the breaker is on, return to the switch. Many Leviton models have an LED indicator light. If this light is off, it’s a strong sign that the switch is not receiving power, pointing back to the breaker or a wiring issue.
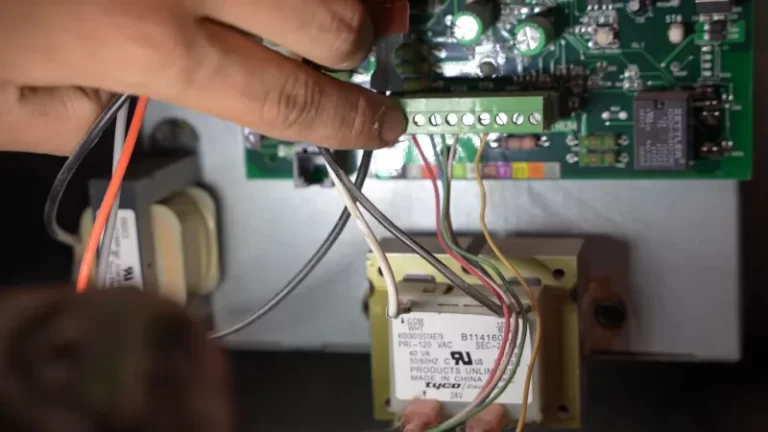
Step 3: Demystifying the Wiring
With the power confirmed off, carefully remove the switch’s wall plate and unscrew the sensor from the wall box. Gently pull it out to inspect the wires. Take a picture with your phone before disconnecting anything to have a reference.
Most modern homes will have several wires in the box. Understanding their function is key to correct installation. The table below outlines the purpose of each common wire.
| Wire Name | Common Colors | Function |
|---|---|---|
| Line (Hot) | Black or Red | Brings power from the breaker to the switch. |
| Load | Black or Red | Carries power from the switch to the fan/light. |
| Neutral | White | Completes the circuit, allowing the sensor’s electronics to be powered. |
| Ground | Green or Bare Copper | A safety wire that protects against electrical faults. |
Ensure all connections are secure. A loose wire nut can easily interrupt the flow of power. Most importantly, verify that the neutral wire from the sensor is connected to the bundle of white neutral wires in the back of the box. If no neutral wire is present, some Leviton models can use the ground wire instead, but this must be done according to the instructions.
Step 4: Mastering the Controls and Settings
If the wiring is correct and the unit has power, the next step is to check the settings. Carefully pry off the faceplate of the sensor to reveal the adjustment dials. There are typically three main adjustments: humidity level, sensitivity, and timer.
To test the sensor, turn the humidity setting to its lowest percentage (e.g., 20%) and the sensitivity to its highest level. This makes the sensor most likely to activate. You can also enter a dedicated “Test Mode” on some models by holding the top button for five seconds until a red light blinks. Blowing humid air into the sensor should then trigger the fan for a few seconds.
Step 5: Cleaning and Maintenance
With the power still off, inspect the sensor vents for any blockages. Use a can of compressed air or a soft, dry brush to gently clean away any dust or debris. Never spray liquid cleaners directly onto the device, as this can damage the internal electronics.
Proper airflow is essential for the sensor to detect changes in humidity accurately. Regular cleaning can prevent performance issues and is a good proactive maintenance step.
Advanced Solutions and When to Call a Pro
If the basic troubleshooting steps don’t solve the problem, it’s time to consider more advanced solutions. These steps can help identify a faulty unit or a more complex installation issue.
Performing a Power Cycle Reset
Electronic devices can sometimes enter a frozen or error state. A simple but effective solution is to perform a hard reset by cycling the power. Go to your breaker panel and turn the circuit off, wait for 30 seconds, and then turn it back on.
This process can resolve temporary glitches within the sensor’s microprocessor without affecting your saved settings. Some users report that this resolves issues of the fan not turning on or, conversely, running constantly.
The Critical Neutral Wire Nuance
The lack of a neutral wire in older homes is a persistent challenge for modern smart switches. While some Leviton sensors are designed to function without a dedicated neutral wire by using the ground, this is not always ideal. An electrical circuit requires a complete loop, and the sensor’s electronics need a path to return current.
Without a true neutral, the device may try to leak a tiny amount of current through the ground wire to power itself. This can sometimes be insufficient for stable operation of the sensitive humidity-detecting components, even if the manual button works. This is a subtle but critical point; the manual switch is a simple mechanical connection, but the automatic sensor needs stable power for its digital brain. When considering different product lines, it’s helpful to know if Leviton is a good brand known for accommodating various wiring situations.
Recognizing a Defective Unit
If you have confirmed there is power, the wiring is correct, the settings are properly configured, and a reset did not help, you may have a faulty sensor. Signs of a defective unit include a complete lack of response on both manual and automatic modes or an LED indicator that does not light up despite having power.
At this point, the most practical solution is to replace the unit. Check the warranty information that came with your product, as it may be covered by Leviton for a replacement.
Why Professional Installation Matters
Electrical work carries inherent risks. If you are not completely confident in your ability to safely identify wires, test for voltage, and make secure connections, it is always best to hire a licensed electrician.
A professional can quickly diagnose complex wiring issues, ensure the installation is up to code, and guarantee the device functions safely and effectively. The cost of hiring an expert is a small price to pay for peace of mind and safety.
Proactive Measures: Preventing Future Sensor Failures
Once your sensor is working, a few simple habits can help prevent future problems. Regular maintenance and a proper understanding of your home’s environment are key to long-term, trouble-free operation.
Implement a Regular Cleaning Schedule
Make it a habit to gently clean the sensor’s vents every few months. Dust and grime can slowly accumulate, degrading the sensor’s performance over time. A quick burst of compressed air is all that is needed to keep it clear.
This simple step is especially important in bathrooms where dust can mix with moisture and stick to surfaces more readily.
Understand and Adjust for Your Home’s Humidity
Ambient humidity levels change with the seasons. A setting that works perfectly in the dry winter months may cause the fan to run constantly during a humid summer.
Be prepared to make small adjustments to the humidity and sensitivity settings as the seasons change. This will prevent the fan from running unnecessarily, saving energy and reducing noise.
Conclusion: Restoring Automatic Bathroom Ventilation
A non-functioning Leviton humidity sensor is a solvable problem. By systematically checking the power supply, verifying the wiring, adjusting the settings, and cleaning the unit, you can address the most common causes of failure. Remember to always prioritize safety by turning off the power before beginning any work.
With a little patience and a methodical approach, you can restore your sensor’s automatic functionality, ensuring your bathroom remains properly ventilated, comfortable, and free from mold and mildew.