LED Lights on Snowblower: The Ultimate Upgrade You Can’t Ignore
Clearing heavy snow is a tough job, but doing it in the dark or during a heavy storm is a recipe for disaster. Relying on the dim, yellow glow of a factory-installed halogen light is like trying to navigate a blizzard with a candle. It’s an unnecessary risk that can lead to property damage, incomplete work, and even personal injury.
The standard lights on most snowblowers are simply not designed for the harsh realities of winter. They offer poor visibility, are susceptible to failure from intense vibrations, and cast a weak beam that gets lost in falling snow. This forces many to either wait for daylight, losing valuable time, or push through the darkness, hoping they don’t hit a hidden curb, a child’s toy, or something far worse.
You'll Learn About
Why Your Snowblower’s Factory Light is Dangerously Inadequate
The core problem lies in outdated technology. Most manufacturers still equip their machines with halogen bulbs, a technology that has been far surpassed. These bulbs are a significant weak point in an otherwise powerful machine, creating unnecessary challenges for the operator.
This isn’t just an inconvenience; it’s a critical safety issue. Upgrading your lighting is one of the most impactful and straightforward improvements you can make to your snowblower, transforming it into a machine that’s ready to tackle snow at any time of day or night.
The Hidden Dangers of Poor Visibility
Operating a powerful machine like a snowblower requires a clear view of your surroundings. A weak factory light fails to illuminate obstacles hidden just beneath the snow’s surface. Hitting a frozen garden hose, a large rock, or the edge of a curb can cause serious damage to your snowblower’s auger or gearbox, leading to expensive repairs.
Beyond property damage, poor visibility puts your personal safety at risk. Tripping over an unseen object while managing a running snowblower can have severe consequences. A brighter, wider field of vision is essential for safe operation, allowing you to identify and avoid hazards before they become a problem.
Halogen vs. LED: A Night and Day Difference
Halogen bulbs produce light by heating a fragile tungsten filament, which is highly susceptible to breaking under the constant, heavy vibrations of a snowblower engine. They also waste a significant amount of energy as heat, drawing more power from your engine’s small alternator. This results in a dim, yellowish light that provides poor contrast against white snow.
LEDs (Light Emitting Diodes), on the other hand, are solid-state devices with no delicate filaments to break. They are inherently vibration-resistant and extremely energy-efficient, producing a brilliant, white light that uses a fraction of the power. This efficiency means less strain on your engine and a much brighter, more reliable light source that cuts through falling snow with ease.
Unlocking Nighttime Dominance: Key Benefits of an LED Upgrade
Making the switch to LED lighting does more than just brighten your path; it fundamentally improves the performance, safety, and durability of your snowblower. It’s an investment that pays dividends every time you clear your driveway in low-light conditions.
The benefits are immediate and obvious from the moment you power on your new light. You’ll work faster, more safely, and with greater confidence, no matter the weather.
Superior Brightness and Coverage
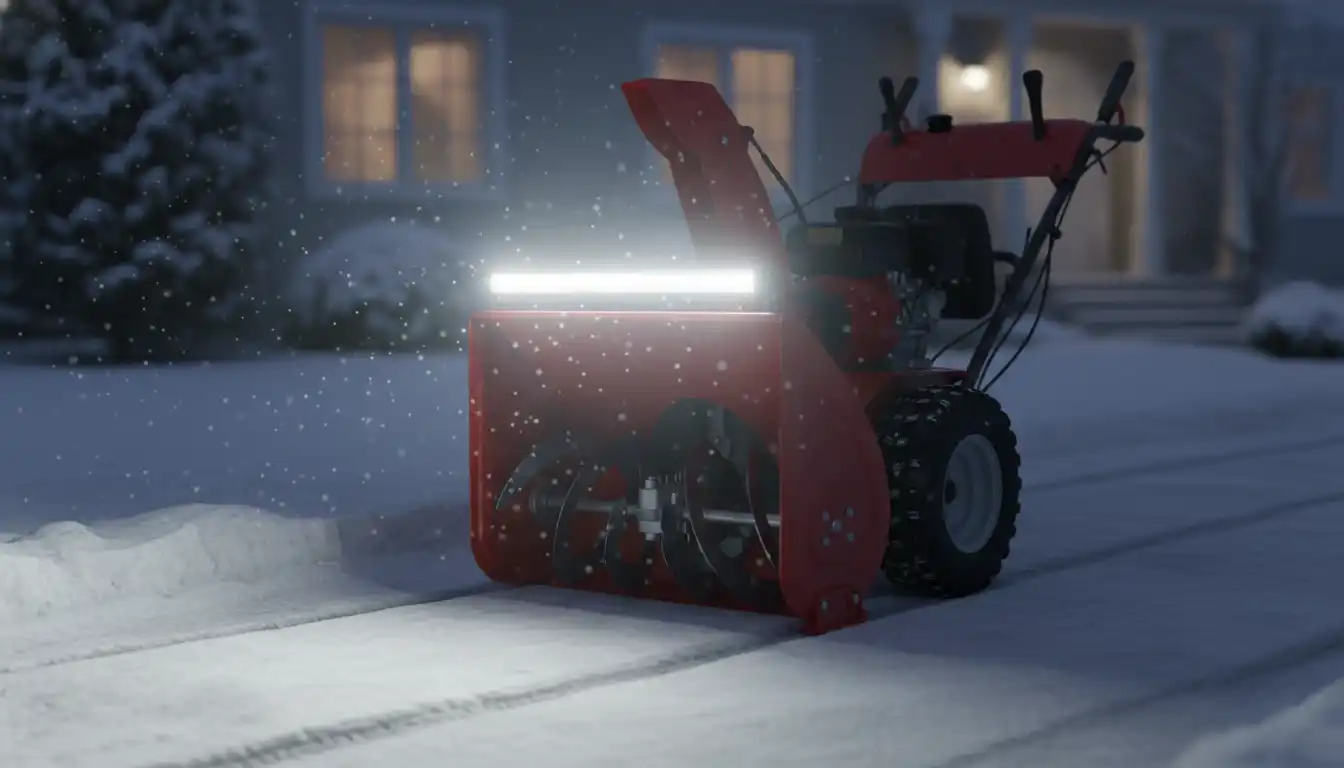
LED lights are measured in lumens, and a quality LED light bar or pod can easily produce thousands of lumens, dwarfing the output of a standard halogen bulb. This intense brightness is often paired with advanced optics that shape the light into a wide “flood” beam pattern. This illuminates not just the path directly ahead but also the areas to your sides, ensuring you don’t miss any spots and can easily see the edges of your driveway.
The crisp, white light produced by LEDs also improves depth perception and color rendering compared to the muddy yellow of halogen. This makes it easier to distinguish between the snow you need to clear and potential obstacles you need to avoid.
Unmatched Durability for Harsh Conditions
Winter is tough on equipment. Snowblowers endure freezing temperatures, moisture, and constant vibration. LED lights are built to thrive in these conditions. Most are housed in durable aluminum casings and feature polycarbonate lenses that resist impacts and scratches.
Look for lights with an IP67 or IP68 rating. This certification ensures the housing is completely sealed against dust and can be submerged in water without failing. This level of weatherproofing is essential for a machine that operates directly in snow and slush.
Energy Efficiency and Your Engine
A snowblower’s engine has a small electrical system, known as a stator or alternator, designed to power the spark plug and perhaps a small light or heated hand grips. Overloading this system with power-hungry accessories can negatively affect engine performance. Because LEDs are so efficient, they draw significantly less power than halogen bulbs.
This efficiency means your engine’s electrical system remains unstressed, ensuring consistent power delivery to the spark plug for smooth operation. You get a massively brighter light without compromising the performance of your machine.
The Ultimate Buyer’s Guide: Selecting the Perfect LED Light
Choosing the right LED light for your snowblower involves understanding a few key technical specifications. It’s not just about picking the brightest light; it’s about finding one with the right features for your specific machine and needs.
From power compatibility to beam pattern, getting these details right will ensure a successful, flicker-free installation and optimal performance on the darkest winter nights.
Understanding Key Specifications
The most critical specification is the voltage compatibility. Many snowblowers without a battery produce unregulated AC (Alternating Current) voltage from their lighting coil. Most aftermarket LED lights are designed for DC (Direct Current) voltage, typically found in vehicles. Connecting a DC LED light directly to an AC source will cause it to flicker intensely or fail completely.
To solve this, you must install an AC-to-DC bridge rectifier or a dedicated converter between the engine’s power wire and the LED light. This simple electronic component converts the AC power to the stable DC power the LED needs. Some users also add a capacitor to smooth the DC output and eliminate any residual ripple that could cause subtle flickering.
Top Mounting Locations for Maximum Illumination
Where you mount the light is just as important as which light you choose. The goal is to illuminate the area in front of the auger housing without the light being obstructed by the chute or creating glare for the operator. The best location is often low and forward, directly on the auger housing itself. This placement casts light directly onto the path you’re clearing.
Another popular option is on the dashboard or handlebar area. While easier to install, be mindful that the discharge chute can block the light when turned to certain angles. A high-mounted light can also reflect off falling snow, creating distracting glare for the operator.
Comparing LED Light Options
There are several styles of LED lights that work well for snowblower applications, from compact pods to wider light bars. The choice depends on your budget, available mounting space, and desired light coverage.
This table breaks down the most common types and their ideal use cases to help you make an informed decision.
| Feature | LED Pod Lights | LED Light Bars | Battery-Powered LEDs |
|---|---|---|---|
| Best Use Case | Targeted lighting, machines with limited mounting space. Often used in pairs. | Maximum width and brightness for covering a large area. | Snowblowers with no existing electrical system or for users who want a simple, no-wire installation. |
| Beam Pattern | Typically available in Flood or Spot patterns. Flood is preferred for snowblowing. | Often a “Combo” pattern, with flood optics on the ends and spot in the middle for wide coverage. | Varies by model, but most are designed for wide area illumination. |
| Power Source | Wired into the snowblower’s lighting circuit (often requires an AC-to-DC rectifier). | Wired into the snowblower’s lighting circuit (often requires an AC-to-DC rectifier). | Internal rechargeable battery or an external power tool battery. |
| Installation Complexity | Moderate: Requires drilling, mounting, and electrical wiring. | Moderate: Requires drilling, mounting, and electrical wiring. | Easy: Often uses magnets or simple brackets with no electrical work needed. |
Step-by-Step Installation: From Box to Blizzard-Ready
Installing an LED light on your snowblower is a manageable project that can be completed with basic hand tools and a little electrical know-how. Following a clear, methodical process will ensure a safe and reliable installation that will last for years.
This guide will walk you through the entire process, from preparing your machine to making the final connections.
Safety First: Essential Precautions
Before beginning any work, your top priority is to ensure the snowblower cannot start accidentally. Always disconnect the spark plug wire and secure it away from the spark plug. This simple step prevents any chance of the engine turning over while you are working on it.
If your snowblower has an electric start with a battery, disconnect the negative battery terminal as an additional precaution. Wear safety glasses, especially when drilling, and work in a well-lit area.
Step 1: Choosing Your Power Source
For snowblowers with an existing light, the easiest method is to tap into the factory wiring. Locate the wire running from the engine to the original light; this is typically a single yellow wire carrying AC power. You will connect the input side of your AC-to-DC rectifier to this wire and a ground point on the engine frame.
If your machine has no pre-existing electrical system, the best solution is a self-contained, battery-powered light. Many users have successfully adapted adapters that allow them to power lights using the same rechargeable batteries from their cordless power tools. This approach avoids complex wiring and provides bright, reliable light. If you have concerns about circuits, such as when a wall hot to the touch, it’s always best to be cautious with electrical work.
Step 2: Mounting the Light Securely
Position your LED light in the desired location and mark where you need to drill mounting holes. Use a center punch to create an indentation to prevent the drill bit from wandering. Drill the holes and securely fasten the light using the hardware provided, which typically includes bolts, nuts, and lock washers to prevent loosening from vibration.
Ensure the mounted light does not interfere with any moving parts, such as the chute rotation controls or the auger engagement levers. The goal is a rock-solid mount that can withstand the rigors of snowblowing.
Step 3: Wiring and Connections
With the light mounted, you can run the wiring. If using a rectifier, mount it in a protected location, such as under the dashboard, away from direct exposure to snow and moisture. Connect the two AC input wires from the rectifier to the engine’s power wire and a chassis ground. It is critical to ensure a solid ground connection by scraping away any paint to expose bare metal.
Next, connect the DC output wires from the rectifier to the LED light’s corresponding positive and negative wires. Use waterproof connectors, such as heat-shrink butt connectors, to protect your connections from moisture and corrosion. Carefully route and secure all wiring with zip ties, keeping them away from hot engine parts and any moving components. When sealing connections, you’ll want a clean, secure bond, much like when learning how to clean great stuff pro gun applicators for a perfect seal.
Pro Tips and Troubleshooting Common Issues
Even with a careful installation, you might encounter some common issues. Understanding these potential problems ahead of time can save you time and frustration. From flickering lights to finding power on a basic machine, these pro tips offer solutions to the most frequent challenges.
These advanced strategies will help you achieve a truly professional-grade lighting setup.
Dealing with Flickering Lights: The AC/DC Problem
The number one issue when upgrading to LED lights is flickering. This is almost always caused by connecting a DC-rated LED light to the snowblower’s AC power output without a rectifier. The LED only illuminates during half of the AC cycle, resulting in a strobe effect that is highly noticeable.
The definitive solution is to install a full-wave bridge rectifier. This component converts the full AC sine wave into a usable DC current. For the smoothest power delivery, many experts also recommend wiring a capacitor in parallel on the DC output side of the rectifier to eliminate any voltage ripples that could still cause a subtle flicker.
Can I Add a Light to a Snowblower Without a Lighting Coil?
Yes, absolutely. If your snowblower is a basic model with no electrical system at all, you are not out of luck. The easiest and most popular solution is to use a rechargeable battery system. Options range from magnetic, USB-rechargeable work lights to custom setups using power tool batteries.
Adapters are available for nearly every major power tool brand (DeWalt, Milwaukee, Ryobi, etc.) that provide a simple positive and negative wire output from a standard 18V or 20V battery. You can wire your LED light to this adapter, often including a switch and an inline fuse, for a completely independent and powerful lighting system.
Aiming Your Light for Optimal Performance
Once your light is installed and working, take a moment to aim it properly. The goal is to create a wide, even pool of light on the ground starting a few feet in front of the snowblower and extending as far out as possible. Avoid aiming the light too high, as this can cause glare to reflect off falling snow directly into your eyes, reducing your visibility.
Most LED light mounts allow for vertical adjustment. Experiment with the angle in the dark to find the sweet spot that provides the best ground illumination without creating distracting hot spots or upward glare.
Don’t Be Left in the Dark: A Final Word
Upgrading to LED lights on your snowblower is more than a simple modification; it’s a transformative improvement in safety and functionality. It turns a machine limited by daylight into a 24/7 snow-clearing powerhouse. With a powerful LED light, you are no longer at the mercy of the winter sun.
The enhanced visibility allows you to work more efficiently, avoid costly damage from hidden obstacles, and operate your machine with a newfound level of confidence. For a relatively small investment in time and money, it is without a doubt one of the best upgrades any snowblower owner can make.