Laying Pavers on Soil? The Truth About This ‘Shortcut’
You have a vision for a beautiful new paver patio or walkway. The temptation is strong to take the quickest path—clearing the ground and laying pavers directly on the soil. It seems logical, saving time, money, and back-breaking labor. But this common shortcut is a direct route to disappointment and future problems.
Laying pavers directly on dirt is one of the most significant mistakes in any hardscaping project. Without a proper foundation, your beautiful new surface is destined to fail. The results are predictable: sinking pavers, uneven surfaces that become tripping hazards, persistent weed growth, and poor drainage that can lead to even bigger issues.
This article explores the critical reasons why soil is an unsuitable base for pavers. We will uncover the disastrous consequences of this shortcut and provide a detailed, step-by-step guide to building a stable, long-lasting paver surface the right way. Investing in a proper base is the only way to ensure your project remains beautiful, functional, and safe for years to come.
You'll Learn About
The Critical Flaw: Why Soil is a Terrible Foundation
To understand why laying pavers on soil is a recipe for disaster, it’s essential to understand the nature of soil itself. Unlike a properly engineered base, soil is inherently unstable and reactive to environmental changes.
Soil is a complex mixture of minerals, organic matter, water, and air. Its composition makes it highly susceptible to expansion and contraction with changes in moisture and temperature. This constant movement creates an unreliable foundation for the rigid, interlocking system of pavers.
The Science of Soil Instability
Soil’s primary failure as a foundation comes down to two key factors: moisture retention and lack of compaction. Different soil types behave differently, but none provide the stability required for a durable hardscape. Clay soils, for example, are notorious for holding water, expanding significantly when wet, and shrinking as they dry. This creates powerful movement that will heave and shift pavers.
Sandy soils drain better but are difficult to compact into a solid, unmoving mass. They can easily wash away or shift under load. The organic material present in topsoil will decompose over time, creating voids and causing the surface above to sink and settle unevenly. The ground beneath a paver installation must be stable enough to prevent sinking and shifting. A proper base is the most important factor in long-term stability.
Freeze-Thaw Cycles: The Unseen Destroyer
In climates with freezing temperatures, the problems are magnified. Water absorbed by the soil freezes and expands, pushing pavers upward in a process known as “frost heave.” When the ground thaws, it settles back down, but rarely settles evenly. This cycle, repeated year after year, will leave your paver surface a lumpy, hazardous mess.
A proper aggregate base is designed to provide a frost-resistant layer that mitigates this movement. It allows water to drain away from the surface, preventing the saturation that leads to destructive frost heave.
The Disastrous Results of Laying Pavers Directly on Soil
Skipping the proper base preparation leads to a cascade of problems that are not only ugly but can also be expensive and time-consuming to fix. The initial time saved by taking this shortcut is quickly lost to endless maintenance and eventual replacement.
1. Sinking and Uneven Surfaces
The most immediate and obvious problem will be sinking and uneven pavers. Without a compacted aggregate base to distribute weight evenly, the pavers will press directly into the soft soil. Areas with more foot traffic or heavy patio furniture will sink faster than others, creating dangerous dips and tripping hazards.
Rainwater will accelerate this process. Water pooling on the surface will soften the soil underneath, causing pavers to sink further and become loose. A proper base is essential to prevent this kind of failure and ensure a level, stable surface for years.
2. Uncontrollable Weed and Moss Growth
Soil is the perfect environment for weeds to grow. Laying pavers directly on dirt gives weeds a direct path to sunlight and moisture, allowing them to sprout vigorously through the joints. You will find yourself in a constant battle, pulling weeds every few weeks.
A multi-layered base, often including a geotextile fabric, creates a sterile barrier that is inhospitable to plant life. While some airborne seeds may still settle in the joint sand over time, a proper base prevents deep-rooted weeds from pushing up from below.
3. Catastrophic Drainage Issues
Proper drainage is one of the most critical functions of a paver base. An aggregate base allows water to flow through the joints and drain away into the ground below. Soil, particularly clay-heavy soil, does the opposite—it holds water. This leads to water pooling on your patio, creating slippery spots and promoting moss and algae growth.
Worse, this trapped moisture can cause damage to surrounding structures. If the paver surface slopes toward your home’s foundation, poor drainage can lead to water infiltration and serious structural issues. This is especially true if you have drainage issues nearby, like a downspout over a walkway that constantly dumps water onto the surface.
The Bulletproof Method: How to Install Pavers Correctly
The only way to guarantee a long-lasting, stable paver surface is to build it on a proper foundation. This process involves more work upfront, but it is the key to a professional-quality result that you won’t have to redo in a few years. The correct installation method uses a layered system of compacted materials.
Step 1: Planning and Excavation
First, mark out the area for your patio or walkway. Your excavation needs to be larger than the finished paver area to accommodate edge restraints. The depth of your excavation is critical and depends on your climate and the project’s use.
For pedestrian walkways and patios, you need to excavate deep enough for 4-6 inches of compacted base material, 1 inch of bedding sand, and the height of the paver itself. For driveways that will support vehicles, the base needs to be much deeper, typically 8-12 inches. Always excavate deeper in clay soils or cold climates to allow for better drainage and frost protection.
Step 2: Compacting the Subgrade
Once you have excavated to the proper depth, the exposed soil (the subgrade) must be leveled and thoroughly compacted. Use a plate compactor to create a solid, stable foundation for the base layers. This step is crucial because your paver base is only as strong as the ground it sits on.
Ensure the subgrade has a slight slope—typically a 1/4-inch drop per foot—away from any structures like your house foundation. This slope will be carried through all subsequent layers and ensures proper surface water runoff.
Step 3: Geotextile Fabric and Aggregate Base
Lay a layer of geotextile fabric over the compacted subgrade. This fabric acts as a separator between the soil and your gravel base, preventing them from mixing over time. It stabilizes the soil and improves drainage, adding another layer of long-term protection.
Next, add your aggregate base material, such as 3/4-inch crushed stone. Add the material in 2 to 3-inch layers (lifts), watering it slightly and compacting each layer thoroughly with a plate compactor before adding the next. This multi-layer compaction is what creates a dense, interlocking base that will not shift or settle.
Step 4: Bedding Sand
Once the aggregate base is fully compacted and perfectly smooth, spread a 1-inch layer of coarse concrete sand over the top. This is the bedding layer that you will set the pavers into. Use screed rails and a straight board to get the sand perfectly level and smooth. Do not compact the bedding sand.
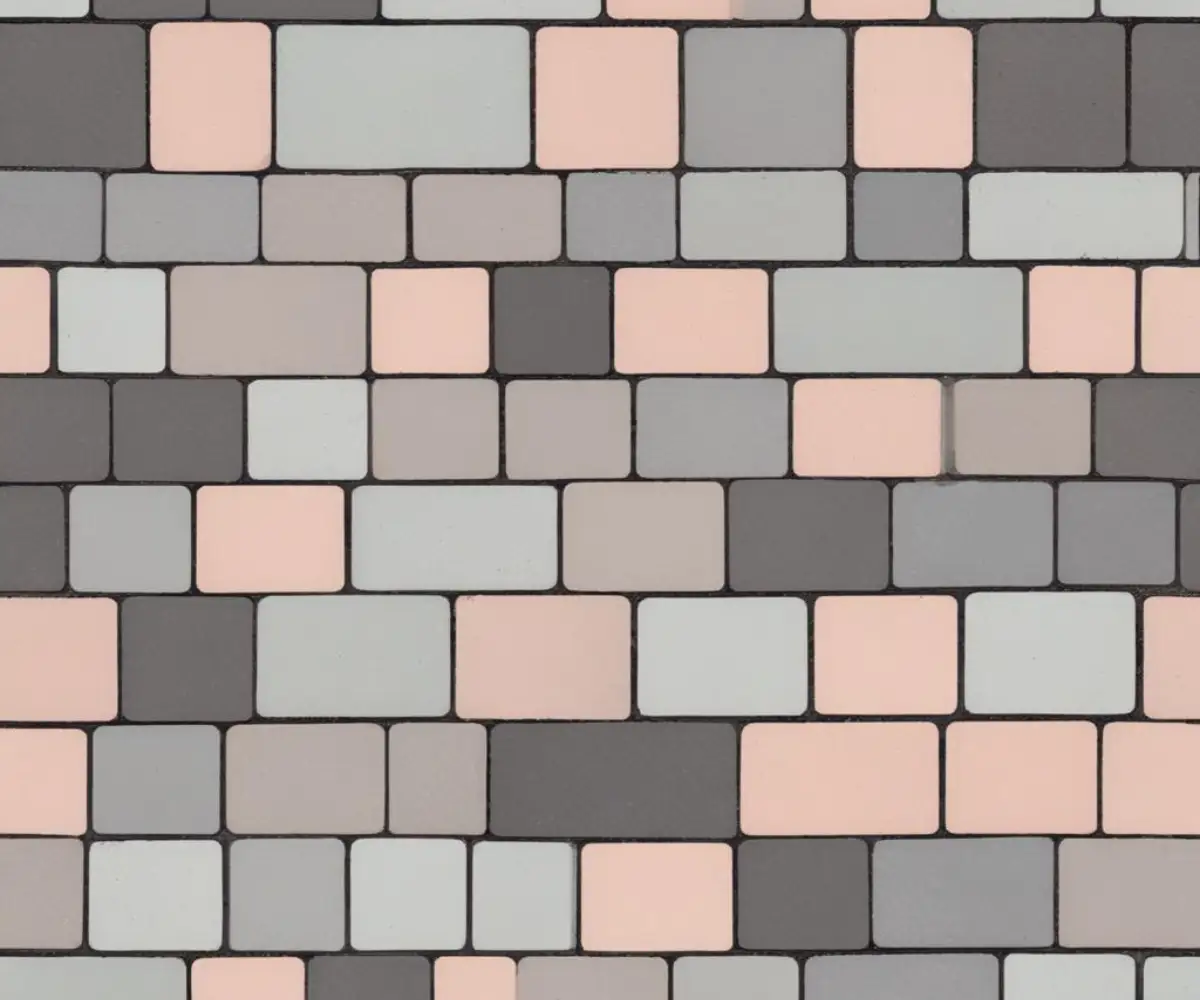
Step 5: Laying Pavers and Edge Restraints
Begin laying the pavers on top of the sand bed according to your chosen pattern. Place them gently onto the sand without twisting or pressing them down. Once all pavers are in place, install edge restraints around the perimeter to lock the entire system together and prevent the pavers from shifting outward.
Step 6: Compaction and Jointing Sand
Run a plate compactor over the entire paver surface to set them into the sand bed and create a level, interlocking surface. Finally, sweep polymeric sand into the joints. This special sand contains polymers that harden when activated with water, locking the pavers together tightly and helping to prevent weed growth and insect infestations.
Comparing Installation Methods: A Cost and Longevity Analysis
While the initial appeal of laying pavers directly on soil is the perceived savings in cost and labor, a closer look reveals it’s a false economy. The long-term costs associated with repairs, maintenance, and eventual replacement far outweigh the upfront investment in a proper base.
| Feature | Method 1: Directly on Soil | Method 2: Proper Aggregate Base |
|---|---|---|
| Initial Cost | Low (pavers and labor only) | High (pavers, aggregate, sand, equipment rental, labor) |
| Labor Time | Low (minimal excavation) | High (deep excavation, layering, and compaction) |
| Longevity | Very Short (1-2 years before major issues) | Very Long (20+ years with minimal maintenance) |
| Performance | Poor (sinking, uneven, poor drainage, weeds) | Excellent (stable, level, great drainage, weed resistant) |
| Long-Term Value | Very Poor (requires constant repair and eventual replacement) | Excellent (a durable, lasting investment in your property) |
Modern Alternatives to Traditional Bases
While a traditional crushed stone base is the gold standard, new materials offer innovative solutions. Synthetic paver base panels, often made from high-density polypropylene, are a modern alternative. These interlocking panels can reduce excavation depth, labor time, and the amount of aggregate needed.
These panels create a stable, lightweight foundation that helps distribute loads and provides excellent drainage. Though the upfront material cost may be higher, the savings on excavation and aggregate can make them a competitive option, particularly for DIY projects or sites with difficult access.
Long-Term Maintenance and Care
A properly installed paver patio is low-maintenance, but not zero-maintenance. To keep it looking its best, regular cleaning is essential. Sweeping the surface and rinsing it with a hose will prevent debris from building up in the joints. For tougher stains, occasional cleaning may be necessary, similar to how one might approach pressure washing to remove paint from stucco, though with much less pressure to avoid dislodging joint sand.
Over several years, the joint sand may settle or wash out. Top it up with fresh polymeric sand as needed to keep the joints full and tight. This simple step is the best way to prevent weeds and maintain the interlocking strength of the paver system. You can also explore creative edging solutions, such as using rocks under a fence line, which can double as a border for your paver area to further suppress weeds.
Conclusion: Don’t Let a Shortcut Ruin Your Project
The temptation to lay pavers directly on soil is understandable, but it is a shortcut that inevitably leads to failure. An unstable, shifting, and weed-infested surface will quickly replace your vision of a beautiful, functional outdoor space. The structural integrity and longevity of any paver installation lie entirely in its foundation.
By investing the time and effort into proper excavation, compaction, and layering of base materials, you are not just building a patio or walkway; you are creating a durable, long-lasting asset for your home. Do it right the first time, and you will be rewarded with a beautiful, stable, and low-maintenance hardscape that you can enjoy for decades to come.