Lamb’s Ear Cuttings in Water: The Rot-Free Method Revealed
There’s nothing quite like the silvery, velvety softness of lamb’s ear (Stachys byzantina) in a garden bed. It’s a sensory delight that begs to be touched. Naturally, the desire to create more of this beautiful plant for free is a common goal for gardeners, leading to one persistent question: can you successfully propagate lamb’s ear cuttings in water?
Many have tried, placing those fuzzy stems into a jar of water with high hopes, only to be met with slimy, rotting mush within a week. This common failure has led many to believe that water propagation for this particular plant is a myth. But the issue isn’t the method itself; it’s the technique.
You'll Learn About
Why So Much Trouble? The Science of Fuzz and Rot
The very feature that makes lamb’s ear so beloved—its dense, woolly coating—is its biggest enemy in water propagation. Those fine hairs, called trichomes, are perfectly designed to conserve water in dry, sunny climates by trapping air and reducing evaporation. However, when submerged, they trap water against the stem, creating a constantly moist environment that is an open invitation for bacteria and fungi.
This leads to the rapid decay that plagues so many attempts. The stem simply cannot breathe, and the result is a failed cutting. Understanding this core problem is the first step to overcoming it and achieving a jar full of healthy, white roots.
The Common Mistakes Most Gardeners Make
Beyond the inherent challenge of the fuzzy stems, a few common procedural errors seal the fate of many cuttings. Using cuttings that are too old or woody is a frequent issue, as they have less energy for root production. Another is leaving too many leaves on the stem, which demands more water than the leafless stem can absorb, causing it to wilt and fail.
Finally, failing to change the water frequently allows bacteria to multiply, accelerating the rotting process. But with a few key adjustments, these issues can be easily avoided, paving the way for propagation success.
The Solution: A Step-by-Step Guide to Rooting Lamb’s Ear in Water
Success with lamb’s ear cuttings in water hinges on a meticulous process designed to minimize rot and maximize root growth. Follow these steps precisely for the best chance at creating new plants.
Step 1: Select the Perfect Cuttings
Timing and selection are crucial. The best time to take cuttings is in late spring or early summer when the plant is in a state of active, vigorous growth. Look for healthy, new stems that are still soft and green, not the older, woody growth at the base of the plant.
Choose a non-flowering stem and take a 4-6 inch cutting, making a clean snip just below a leaf node (the small bump where leaves emerge). A sharp, sterilized pair of pruning shears will prevent crushing the stem and introducing disease.
Step 2: The Critical Preparation Stage
This is where the magic happens. Carefully remove the leaves from the bottom half of the cutting, ensuring you have at least 2-3 inches of bare stem. This is vital because submerged leaves will rot almost immediately. Be gentle to avoid tearing the stem’s skin.
Here is a step few people talk about: allow the cut end of the stem to callus over. Let the cuttings sit in a dry, shaded place for a few hours. This allows the open wound to seal, creating a barrier that significantly reduces the chance of rot when it’s introduced to water.
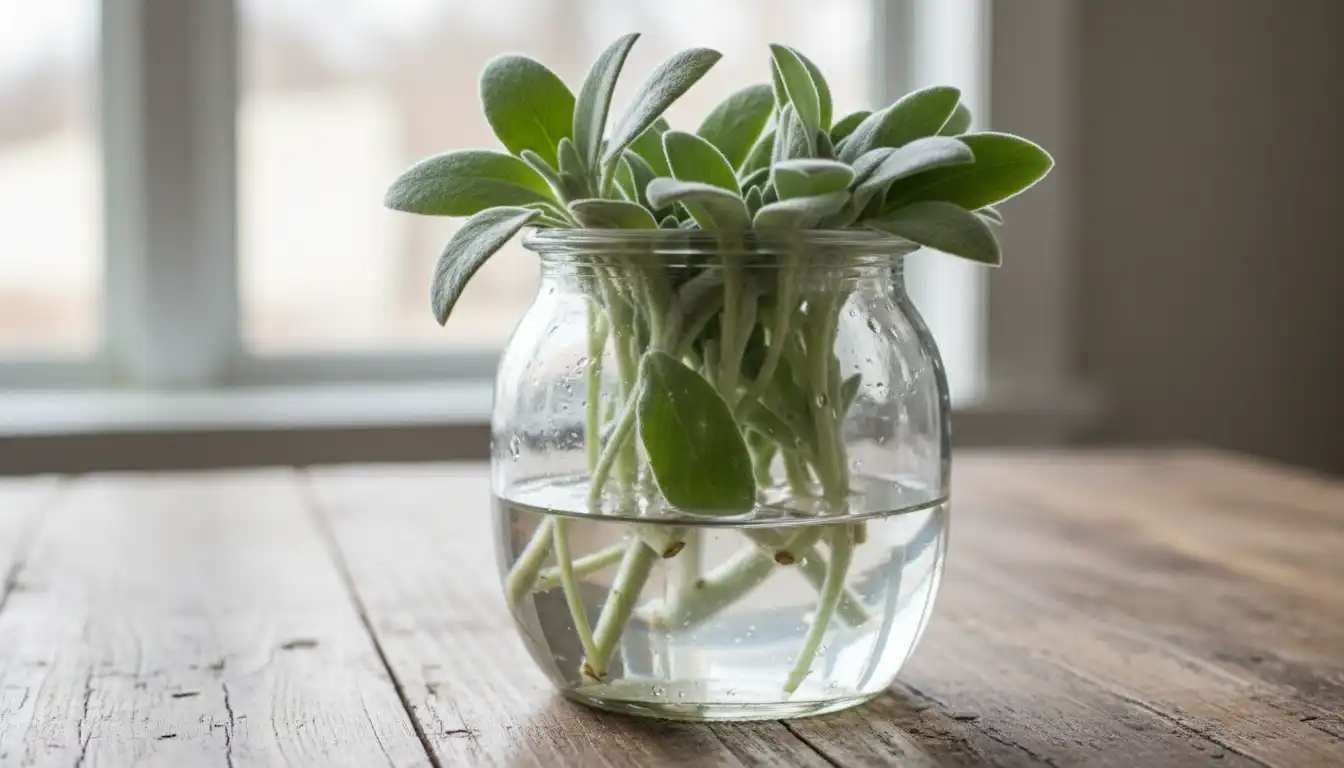
Step 3: Set Up Your Propagation Station
Your choice of container and water matters. A clear glass jar or vase is ideal as it allows you to monitor for root growth and water clarity. Fill it with room temperature water; filtered or rainwater is preferable to tap water, which can contain chlorine that may inhibit rooting.
Now for the most important part of the setup: only the very bottom tip of the bare stem should be in the water. The majority of the stripped stem and all remaining leaves must be suspended above the waterline. You can achieve this by using a narrow-necked bottle or by creating a support collar out of cardboard or plastic wrap stretched over the jar’s opening.
Step 4: Care and Maintenance
Place your jar in a location that receives plenty of bright, indirect sunlight. Direct sun will be too intense and can scorch the leaves. The key to preventing decay is fresh, oxygenated water.
You must change the water every 2-3 days without fail. If you notice the water becoming cloudy, change it immediately. This simple act removes bacteria before they can take hold and provides the developing roots with the oxygen they need.
Troubleshooting Common Problems
Even with the best technique, you may encounter issues. This table outlines the most common problems and how to solve them, ensuring you can get your cuttings back on track.
| Problem | Likely Cause | Solution |
|---|---|---|
| Stem is mushy and black | Stem rot from bacteria | Cutting is likely not salvageable. Discard and start over, ensuring less of the stem is submerged and water is changed more frequently. |
| Water is cloudy or smells bad | Bacterial growth | Change the water immediately. Clean the jar with soap and water before refilling. Increase the frequency of water changes. |
| Leaves are wilting | Too many leaves for the stem to support | Remove one or two of the larger leaves to reduce water demand. Ensure the cutting is not in direct sunlight. |
| No root growth after 4 weeks | Cutting was not healthy; insufficient light or warmth | Be patient, as some can take up to 6 weeks. Move to a warmer spot with more indirect light. If no change, try a new cutting. |
Transitioning from Water to Soil
Seeing those first white roots is exciting, but the journey isn’t over. Transferring the delicate water-grown roots to soil is a critical step that requires care.
When Are They Ready?
Wait until the cuttings have developed a healthy root system that is at least 1-2 inches long. This typically takes 4-8 weeks. Transferring them too early can result in failure, as the small roots won’t be able to absorb enough moisture and nutrients from the soil.
The Acclimation Process
Roots grown in water are different from roots grown in soil—they are more brittle and less efficient at absorbing nutrients from a denser medium. To avoid transplant shock, you must acclimate them. Fill a small pot with a well-draining potting mix, such as a blend of peat and perlite.
Make a hole in the mix, gently place the rooted cutting inside, and carefully backfill, trying not to damage the new roots. Water the soil thoroughly and keep it consistently moist (but not waterlogged) for the first two weeks. Keeping the new plant in a humid environment, perhaps by loosely covering it with a plastic bag for a few days, can also ease the transition.
A Note on Other Propagation Methods
While rooting in water is a rewarding project, the most reliable way to propagate lamb’s ear is through division. Simply digging up a mature clump in the spring and gently pulling it apart into smaller sections is highly effective. Paying attention to detail with any perennial is key, just as you would when tackling common Dianthus Clavelina disasters in the garden.
As you plan your garden expansions, you might also find yourself planning other home improvements. Tackling a major project like a new HVAC system, especially in a finished space, requires careful budgeting, much like planning a garden bed.
Frequently Asked Questions
Can you root lamb’s ear cuttings in water?
While it may be possible, rooting lamb’s ear cuttings in water is not
recommended. The plant’s fuzzy leaves can trap moisture, which often
leads to rot and fungal diseases. For a higher success rate, it is
better to plant cuttings in a well-draining soil mix.
What is the best way to propagate lamb’s ear?
The most reliable and easiest methods to propagate lamb’s ear are by
division in the spring or fall, or by taking stem cuttings in late
spring or early summer. Both methods have a high success rate when done
correctly. While lamb’s ear can be grown from seed, it is generally a
slower and less predictable method.
How do you take a cutting from a lamb’s ear plant?
To take a cutting, choose a healthy, non-flowering stem and cut a 4-
to 6-inch section just below a leaf node. Remove the lower leaves to
expose the stem. To encourage root growth, you can dip the cut end in a
rooting hormone before planting it in a pot with a moist, well-draining
mix.
How long does it take for lamb’s ear cuttings to root?
When planted in a suitable well-draining potting mix, lamb’s ear
cuttings typically take about 4 to 8 weeks to establish a solid root
system. You can check for rooting by giving the cutting a very gentle
tug; if you feel slight resistance, roots have likely formed.
Why are my lamb’s ear cuttings failing?
The most common reason for failure in propagating lamb’s ear is
overwatering, which leads to root rot and fungal diseases. The plant’s
leaves are adapted to dry conditions and can easily rot if they remain
wet. Using a well-draining soil and providing good air circulation are
crucial to prevent these issues.
Conclusion: Patience and Precision Pay Off
Propagating lamb’s ear cuttings in water is not impossible; it simply demands more precision than other common houseplants. The key lies in preventing the fuzzy stems from becoming a breeding ground for rot by keeping them dry and maintaining impeccable water hygiene. By following this detailed, rot-free method, you can successfully multiply your stock of this wonderfully tactile plant.
With a little patience and attention to detail, you will be rewarded with a collection of new, healthy lamb’s ear plants, ready to add their unique texture and silvery beauty to your garden for years to come.