KitchenAid Imperial by Hobart Dishwasher: Revive a Legend or Is It Time to Let Go?
You own a piece of history. That KitchenAid Imperial dishwasher, proudly bearing the Hobart name, isn’t just an appliance; it’s a testament to an era when machines were built to last. But as the years turn into decades, even the most durable workhorses face challenges. The problem isn’t just age; it’s the struggle of maintaining a vintage machine in a modern world.
You might be dealing with perplexing leaks that appear without warning, dishes that come out less than sparkling, or strange noises that disrupt your kitchen’s peace. Finding replacement parts can feel like an impossible treasure hunt, and locating a technician who understands these mechanical marvels is even harder. This leaves you standing at a crossroads: do you invest the time, effort, and money to revive this legend, or is it finally time to retire it for a newer model?
You'll Learn About
What Makes the KitchenAid Imperial by Hobart a Legend?
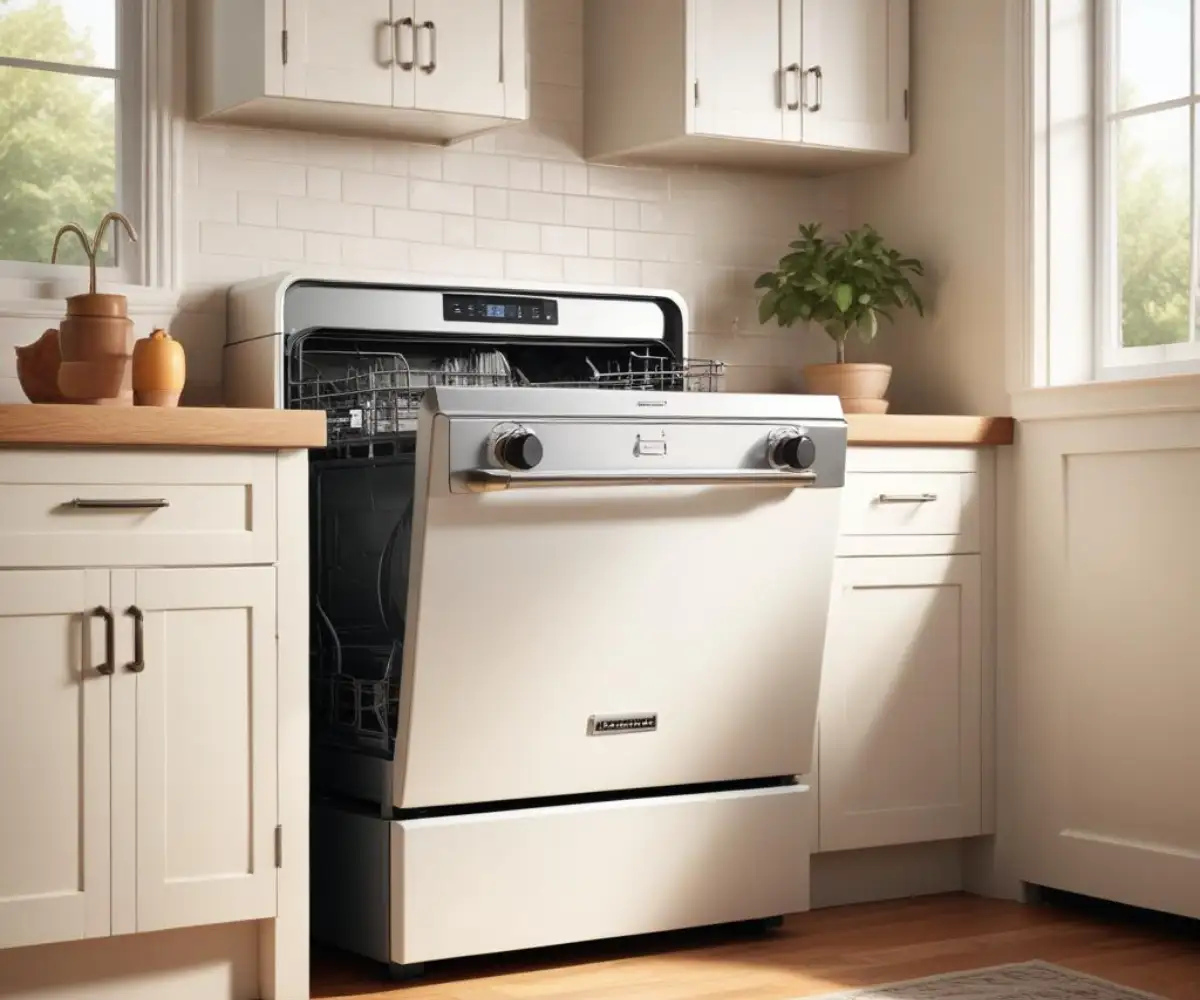
Before diving into troubleshooting, it’s essential to understand why these dishwashers have such a devoted following. Prior to being acquired by Whirlpool Corporation in 1986, KitchenAid was a division of The Hobart Manufacturing Company. Hobart was, and still is, a giant in the world of commercial kitchen equipment, known for its incredibly robust and reliable products. This commercial-grade DNA was directly infused into their residential dishwashers.
These machines were mechanically simple, relying on durable timers, powerful motors, and heavy-gauge steel components. They lacked the complex electronics and plastic parts that are common points of failure in many modern appliances. This is why many Hobart-era KitchenAid dishwashers, like the iconic KDS or Imperial series, are still running strong after 30, 40, or even 50 years of service. Their reputation for endurance is well-earned.
The Modern Dilemma: Common Problems with a Vintage Workhorse
Despite their legendary build quality, age eventually catches up to every machine. The issues you’re facing are often not due to poor design but the natural wear and tear of components that have served for decades. Understanding these common failure points is the first step toward a successful repair.
Leaks: The Telltale Drips and Their Causes
A puddle on the floor is the most common and alarming issue for any dishwasher owner. For a vintage KitchenAid, the source is often one of a few usual suspects. The door gasket, a rubber seal running along the door’s perimeter, can become brittle, cracked, or compressed over time, failing to create a watertight seal.
Another frequent culprit is the water inlet valve, which controls the flow of water into the machine. The internal seals can degrade, causing a slow drip. Similarly, the hoses connecting the valve and pump can become cracked and brittle with age, leading to leaks underneath the unit.
Cleaning Issues: When Your Dishes Stay Dirty
If your dishwasher is no longer getting dishes clean, particularly on the top rack, the problem often lies with water circulation. The spray arms, which are responsible for jetting hot water onto the dishes, can have their nozzles clogged with mineral deposits or food debris. This prevents them from spinning and distributing water effectively.
Deep inside the machine, older KitchenAid models feature a chopper screen or filter. Over years of use, this screen can become clogged with small particles, reducing water flow to the spray arms. While designed to be self-cleaning, tough debris like seeds or plastic fragments can overwhelm it.
Mechanical Failures and Noisy Operation
The reassuring hum of a Hobart-built motor is one of its signatures, but new, loud noises are a cause for concern. Grinding or rattling sounds can indicate that something has fallen into the bottom of the tub and is interfering with the wash arm. More serious mechanical noises could point to wear in the main motor or pump bearings.
Another common issue in these electromechanical models is a faulty timer. If your dishwasher gets stuck on one part of the cycle and never advances, the timer motor may have failed. Similarly, problems with the detergent dispenser, often caused by a failed bimetal strip, can prevent soap from being released at the proper time.
Your Step-by-Step Revival Guide: Troubleshooting and Repairs
Tackling repairs on a vintage appliance can be intimidating, but many common issues are surprisingly straightforward to fix with basic tools and patience. Always disconnect the power and shut off the water supply to the dishwasher before beginning any work.
Essential Tools for the Vintage Appliance DIYer
You don’t need a professional workshop to handle most repairs. A basic toolkit will suffice for many tasks. Make sure you have a set of screwdrivers (Phillips and flathead), a pair of pliers, an adjustable wrench, and a multimeter for checking electrical components like timers and valves. Having some old towels on hand is also crucial for soaking up inevitable water spills.
| Symptom | Potential Cause | Recommended Solution |
|---|---|---|
| Water leaking from the door | Worn, cracked, or dirty door gasket | Inspect the gasket for damage. Clean it with vinegar and a cloth. If it’s brittle or torn, replace it. |
| Dishes are not getting clean | Clogged spray arm nozzles or filter screen | Remove spray arms and clean nozzles with a small brush or wire. Locate and clean the main filter/chopper screen at the bottom of the tub. |
| Dishwasher won’t start | Faulty door latch or defective timer | Ensure the door is closing and latching securely. Check the timer for continuity with a multimeter; it may need replacement if it shows no electrical continuity. |
| Loud grinding or rattling noise | Debris in the pump or failed motor bearings | Check the bottom of the tub for fallen utensils or hard debris. If the noise persists, the main motor or pump may require service or replacement. |
| Cycle gets stuck and does not advance | Failed timer motor | The mechanical timer is often the culprit. This component can be tested and replaced by accessing the control panel. |
| Water does not drain | Clogged drain hose or faulty drain pump | Check the drain hose for kinks or blockages. Ensure the connection to the garbage disposal (if applicable) is clear. Test the drain pump motor. |
Tackling Leaks and Restoring Cleaning Power
For a leaking door, start by thoroughly cleaning the existing gasket and the tub surface it presses against. If the leak persists, replacing the gasket is a cost-effective and simple repair. For leaks underneath, carefully inspect the water inlet valve and all hose connections for drips or cracks. Replacing a faulty inlet valve is a common fix that can save your kitchen floor from water damage.
To restore cleaning performance, remove both the lower and upper spray arms. Soak them in warm vinegar to dissolve mineral buildup and use a piece of wire to clear any clogged nozzles. Consult a service manual if possible to access and clean the dishwasher’s primary filter screen, which is often the key to resolving poor cleaning on the upper rack. When it comes to home maintenance, understanding how to secure fixtures, even simple ones using anchors for lath and plaster, can build the confidence needed for bigger DIY projects.
The Hunt for Parts: A Modern-Day Treasure Hunt
The single greatest challenge in keeping a Hobart-era KitchenAid alive is sourcing parts. Since these models are long out of production, you won’t find parts at a typical appliance store. However, a dedicated community of vintage appliance enthusiasts has created a network for finding what you need.
Websites like AutomaticWasher.org and other vintage appliance forums are invaluable resources. Members often have stockpiles of new-old-stock (NOS) or salvaged parts and are willing to share knowledge. Online marketplaces are another source, where you can sometimes find entire non-working units to use for parts. Finally, some specialized online appliance parts suppliers still carry compatible components like gaskets or valves if you have the correct part number.
The Final Verdict: When Is It Time to Say Goodbye?
There comes a point where every appliance owner must weigh the cost and effort of repair against the benefits of replacement. With a KitchenAid Imperial by Hobart, this decision is more complex than just dollars and cents. You’re not just fixing a machine; you’re preserving a piece of manufacturing history.
Weighing the Costs: Repair vs. Replace
Consider the nature of the problem. A failed gasket, a clogged filter, or a faulty timer are all manageable repairs for a dedicated owner. However, if the main wash motor fails or the porcelain-on-steel tub develops a leak from rust, the repair may become prohibitively expensive and difficult. A major mechanical failure might be the signal that its long, faithful service life has come to an end.
It is also wise to consider energy and water usage. These vintage models were built for performance, not efficiency, and can use significantly more water and electricity than their modern counterparts. While their longevity might offset some of this environmental cost, a new high-efficiency model will lower your utility bills. This kind of practical evaluation is key, much like understanding the right predator 212 torque specifications is crucial before starting an engine project.
Modern Alternatives That Honor the Hobart Legacy
If you decide to replace your vintage KitchenAid, look for a model that honors its legacy of durability. Look for dishwashers with stainless steel tubs, high-quality racks, and a reputation for reliability. While no modern machine is likely to last 50 years, some brands still prioritize build quality over disposable convenience. Proper installation and kitchen planning are also key; for instance, ensuring you avoid situations like having a bed over an air vent in a bedroom can improve a home’s overall function, just as choosing the right appliance enhances a kitchen.
Ultimately, the decision to repair or replace your KitchenAid Imperial by Hobart dishwasher is a personal one. By understanding its common problems, knowing how to approach repairs, and having realistic expectations, you can make an informed choice that best suits your needs and honors the incredible legacy of this kitchen legend.