KILZ PVA Primer Coats: Get the Answer Before You Paint
You’ve meticulously hung, taped, and mudded your new drywall. The surface is smooth, the seams are invisible, and you’re ready for the final step before color. But a critical question stands between you and a perfect finish: exactly how many coats of KILZ PVA Primer are necessary?
Applying the wrong number of coats is a common and costly mistake. Too few, and you risk a blotchy, uneven paint job where the finish flashes and looks unprofessional. Too many, and you’re wasting time, money, and potentially creating texture issues that telegraph through your topcoat. This guide provides the definitive answer.
You'll Learn About
What is KILZ PVA Primer and Why Is It So Important?
Before we get to the “how many,” let’s cover the “why.” KILZ PVA Drywall Primer is a specialized coating designed specifically for new, uncoated drywall. Its primary job isn’t to hide stains or cover old paint; its purpose is to seal the highly porous surfaces of both the drywall paper and the joint compound (mud).
Without this crucial sealing step, these two materials will absorb your expensive topcoat paint at different rates. This leads to an uneven sheen, a problem known as “flashing,” where the taped seams look different from the rest of the wall. A proper coat of PVA primer ensures your paint goes on smoothly and dries to a uniform, professional finish.
The Million-Dollar Question: How Many Coats of KILZ PVA Primer Do You Really Need?
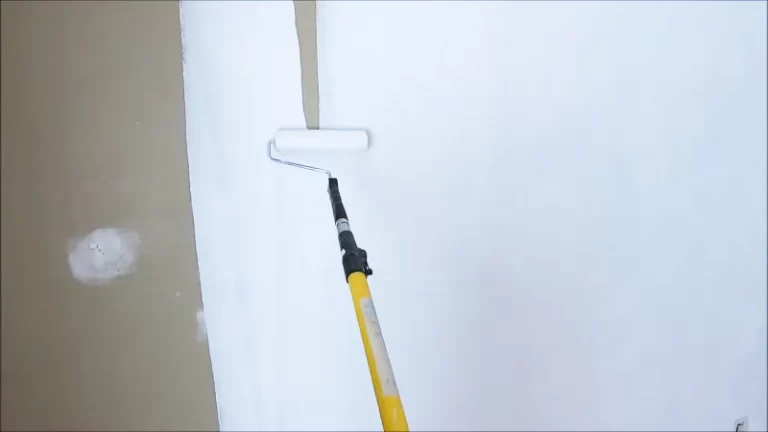
Let’s cut directly to the chase. For the vast majority of new drywall projects, the answer is simple: one single, properly applied coat of KILZ PVA Primer is all you need.
That’s it. The product is formulated to be a sealer, not a high-build primer. Its goal is to create a uniform, non-porous surface for your paint to adhere to. A single coat accomplishes this mission effectively. Applying a second coat is usually redundant and offers no significant benefit.
When a Second Coat of Primer MIGHT Be Justified
While one coat is the professional standard, there are a few specific, rare scenarios where a second coat could be considered. Think of these as the exceptions that prove the rule, not the general practice.
It’s important to differentiate between needing another full coat and simply touching up. Understanding the nuances of priming, much like knowing the best primer before skim coat applications, can save significant time and effort.
Extremely Porous or “Thirsty” Surfaces
Occasionally, due to low-quality materials or specific environmental conditions, the drywall and joint compound might be exceptionally porous. If the first coat of primer seems to vanish into the wall completely, leaving a chalky and inconsistent finish, a second coat may help ensure a truly sealed surface.
Significant Surface Repairs
If you have large, deeply patched areas next to the original drywall, these spots might absorb the primer differently. In this case, you might consider a spot-prime on the repaired areas first, let it dry, and then apply one full, even coat over the entire wall. This ensures those patches don’t “suck up” the primer from the main coat.
The Ultimate Guide to a Perfect Single Coat Application
The secret to making one coat work is in the preparation and application technique. A flawless finish is born from careful work long before the color goes on the wall. A methodical approach is key for any home project, whether painting or researching the cost to convert a gas stove to electric.
Step 1: Surface Preparation is Everything
You cannot prime over dust. This is the cardinal sin of painting. Before you even think about opening the can of primer, ensure every square inch of the drywall is clean. Wipe the walls down with a damp cloth or a large sponge to remove all joint compound dust. Let it dry completely.
It’s also crucial to know what you’re working with, especially in older homes. While you’re prepping, be aware of the materials you’re handling. For instance, if you encounter older building materials, it’s wise to know if your masonite board has asbestos before disturbing it.
Step 2: Use the Right Tools for the Job
Your tools make a significant difference. For smooth new drywall, use a high-quality roller with a 3/8-inch to 1/2-inch nap. You will also need a good quality nylon/polyester brush for “cutting in” the corners and edges.

Step 3: Mix the Primer Thoroughly
The solids in the primer can settle at the bottom of the can. Use a paint stirrer and mix thoroughly for several minutes before pouring it into your roller tray. This ensures a consistent product is applied to the wall.
Step 4: Master the Application Technique
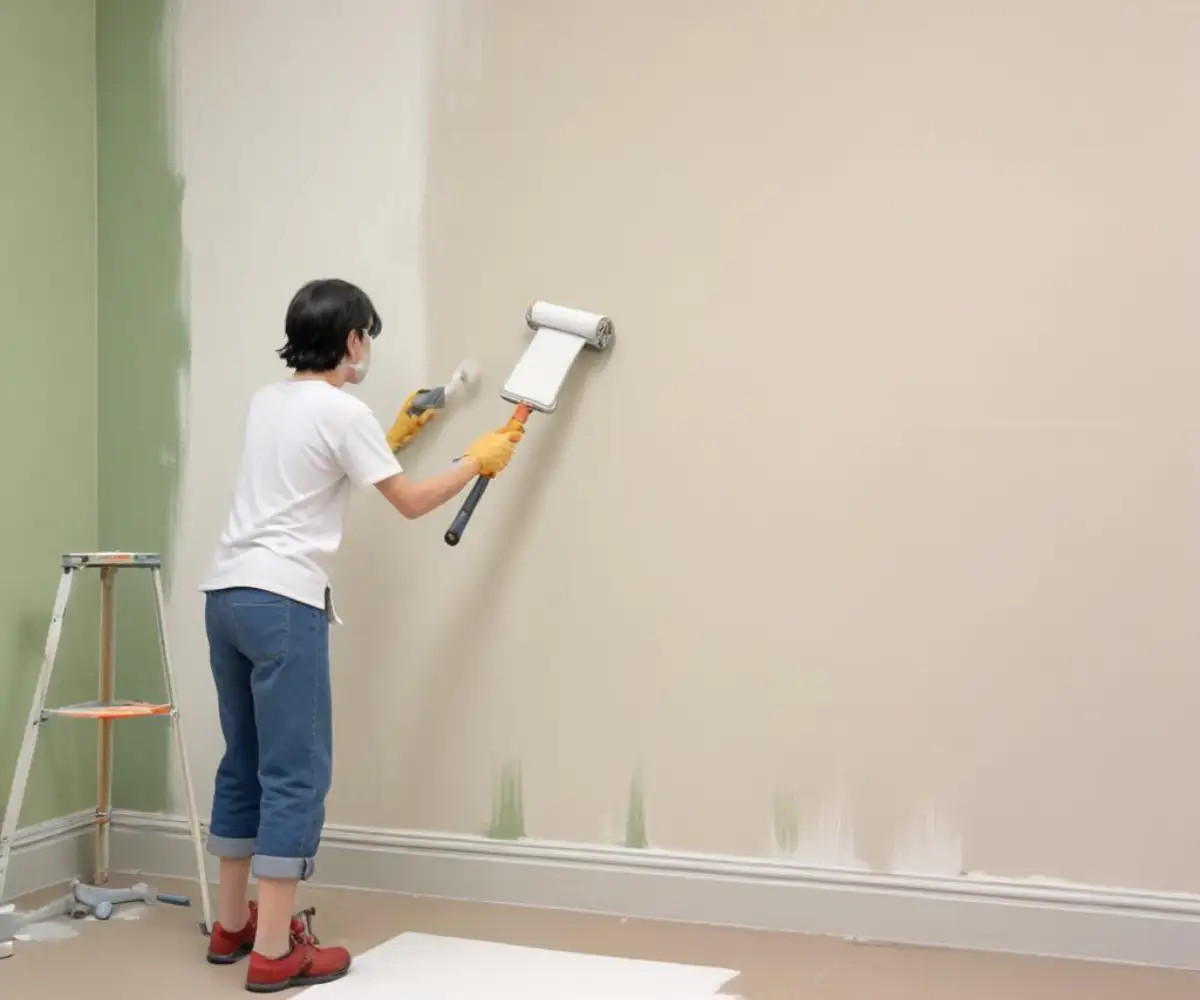
First, use your brush to “cut in” all the corners, ceiling lines, and around outlets and trim. Then, use your roller to apply the primer to the main wall surfaces. Work in 3×3 foot sections, applying the primer in a “W” or “N” pattern to distribute it, then roll back over it with light, even strokes to smooth it out. Always maintain a wet edge to avoid lap marks.
Step 5: Respect the Drying Time
KILZ PVA Primer is fast-drying, typically ready to touch in 30 minutes under normal conditions. However, it’s recommended to wait at least two hours before applying your topcoat of paint. Rushing this step can cause the topcoat to re-wet the primer, leading to peeling and a poor finish.
Common Mistakes to Avoid With KILZ PVA Primer
Many painting frustrations can be avoided by sidestepping these common errors. Being aware of potential pitfalls is half the battle.
Mistake 1: Applying it Too Thinly. While you only need one coat, it needs to be a complete, uniform coat. Skimping on the product will leave porous spots that will show in the final finish.
Mistake 2: Using It for the Wrong Job. KILZ PVA Primer is for new, uncoated drywall only. It is not a stain-blocking primer. For covering water stains, dark colors, or wood knots, you need a different product like an all-purpose or oil-based primer.
Mistake 3: Not Cleaning Your Tools Properly. KILZ PVA is a water-based product, so cleanup is simple with soap and warm water. Clean your tools immediately after use to keep them in good shape for your next project.
KILZ PVA Primer vs. Other Primers
Understanding where KILZ PVA fits into the broader primer family is key to making smart choices for all your painting projects. Not all primers are created equal, and using the right one for the job is critical.
| Primer Type | Primary Use | Coats Needed (Typical) | Stain Blocking | Cleanup |
|---|---|---|---|---|
| KILZ PVA Primer | Sealing new, porous drywall | One | No | Soap & Water |
| KILZ 2 All-Purpose | General purpose, minor stains, color changes | One to two | Good | Soap & Water |
| KILZ Original | Heavy stains (water, smoke), blocking odors | One | Excellent | Mineral Spirits |
Your Top Questions About KILZ PVA Primer Answered
Here are quick answers to some of the most frequently asked questions about using this specific drywall primer.
Can you tint KILZ PVA Primer?
Yes, KILZ PVA Primer can be tinted with up to 2 ounces of universal colorant per gallon. Tinting it to a lighter shade of your topcoat color can help you achieve your final color in fewer coats of paint.
Do I need to sand KILZ PVA Primer?
Generally, no. Sanding is not required after applying this primer unless you have drips, roller marks, or other imperfections you want to smooth out before painting. If you do sand, be sure to wipe away the dust before applying your topcoat.
Is KILZ PVA Primer good for covering dark colors?
No. KILZ PVA is a sealer, not a high-hiding primer. Its purpose is to create a uniform surface on new drywall, not to block a pre-existing color. For covering dark colors, a high-hiding, stain-blocking primer is the better choice.
Conclusion: One Coat to a Perfect Finish
For new drywall, the debate is settled: one well-applied coat of KILZ PVA Primer is the professional standard for sealing the surface and ensuring a beautiful, uniform topcoat. By focusing on meticulous surface preparation and proper application technique, you can save time and materials while achieving flawless results.
Forget the idea of multiple coats. Trust the product’s formulation, put in the prep work, and move on to the exciting part—adding color to your new space with confidence.

