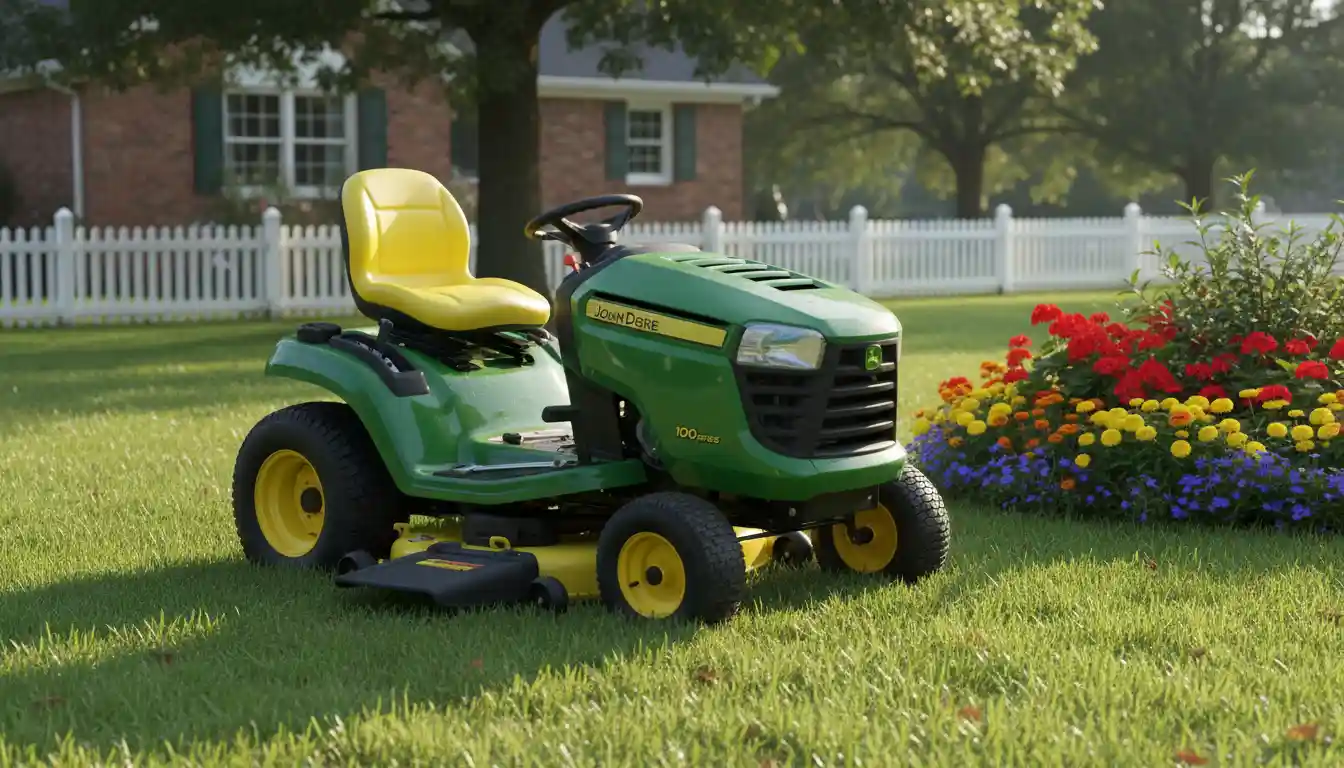
John Deere 100 Series Cranks But Won’t Start? Your Ultimate Fix
There’s nothing more frustrating than a lawn mower that refuses to start, especially when you can hear the engine trying. When your John Deere 100 series cranks but won’t start, it’s a clear sign that a key part of the combustion process is failing. You have rotation, but you’re missing one of the three critical elements: fuel, spark, or compression.
This guide will walk you through a systematic approach to diagnose and fix the common culprits behind this stubborn problem. We’ll move from the simplest checks to more involved diagnostics, helping you get your mower back to work without a costly trip to the repair shop.
You'll Learn About
First Things First: The Simple Checks
Before diving into complex mechanical and electrical systems, always start with the basics. These simple oversights are surprisingly common and can save you a significant amount of time and effort.
Is There Fuel in the Tank?
It sounds obvious, but it’s the first thing to verify. A low or empty fuel tank is a frequent reason for a no-start condition. Also, ensure you are using fresh gasoline, as old fuel can degrade and lose its combustibility, leading to starting issues.
Check the Choke and Throttle Position
For a cold engine, the choke should be fully engaged to enrich the fuel mixture for easier starting. The throttle should typically be set to a high or “fast” position. An incorrect choke or throttle setting can prevent the engine from firing up.
The Crucial Trio: Fuel, Spark, and Air
For any gasoline engine to run, it needs a precise mixture of fuel and air, a well-timed spark to ignite that mixture, and adequate compression to harness the resulting explosion. If your John Deere 100 series is cranking, the battery and starter are likely doing their jobs. The problem lies within this essential trio.
Diagnosing Fuel System Problems
Fuel delivery issues are one of the most common reasons a mower will crank but not start. The engine is turning, but it’s starved of the gasoline it needs to fire.
A systematic check of the fuel system can quickly reveal the source of the problem. Start with the most accessible components and work your way toward the more complex parts of the system.
Clogged Fuel Filter
The fuel filter is a small but vital component that prevents debris from reaching the carburetor. Over time, it can become clogged, restricting or completely blocking the flow of fuel. A clogged fuel filter is a very common cause of starting problems.
To check it, locate the filter in the fuel line between the tank and the carburetor. Visually inspect it for sediment. If it looks dirty, it’s best to replace it as it’s an inexpensive and easy fix.
Faulty Fuel Pump
The fuel pump is responsible for drawing gasoline from the tank and delivering it to the carburetor. A weak or failed pump will prevent the engine from getting the necessary fuel. Symptoms of a failing fuel pump include the engine starting but then dying, or sputtering under load.
You can test the pump by disconnecting the fuel line from the carburetor inlet and cranking the engine. A healthy pump should spurt fuel with each pulse. If there is little to no fuel flow, the pump is likely faulty and needs replacement.
Dirty Carburetor
The carburetor is where fuel and air mix before entering the engine’s combustion chamber. Over time, old fuel can leave gummy deposits that clog the small jets and passages inside. A dirty carburetor is a primary suspect when an engine cranks but won’t start.
A key component to check is the fuel shut-off solenoid at the bottom of the carburetor bowl. When you turn the key to the “on” position, you should hear a faint click from this solenoid. If you don’t hear a click, the solenoid may be stuck or faulty, preventing fuel from entering the main jet.
Investigating the Ignition System
If you’ve confirmed that fuel is reaching the engine, the next step is to ensure there’s a strong spark to ignite it. Ignition system problems can range from a simple fouled spark plug to a failed ignition coil.
A methodical approach to checking the ignition system will help you pinpoint the faulty component and avoid unnecessary replacements. Always ensure the ignition is off and the key is removed before working on these parts.
The Spark Plug: Your First Checkpoint
The spark plug is the final and most critical link in the ignition chain. A dirty, damaged, or improperly gapped spark plug can prevent a strong spark, leading to a no-start condition. Always begin your ignition system diagnosis with the spark plug.
Remove the spark plug and inspect its tip. It should be clean and free of heavy carbon buildup or oil deposits. If it’s fouled, cleaning or replacing it is a simple first step. To test for spark, reconnect the plug to the ignition wire, ground the plug’s threads against the engine block, and crank the engine. You should see a bright, blue spark jump across the electrode gap.
Faulty Ignition Coil
The ignition coil transforms the low voltage from the battery into the high voltage needed to create a spark. If the coil is failing, it may produce a weak spark or no spark at all. This is a common failure point that can cause intermittent or complete starting problems.
Testing an ignition coil often requires a multimeter to check its primary and secondary resistance values. If the readings are outside the manufacturer’s specifications, the coil is defective and must be replaced.
Safety Switches: The Hidden Culprits
John Deere mowers are equipped with several safety switches designed to prevent accidental starting or operation. If any of these switches are faulty or not properly engaged, they will interrupt the starting circuit, even though the engine may still crank.
Understanding the function and location of these switches is crucial for troubleshooting. A malfunctioning safety switch can mimic more serious mechanical or electrical problems, so it’s important to rule them out early in your diagnostic process.
Seat Safety Switch
The seat switch ensures that the operator is seated before the engine will start and the blades will engage. A faulty or disconnected seat switch is a common reason for a mower to crank but not start. You can often test this switch by ensuring you are sitting firmly in the seat while attempting to start the mower.
For diagnostic purposes, some may choose to bypass the switch temporarily, but this should be done with extreme caution. The safety features are there for a reason, and disabling them can be dangerous.
Brake and PTO Switches
The brake must be fully engaged, and the Power Take-Off (PTO), which controls the blades, must be disengaged for the mower to start. Check that the parking brake is set firmly and that the PTO lever or switch is in the “off” position. A misaligned or faulty switch in either of these systems can prevent the ignition from firing.
| Symptom | Potential Cause | Recommended Action |
|---|---|---|
| Engine cranks, no sound of firing | No fuel or no spark | Check fuel level, fuel filter, and test spark plug. |
| Engine sputters and dies | Fuel delivery issue or weak spark | Inspect fuel pump, clean carburetor, check ignition coil. |
| Engine cranks, solenoid clicks, but no start | Fuel shut-off solenoid or safety switch | Listen for solenoid click, check all safety switches (seat, brake, PTO). |
| Engine starts with starting fluid, then dies | Fuel system problem | Indicates a lack of fuel; focus on the fuel filter, pump, and carburetor. |
Engine Compression and Mechanical Issues
If both fuel and spark are confirmed to be good, the issue may lie with the engine’s mechanical integrity, specifically its ability to create compression. While less common, internal engine problems can certainly cause a no-start situation.
Diagnosing these issues often requires more specialized tools and knowledge. However, there are some preliminary checks you can perform to determine if a deeper mechanical problem exists.
Low Engine Compression
Compression is created as the piston moves up in the cylinder, squeezing the air-fuel mixture. Without adequate compression, ignition cannot occur. Low compression can be caused by worn piston rings, a blown head gasket, or improperly adjusted valves.
A compression test using a gauge that screws into the spark plug hole will give you a definitive reading of the engine’s health. Low readings indicate an internal engine problem that will likely require professional repair.
Valve Adjustment and Timing
The engine’s valves control the flow of the air-fuel mixture into the cylinder and the exhaust gases out. If the valves are not opening and closing at the correct time (timing) or have improper clearance, it can lead to a loss of compression and a failure to start. Incorrect valve clearance is a frequently overlooked issue.
Adjusting the valves is a more advanced maintenance task but can often resolve starting problems on higher-hour engines. This is a critical component of what makes the John Deere iTorque Engine so reliable. Proper valve maintenance ensures optimal performance and longevity.
Putting It All Together: A Final Checklist
Troubleshooting a John Deere 100 series that cranks but won’t start requires a logical and patient approach. By working through the potential causes systematically, you can isolate the problem and perform the necessary repairs. Remember that when considering different mower brands, reliability is a key factor, as highlighted in comparisons like Husqvarna vs John Deere vs Craftsman.
Start with the simple checks, then move on to the core components of fuel, spark, and air. Don’t forget to verify the operation of all safety switches. With a little diligence, you can often solve the problem yourself and get back to maintaining your beautiful lawn. The same principles of maintenance and care apply to other equipment, like the venerable John Deere 826 snowblower.