Sill Seal Code Requirements: Is This Critical Gasket Actually Required by Law?
You’re standing on your freshly poured foundation, ready for the framing to go up. But then comes the question that stumps even experienced builders: do you really need to install that thin foam roll of sill seal between the concrete and the wooden sill plate? Is it just a “best practice,” or is a sill seal required by code? This confusion is a huge problem, leading many to skip a small step that has massive consequences.
Failing to properly seal this critical junction can lead to a host of issues you can’t easily fix later. We’re talking about persistent drafts, shockingly high energy bills, moisture wicking into your home’s structure, and an open invitation for pests like termites and carpenter ants. The core of the problem lies in the vague language of building codes and the desire to cut corners on what seems like a minor detail.
You'll Learn About
Decoding the Building Code: What the IRC *Actually* Says
Let’s get straight to the point: most building codes, including the International Residential Code (IRC), do not contain a sentence that says, “You must use a sill seal gasket.” However, this does not mean you can skip sealing this joint. The code mandates the outcome, not always the specific product used to achieve it.
The key lies in sections that govern the building’s thermal envelope. Specifically, IRC Section N1102.4.1 states that the building thermal envelope must be durably sealed to limit air infiltration. It goes on to list numerous areas that must be sealed, including the junction of the foundation and the sill plate. Therefore, while the code doesn’t name the product, it legally requires you to air-seal that gap, and a foam sill seal is the most common, effective, and accepted method to do so.
Why You Can’t Afford to Skip the Sill Seal (Even if You *Think* You Can)
Thinking that a pressure-treated sill plate is enough protection is a costly mistake. Pressure-treated wood resists rot from moisture, but it does nothing to stop air leakage. That small, continuous gap along the entire perimeter of your home acts like an open window, compromising your home’s efficiency and comfort in several critical ways.
Preventing Costly Air Infiltration
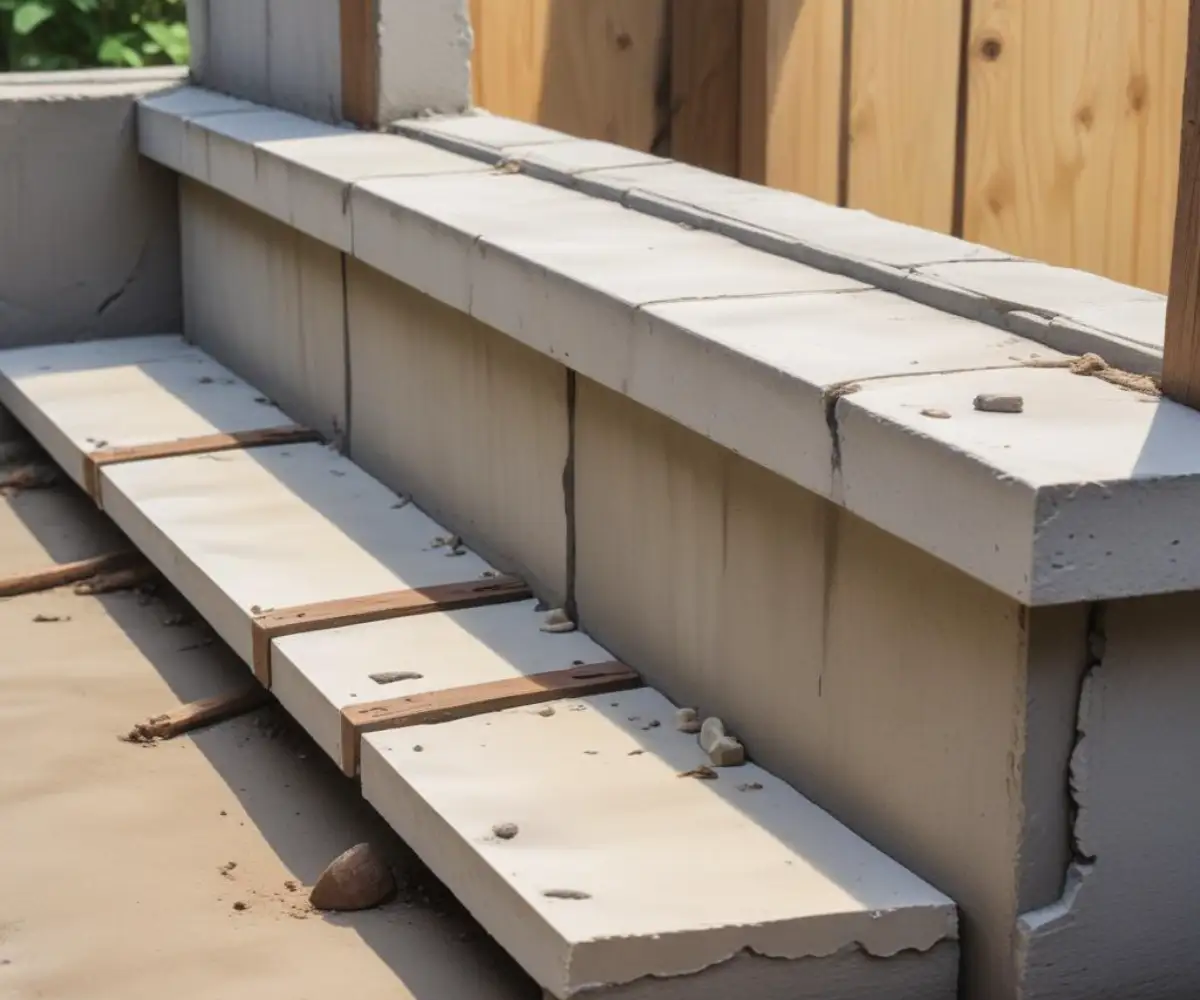
The primary job of a sill seal is to act as a gasket, compressing between the sill plate and the foundation. Concrete is never perfectly smooth, and wood is never perfectly flat. The foam gasket fills these imperfections, creating an airtight seal that stops drafts, improves the overall energy efficiency of your home, and ultimately lowers your heating and cooling bills.
A Critical Moisture and Vapor Barrier
Concrete is porous and wicks moisture from the ground through a process called capillary action. A closed-cell foam sill seal provides a capillary break, preventing this moisture from being absorbed by the wooden sill plate. This is crucial for preventing mold growth and wood rot at the base of your walls, preserving your home’s structural integrity.
An Impenetrable Barrier for Insects
That tiny gap between the foundation and the sill plate is a superhighway for insects. Termites, ants, and other pests can easily enter your home’s framing through this unprotected joint. A properly installed sill seal closes this entry point, providing an essential layer of pest defense.

Sill Seal vs. Alternatives: Making the Right Choice
While foam sill seal gaskets are the most popular choice, builders sometimes consider other methods like using caulk or liquid-applied sealants. However, these alternatives often fall short in providing a complete, durable solution. A high-quality sealant can work but is often more expensive and difficult to apply correctly over the entire perimeter.
The foam gasket offers a simple, cost-effective, and uniform solution that inspectors easily recognize as compliant with the code’s air-sealing requirements. Ensuring your power tools are ready for projects like this is essential; a dead battery can cause unnecessary delays, which is why knowing how to revive a DeWalt 20v battery can be a real lifesaver on the job site.
Comparing Sill Sealing Methods
To make the best decision for your project, it’s helpful to compare the most common methods for sealing the sill plate-to-foundation joint. Each has its own set of advantages and disadvantages in terms of cost, installation, and overall performance.
| Sealing Method | Pros | Cons | Typical Cost |
|---|---|---|---|
| Foam Sill Seal Gasket | Inexpensive, easy & fast to install, provides a capillary break, acts as a gasket on uneven surfaces, universally code-accepted. | Can be damaged during installation, standard versions may not seal large gaps perfectly. | Low |
| Caulk or Sealant (2 Beads) | Can provide a very tight air seal if applied perfectly. | Difficult to apply evenly, doesn’t provide a full capillary break, may not fill larger voids, can be messy and time-consuming. | Moderate |
| Liquid-Applied Flashing | Creates a monolithic, waterproof, and airtight seal. Excellent for superior performance. | Significantly more expensive, requires a clean and dry surface, longer application time. | High |
Step-by-Step: How to Install a Sill Seal Correctly
Proper installation is key to getting the full benefit of your sill seal. It’s a simple process, but attention to detail is critical. Rushing this step can compromise the seal and negate the purpose of using it in the first place.
Step 1: Prepare the Foundation
Your first step is to ensure the top of the concrete foundation is clean and free of debris. Sweep away any dust, dirt, or small concrete chunks. A clean surface ensures the gasket can lay flat and create a proper seal.
Step 2: Roll Out the Gasket
Starting at a corner, roll the foam sill seal out along the entire perimeter of the foundation where the sill plates will sit. The gasket should be flush with the exterior edge of the foundation. Use a utility knife to cut holes for the anchor bolts to pass through.
Step 3: Secure the Sill Plate
Carefully place your pressure-treated sill plate over the anchor bolts and onto the sill seal gasket. Press down firmly. Secure the sill plate with washers and nuts on the anchor bolts, tightening them until the foam compresses slightly, creating that essential airtight seal.
Step 4: Seal the Seams and Gaps
Where two ends of the sill seal roll meet, overlap them by at least six inches to ensure there are no gaps. For maximum protection, you can apply a bead of caulk or sealant at these seams and around each anchor bolt penetration for a truly belt-and-suspenders approach to air sealing.
Common Mistakes to Avoid (And How to Fix Them)
Even a straightforward task like installing a sill seal can go wrong. Being aware of common pitfalls can help you avoid them and ensure a perfect installation every time. Just as choosing the right size posts is vital for a deck, like when deciding between pergola 4×4 or 6×6 posts, getting the details right at the foundation is fundamental.
One common mistake is using a sill seal that is narrower than the sill plate. Always use a gasket that matches the width of your lumber (e.g., a 5.5-inch gasket for a 2×6 plate). Another error is stretching the foam too tightly as you unroll it, which can cause it to tear or fail to compress properly. Lay it down gently without tension.
Frequently Asked Questions About Sill Seals
Is a sill seal waterproof?
Most foam sill seals are made of closed-cell polyethylene, which is moisture-resistant but not completely waterproof. Its main role in moisture management is acting as a capillary break, stopping water from wicking up from the concrete into the wood.
Can I double up the sill seal for a better seal?
It is generally not recommended to stack two layers of standard sill seal. If you have significant irregularities in your foundation, it is better to use a single, thicker “structural” gasket designed for such applications or address the high and low spots on the concrete before installation.
Do I need a sill seal on interior walls?
No, a sill seal is only required for the thermal envelope of the building. This means it is installed under sill plates that are on the exterior foundation walls, separating the conditioned interior space from the outside.
The Final Verdict
So, is a sill seal required by code? The answer is both no and yes. While the code might not name the product, it unequivocally mandates the function that a sill seal performs: to create a continuous air barrier at the junction of the foundation and sill plate. It is an incredibly small investment of time and money that pays massive dividends in energy efficiency, moisture protection, and pest prevention. Proper sealing of the entire building envelope is crucial, extending to every detail, even knowing how to secure an extension cord to an outside wall without creating new air or water leaks. Skipping it is not just a violation of the spirit of the building code—it’s a costly mistake that will impact the health and durability of your home for its entire lifespan.

