Is Sealcoating Worth It? Don’t Resurface Until You Read This
Every homeowner with an asphalt driveway eventually faces the same nagging problem. The deep, rich black color starts to fade to a dull gray, tiny cracks begin to appear like spiderwebs, and you start to wonder if a massive, expensive replacement is looming on the horizon.
Sealcoating is often presented as the ultimate solution, a protective shield that can turn back the clock. But is it just a temporary cosmetic fix, or does it genuinely protect your investment and save you money in the long run?
This comprehensive guide will provide an unbiased, in-depth look at whether sealcoating is truly worth the cost for your driveway.
You'll Learn About
What Exactly Is Sealcoating and What Does It Do?
At its core, sealcoating is the process of applying a thin, liquid layer over an existing asphalt surface. This coating is typically an emulsion containing asphalt or coal tar, water, mineral fillers, and various additives that form a durable, protective barrier once cured.
Its primary purpose is preventative maintenance. Think of it less like paint and more like a sacrificial layer that absorbs damage from the elements, shielding the more critical and expensive asphalt structure underneath.
The Science of Protection
Asphalt is held together by a petroleum-based binder. When exposed to the elements, this binder begins to degrade through a process called oxidation. UV rays from the sun are the primary culprit, breaking down the binder and causing the asphalt to become brittle, faded, and weak.
Sealcoating forms a barrier that blocks these harmful UV rays. It also provides critical protection against water penetration, which can be devastating. Water seeps into small cracks, and in colder climates, it freezes and expands, turning minor flaws into major problems. Furthermore, it resists damage from oil, gasoline, and other chemical spills that can soften and dissolve the asphalt binder.
The Real Costs: Breaking Down the Price of Sealcoating
The cost of sealcoating can be broken down into two main approaches: hiring a professional or tackling the project yourself. Each has distinct financial and practical implications that are important to consider.
Professionally applied sealcoating generally costs between $0.30 and $0.50 per square foot. For a typical two-car driveway, this often translates to a total cost of a few hundred dollars. While the upfront cost is higher, you are paying for commercial-grade materials, specialized equipment, and the expertise to ensure the job is done correctly.
A DIY approach can be cheaper initially, with sealant buckets from hardware stores costing around $15 to $25 each. However, you must also factor in the cost of tools like squeegees, brushes, and potentially a pressure washer for proper cleaning. The biggest investment in a DIY project is your time and physical effort.
Cost and Effort Comparison: Professional vs. DIY
To help you decide, here is a detailed breakdown of what each approach entails.
| Feature | Professional Service | DIY Project |
|---|---|---|
| Average Cost | $0.30 – $0.50 per sq. ft. | $0.15 – $0.25 per sq. ft. (materials only) |
| Material Quality | Commercial-grade, often higher solids content for durability. | Retail-grade, may be less durable and require more frequent application. |
| Labor & Time | Minimal effort; completed in a few hours by a crew. | Significant physical effort; can take a full day or weekend. |
| Equipment | Professional spray rigs and power cleaning equipment. | Requires purchase of squeegees, brushes, cleaning supplies. |
| Skill & Outcome | Even, consistent finish with proper prep and application. | Risk of uneven application, streaks, or missed spots. |
| Warranty | Often includes a warranty on workmanship and materials. | No warranty; any mistakes are your responsibility to fix. |
The Undeniable Benefits: Why Sealcoating Is a Smart Investment
When performed correctly on a driveway that is in good structural condition, the advantages of sealcoating are significant and can far outweigh the costs.
Dramatically Extends Pavement Lifespan
This is the most crucial benefit. By shielding the asphalt from oxidation and water damage, sealcoating can significantly slow down deterioration. A regularly maintained and sealed driveway can last up to 20 years or more, whereas a neglected driveway may fail in half that time.
Saves You Thousands on Future Repairs
Preventative maintenance is always more cost-effective than reactive repairs. A sealcoating application every 2-3 years can prevent the formation of large cracks and potholes. This proactive approach helps you avoid major issues that require expensive patching or, in the worst-case scenario, a complete repaving, which can cost thousands. For example, preventative sealing can stop water from seeping into the sub-base, which over time can cause serious issues like a sunken area at the end of your driveway.
Boosts Your Home’s Curb Appeal and Value
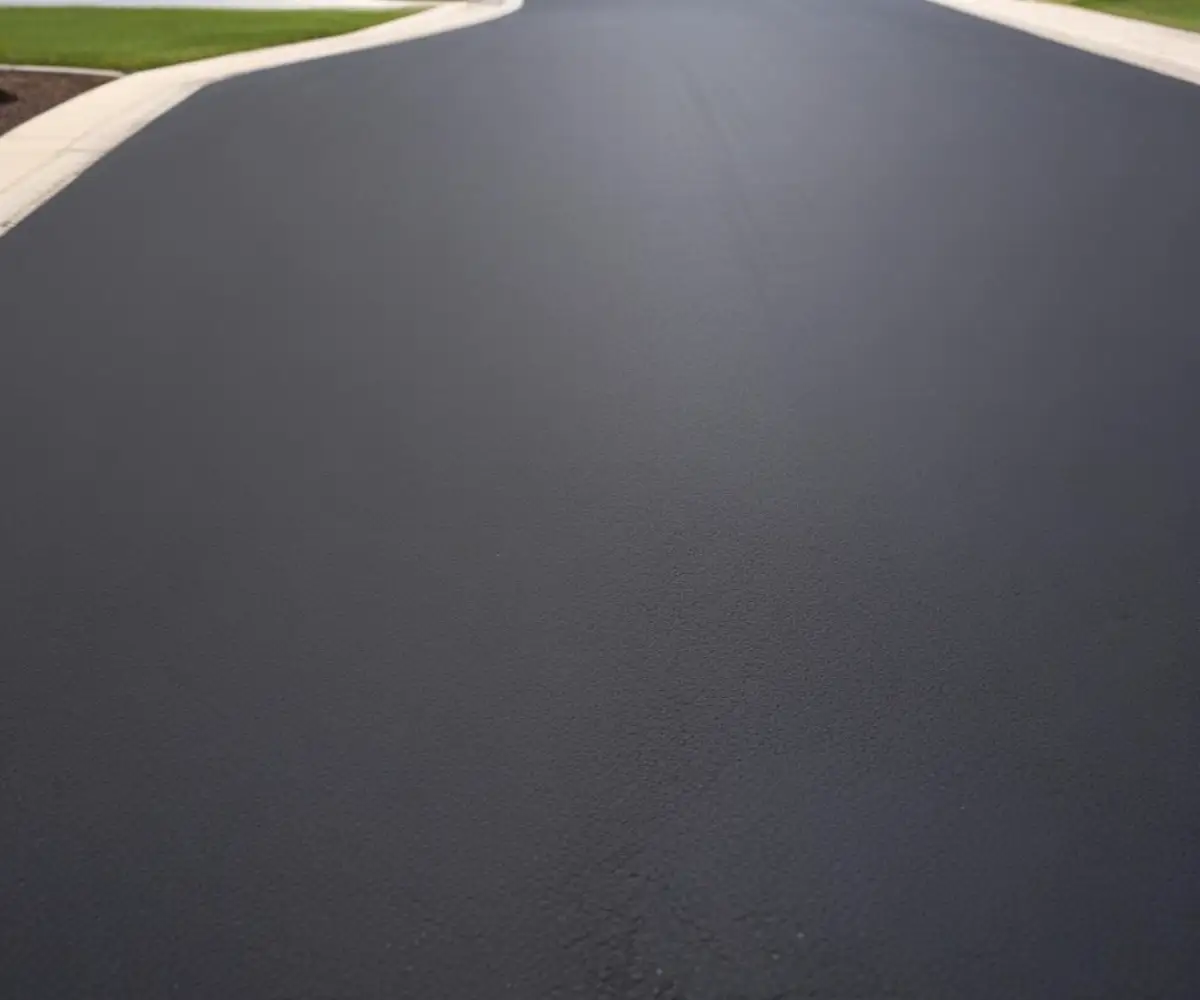
Never underestimate the power of a first impression. A faded, cracked driveway can make an otherwise beautiful property look neglected. Sealcoating restores that deep, rich black finish, instantly making your entire home look cleaner, sharper, and more well-maintained, which can directly contribute to its market value.
Simplifies Cleaning and Maintenance
The smooth, non-porous surface created by a fresh sealcoat is much easier to sweep and clean. Dirt and debris don’t get trapped in small crevices, and oil or fluid spills will bead up on the surface, allowing you to clean them up before they can cause a permanent stain.
The Hidden Drawbacks and Common Myths You Must Know
Sealcoating is a powerful tool, but it is not a cure-all. Understanding its limitations is key to avoiding wasted money and potential damage.
It Is Not a Structural Fix
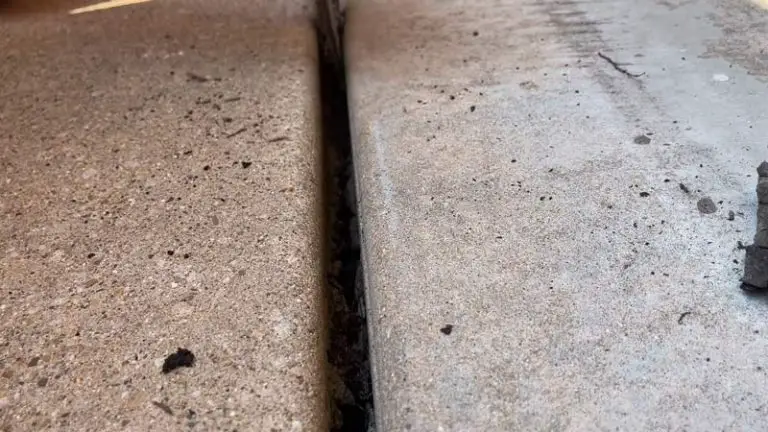
This is the most important myth to dispel. Sealcoating is a surface treatment, not a repair method. It will not fix existing potholes, large “alligator” cracks, or underlying foundation issues. Applying sealer over a structurally compromised driveway is like putting a bandage on a broken bone—it hides the problem but does nothing to fix it and is a complete waste of money.
The Critical Danger of Over-Sealing
More is not better when it comes to sealcoating. Applying sealer too frequently, such as every single year, can cause significant problems. This leads to a thick, brittle buildup of sealant that can crack, flake, and peel away, creating an ugly, scaly appearance that is difficult and expensive to fix. For most residential driveways, a schedule of every 2 to 3 years is ideal.
Material Quality and Contractor Skill Matter Immensely
Not all sealants are created equal. Coal tar emulsions have historically been common but face increasing environmental and health scrutiny due to their high levels of PAHs. Asphalt-based emulsions are a more common and generally safer alternative for residential use. Furthermore, an inexperienced contractor might use a diluted product, apply it too thickly, or fail to properly prepare the surface, all of which will lead to a failed application.
The Verdict: Is Sealcoating Actually Worth It for *You*?
The answer is not a simple yes or no for everyone. The value of sealcoating depends entirely on the current condition of your driveway and your long-term goals as a homeowner.
It’s Absolutely Worth It If…
- Your driveway is in good structural condition with only minor surface imperfections or hairline cracks.
- You live in a climate with harsh sun, heavy rainfall, or significant freeze-thaw cycles.
- You want to maximize your property’s curb appeal and maintain its value.
- You view it as a long-term investment in preventative maintenance to avoid much larger costs down the road.
You Should Probably Skip It If…
- Your driveway has major structural problems like deep cracks, potholes, or drainage issues. These must be professionally repaired first.
- Your asphalt is brand new. You should wait at least 6 to 12 months for the oils in the new asphalt to fully cure before the first sealcoat.
- Your driveway was sealed within the last two years and is still in excellent shape.
How to Ensure a Successful Sealcoating Job
Whether you hire a pro or do it yourself, the success of the project hinges on a few non-negotiable steps.
Step 1: Meticulous Preparation
The surface must be impeccably clean. This means using a power washer or a stiff bristle broom to remove all dirt, dust, and debris. Any oil stains must be treated with a degreaser, and all existing cracks should be filled with a dedicated crack-filling product and allowed to cure.
Step 2: Choose the Right Materials and Method
For most residential projects, an asphalt-based emulsion sealer is a reliable choice. The application can be done with a specialized squeegee or a spray system. A squeegee application often results in a thicker, more durable coat, while spraying can provide a more uniform appearance if done by a skilled professional.
Step 3: Obey the Weather Forecast
Weather is the ultimate deciding factor. The temperature should be at least 55°F (13°C) and rising, and there should be no rain in the forecast for at least 24-48 hours. Applying sealer in cold, damp, or overly humid conditions will prevent it from curing properly, leading to a weak and ineffective coating.
The Bottom Line on Your Driveway Investment
Sealcoating is not a miracle solution, but it is an incredibly effective preventative maintenance strategy. When applied at the right time, on a properly prepared surface, and in the right weather conditions, it is unequivocally worth the investment.
By spending a small amount every few years, you protect the much larger investment of your asphalt driveway. You save significant money on future repairs, extend the functional life of your pavement by years, and dramatically enhance the curb appeal of your home. The key is to understand its purpose and limitations and to ensure the job is done right.