Is It OK to Put Plywood Over Attic Insulation? The Ultimate Guide
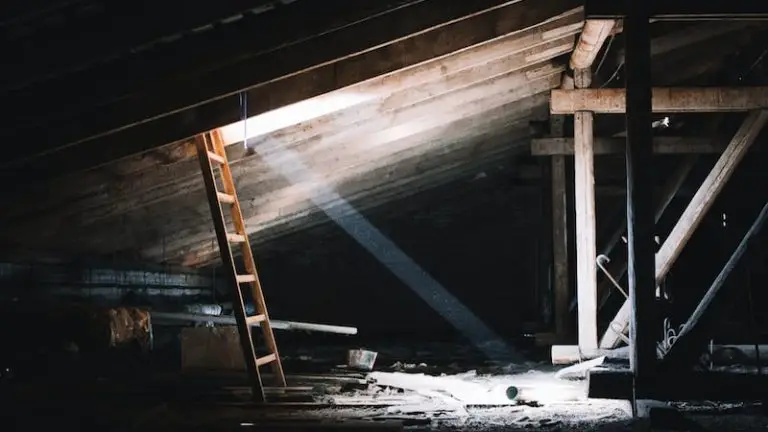
That unused attic space is tempting. It seems like the perfect, out-of-the-way spot for holiday decorations, seasonal clothing, and old keepsakes.
Many homeowners think the solution is simple: just lay down some plywood sheets over the insulation and create an instant floor. This is a critical mistake that can cost you dearly.
You'll Learn About
The Hidden Dangers of Flooring Your Attic Directly
Laying plywood directly on top of your attic insulation is a common DIY project, but it creates a host of problems. Understanding these issues is the first step toward finding a safe and effective storage solution.
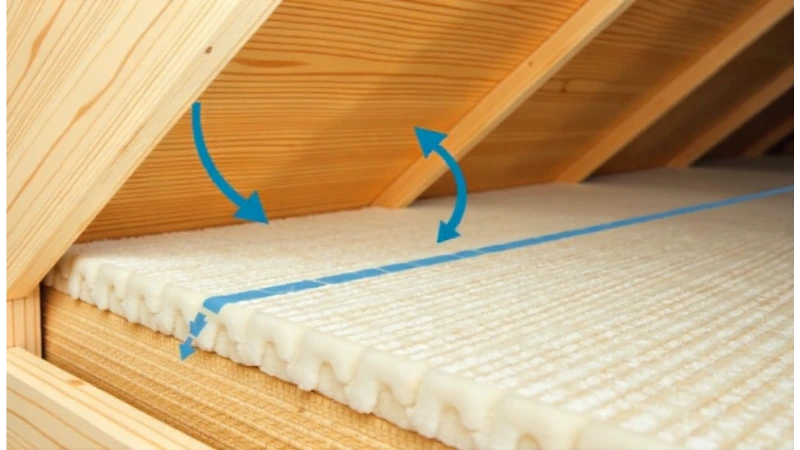
Problem #1: Crushing Your Insulation’s Power
Your attic insulation, whether it’s the fluffy blown-in type or fiberglass batts, works because of the tiny air pockets trapped within it. These pockets are what resist the flow of heat, keeping your home warmer in the winter and cooler in the summer.
When you place heavy plywood sheets directly on top, you compress the insulation. Compressed insulation loses its R-value, which is its ability to insulate effectively. Even the weight of the plywood itself can reduce its performance.
Problem #2: Creating a Moisture and Mold Trap
Proper attic ventilation is crucial for a healthy home. Air needs to flow freely from your soffit vents (at the lower edges of the roof) to the ridge or gable vents (at the top). This circulation helps exhaust hot, moist air that rises from the living space below.
Placing plywood directly on the joists can block this vital airflow. Trapped moisture can lead to condensation, which drips onto your insulation, rendering it useless and creating the perfect environment for mold, mildew, and even wood rot in your roof structure.
Problem #3: Ignoring Structural Weight Limits
The bottom chords of your roof trusses, often called ceiling joists, are typically designed to support the weight of your ceiling drywall and the insulation—and not much else. They are not usually built to the same standards as the floor joists between the main levels of your house.
Overloading your attic joists can lead to sagging ceilings, cracked drywall, and in extreme cases, structural failure. Most standard attics are only rated for about 10-20 pounds per square foot (psf) for storage.
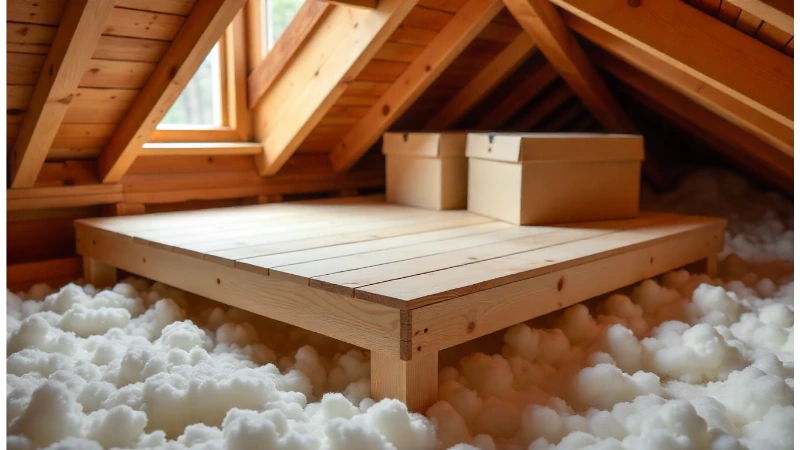
The Right Way: Build a Raised Attic Storage Platform
So, how can you gain that valuable storage space without compromising your home’s energy efficiency and structural integrity? The answer is to build a raised platform that sits above the full, uncompressed depth of your insulation.
This method allows your insulation to do its job and lets air circulate freely underneath. It’s the professional-approved solution for safe and effective attic storage.
Step 1: Assess Your Attic’s Suitability
Before you begin, check a few key things. First, measure your current insulation depth. For most climates, you need at least 10 to 14 inches of insulation to achieve a recommended R-value of R-38. Colder climates may require R-49 or even R-60, which can be 16 inches or deeper.
Next, inspect your joists. Consulting a structural engineer is the safest bet to determine the true weight capacity of your attic. They can tell you if reinforcement is needed. This is especially important if you are considering something complex like framing windows side by side, as structural integrity is paramount.
Step 2: Gather Your Materials and Tools
You’ll need lumber to create the raised subfloor. Using 2×6 or 2×8 boards is common, as this provides enough height to clear deep insulation. You’ll also need plywood (1/2-inch or 3/4-inch), screws, a measuring tape, and a saw.
Think about what you’ll be storing. While plywood is strong, you might wonder if other materials are suitable for construction projects. For instance, some people ask is cardboard sheathing good to use on a house; for attic flooring, wood products are the standard for their strength.
Step 3: Construct the Raised Frame
The goal is to build a new, elevated subfloor perpendicular to your existing ceiling joists. This distributes the load across multiple joists.
Start by laying your 2x6s or 2x8s on their edge, running them across the main ceiling joists. Space them 16 or 24 inches on center. Securely screw this new frame to the ceiling joists below. Avoid using a hammer, as the vibrations can cause cracks in the ceiling below.
Be mindful of any electrical wires or junction boxes. Never cover a junction box; ensure it has a proper cover and remains accessible. You may need to notch the bottom of your new frame supports to safely accommodate wires.
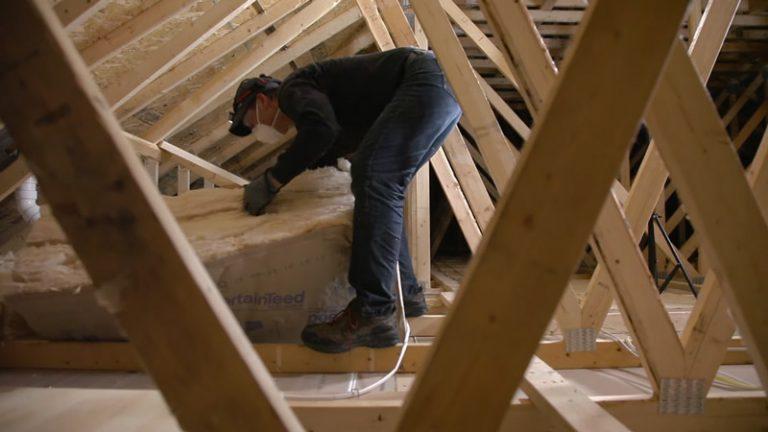
Step 4: Add Insulation and Plywood Decking
With the raised frame in place, you can add more insulation into the bays to ensure you have a consistent, deep layer across the entire attic floor. Use unfaced insulation batts for this step.
Now you can lay your plywood sheets on top of the new, raised frame and screw them down. It’s often easier to cut the 4×8 plywood sheets in half to get them through a small attic hatch.
Attic Storage Best Practices
Once your platform is built, organize it efficiently. This will make the space more useful and prevent you from having to search through piles of belongings.
Using clear, stackable plastic bins is far better than cardboard boxes. Plastic protects your items from dust and potential moisture while letting you see the contents at a glance. Label everything clearly for even faster access.
The attic is a great place for storage, but some mechanical systems also reside there. If you’re looking for clever ways to organize space in other utility areas, you might be interested in ideas on how to hide a furnace and water heater in a garage, applying similar principles of access and safety.
Comparing Attic Flooring Approaches
To summarize the key differences, here is a comparison of the wrong way versus the right way to create an attic floor for storage.
| Feature | Direct Plywood Method (Incorrect) | Raised Platform Method (Correct) |
|---|---|---|
| Insulation Impact | Compresses insulation, drastically reducing R-value and energy efficiency. | Preserves full insulation depth and effectiveness. No compression. |
| Ventilation & Moisture | Blocks airflow, trapping moisture and leading to mold, mildew, and rot. | Allows for proper air circulation underneath, preventing moisture issues. |
| Structural Safety | Can overload ceiling joists not designed for storage loads, causing ceiling sag. | Distributes weight more effectively when built perpendicular to joists. |
| Cost & Effort | Initially cheaper and faster, but leads to high long-term costs (energy bills, repairs). | Requires more upfront material and labor but protects your home and saves money long-term. |
Final Recommendations
While the idea of quickly laying plywood over your attic insulation is appealing, the risks far outweigh the benefits. Do not compress your insulation.
Taking the time to build a raised storage platform is the only safe and effective way to turn your attic into a usable storage area. It protects your home’s energy efficiency, prevents dangerous moisture buildup, and respects the structural limits of your house.