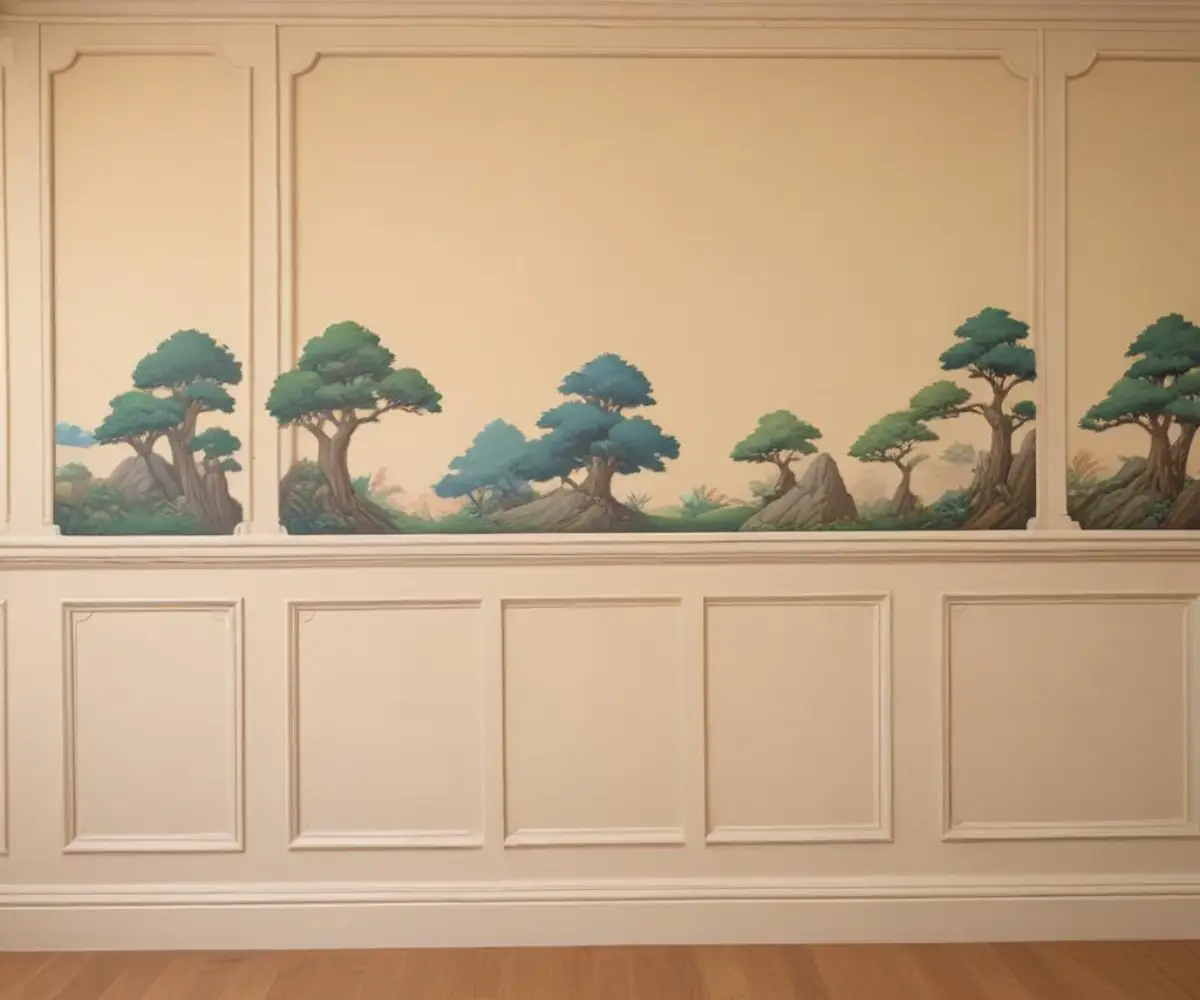
Installing Wainscoting on Plaster Walls: Your Ultimate No-Fail Guide
There’s an undeniable charm to older homes with original plaster walls. They have a depth and solidity that modern drywall often lacks. But that historic character can also bring a wave of uncertainty when it comes time for updates. You want to add elegant wainscoting, but you’re haunted by a crucial question: can you install wainscoting on plaster walls without turning them into a pile of dust and regret?
Many homeowners fear that hammering nails into their plaster walls will cause catastrophic cracking and crumbling. This is a valid concern, as plaster is more brittle than drywall. The good news is that with the right knowledge and techniques, you can absolutely achieve a stunning, professional-quality wainscoting installation on your plaster walls.
You'll Learn About
Why Plaster Walls Demand a Different Approach
Before you pick up a single tool, it’s essential to understand what you’re working with. Plaster walls are not a monolithic surface. They are a system, typically consisting of wooden strips called lath nailed across wall studs, with multiple layers of plaster applied over them. This construction is what makes them so durable but also tricky for modern fastening methods.
Standard electronic stud finders often give false readings on plaster and lath because the density variations confuse them. Furthermore, the simple act of hammering can send vibrations through the brittle plaster, leading to cracks. The secret to success lies in a method that combines strong adhesion with strategic, minimal nailing directly into the structural studs.
The Power Duo: Adhesive and Precision Nailing
The core strategy for installing wainscoting on plaster is to rely on high-quality construction adhesive as your primary fastening method. This distributes the load across the wall surface instead of concentrating stress in one spot. Finish nails are then used sparingly but effectively to hold the components in place while the adhesive cures and to provide additional security by anchoring into the wall studs you’ve carefully located.
Essential Tools and Materials for the Job
Gathering the right supplies from the start will make the entire process smoother and more professional. Don’t be tempted to skip a tool; each one plays a vital role in navigating the unique challenges of plaster walls. Having everything on hand prevents frustrating interruptions and ensures a higher quality result.
This comprehensive list covers everything from wall preparation to the final finishing touches. Investing in the right adhesive and using the correct nail size are particularly critical for a secure and lasting installation that respects the integrity of your plaster walls.
| Item | Description | Pro Tip |
|---|---|---|
| Wainscoting Panels/Boards | Choose from MDF, solid wood, or PVC. MDF is cost-effective, while wood offers a classic look. | Let the wainscoting material acclimate in the room for at least 48 hours to prevent warping. |
| Construction Adhesive | High-strength, gap-filling adhesive. Look for brands like Loctite Power Grab or similar paneling adhesives. | Apply in a serpentine “S” pattern on the back of larger panels for maximum coverage and bonding strength. |
| Finish Nailer & Nails | An 18-gauge brad nailer is ideal. You’ll need nails long enough to go through the wainscoting, plaster, lath, and into the studs (typically 2″ to 2.5″). | Test the nailer’s depth setting on a scrap piece of wood to avoid driving nails too deep into your wainscoting. |
| Stud Finder | A high-quality magnetic stud finder or a deep-scan electronic model designed for plaster. | A strong neodymium magnet tied to a string is an excellent low-tech method to find the nails holding the lath to the studs. |
| 4-Foot Level & Chalk Line | Crucial for establishing a perfectly level guideline for the top of your wainscoting. | A laser level can make this process faster and more accurate, especially in larger rooms. |
| Tape Measure & Pencil | For accurate measurements and marking cuts. | Measure twice, cut once. This old adage is especially true with expensive trim materials. |
| Miter Saw | Essential for clean, angled cuts on your baseboard, chair rail, and trim pieces. | A sharp, high-tooth-count blade will give you the cleanest cuts on MDF and finished wood. |
| Caulk Gun & Caulk | For applying adhesive and sealing gaps with paintable latex caulk. | Cut the tip of the caulk tube at a 45-degree angle for a cleaner, more controllable bead. |
| Wood Filler & Putty Knife | For filling nail holes and any minor imperfections. | Overfill nail holes slightly, as wood filler can shrink as it dries. Sand flush once cured. |
The Crucial Prep Work: Setting Yourself Up for Success
Proper preparation is more than half the battle when working with plaster. Rushing this stage is the number one cause of problems down the line. A carefully prepared wall is the foundation for a flawless wainscoting installation that will stand the test of time.
Step 1: Wall Inspection and Repair
Before you begin, thoroughly inspect the walls. Look for any existing cracks, holes, or soft, crumbling spots. Minor hairline cracks are often just cosmetic, but larger, more significant issues should be addressed first. Understanding the nature of plaster behavior is key; for instance, sometimes issues can arise from structural shifts, which might be a larger concern like the ones homeowners notice when seeing cracks in the ceiling after a new roof installation.
Step 2: Locating Wall Studs (The Right Way)
This is the most critical step for a secure installation. Since electronic stud finders can be unreliable, use a multi-pronged approach. Start with a strong magnetic stud finder to detect the vertical lines of nails or screws that fasten the wood lath to the studs. Slide it slowly across the wall and mark each spot where it sticks. You should see a vertical pattern emerge every 16 or 24 inches. You can also try the old-fashioned “knock test,” listening for a solid thud instead of a hollow sound. Once you find one stud, you can often measure 16 inches over to find the next. Mark your stud locations with a pencil from the floor to above your planned wainscoting height.
Step 3: Planning Your Layout
Determine the final height of your wainscoting. A common rule of thumb is to have it cover the bottom one-third of the wall’s height. Once you’ve decided on the height, use your level and a chalk line to snap a perfectly level reference line around the entire room. This line represents the top of your wainscoting and is your guide for the entire installation.
The Installation Process: A Step-by-Step Guide
With your walls prepped and your layout marked, you’re ready for the main event. Work methodically, focusing on one wall section at a time. The combination of adhesive and precise nailing will ensure a strong bond without stressing the delicate plaster.
Step 1: Install the Baseboard and Top Rail First
Your main horizontal pieces—the new baseboard and the top chair rail—are your primary structural anchors. Start by installing your new, thicker baseboard. Apply a generous bead of construction adhesive to the back and press it against the wall. Then, drive 2.5-inch finish nails through the baseboard directly into the studs you marked earlier. Repeat this process for the top rail, aligning it perfectly with your chalk line.
Step 2: Attaching the Wainscoting Panels or Boards
Now, it’s time to fill in the space between your top and bottom rails. Whether you’re using large panels or individual stiles (vertical boards), adhesive is your best friend here. Apply a liberal amount of construction adhesive to the back of each piece. Press it firmly against the wall, giving it a slight wiggle to spread the adhesive and create a strong bond.
Use your brad nailer to secure the panels. Drive nails into the sturdy top and bottom wood rails you’ve already installed. For panels that land over a stud in the middle of the wall, you can add a few nails directly into the stud for extra security. This technique minimizes the number of nails going directly into the unsupported plaster and lath.
Step 3: Working Around Obstacles
Inevitably, you will encounter electrical outlets, light switches, and corners. For outlets, turn off the power at the breaker, remove the cover plate, and measure and cut a precise opening in your wainscoting panel before applying adhesive. You will likely need to install an outlet box extender to bring the receptacle flush with the new surface. For inside and outside corners, use your miter saw to make clean 45-degree cuts for a professional seam.
The Finishing Touches That Make a Difference
A great installation can be undermined by poor finishing work. These final steps are what separate a DIY project from a professional-quality renovation. Take your time here to create a seamless, integrated look that appears as though it has always been part of the room.
The goal is to make the wainscoting look like a single, cohesive unit. This means meticulously filling every hole and sealing every gap. A smooth, well-prepped surface is the key to a beautiful final paint job that elevates the entire space.
Filling, Caulking, and Painting
Use a high-quality wood filler to fill every single nail hole. Once it’s dry, lightly sand the filler flush with the wood surface. Next, apply a thin, smooth bead of paintable latex caulk along the top edge where the chair rail meets the wall, in all the vertical seams, and along the baseboard. This crucial step hides any minor gaps, especially important with older, slightly uneven plaster walls. Once the caulk is dry, you’re ready to prime and paint for a beautiful, finished look.
Common Problems and Expert Solutions
Even with careful planning, you might encounter a few hiccups, especially in an older home. Don’t panic. Most issues have straightforward solutions if you address them calmly and correctly.
“My plaster cracked slightly when I nailed it!”
Don’t worry. Small hairline cracks can easily be fixed with a bit of flexible, paintable caulk or a small amount of plaster patching compound before you do your final painting.
“My walls are incredibly uneven and wavy.”
This is very common in old houses. A gap-filling adhesive will help, but you may also need to scribe the back of your trim. This involves tracing the wall’s contour onto the board and carefully cutting or sanding it for a tighter fit. Flexible caulk is also essential for hiding the remaining gaps.
“I have to update other old fixtures in the room.”
A wainscoting project is often part of a larger room update. If you’re dealing with other outdated elements, it’s a good time to consider modern replacements. For example, if you have an old, non-functional system, you might explore some creative Nutone intercom replacement ideas to repurpose the space it occupies.
A Final Note on Home Safety
When undertaking any DIY project, especially in an older home, it’s a good idea to be mindful of overall home safety. Ensure your workspace is well-ventilated, particularly when painting or using adhesives. It’s also a good time to check smoke detectors and be aware of any unusual electrical behavior. For example, something as seemingly minor as a home fragrance device acting strangely could be a sign of an electrical issue, which is why it’s good to know why your Glade Plug-in might be smoking and to address such concerns promptly.
By following these steps, you can confidently install beautiful wainscoting on your plaster walls, adding timeless character and value to your home without compromising its historic integrity.