Stop Ruining Cabinet Doors! The Ultimate IKEA Hinge Drilling Guide
There’s a familiar moment of dread in the world of DIY furniture assembly. It’s the point where you’ve built the cabinet frame, and all that’s left is to hang the doors. You feel the finish line is near, but this is where precision matters most, and where it can all go wrong.
You attach the hinges, hang the door, and step back, only to see a crooked, misaligned mess. The gaps are uneven, the doors overlap, or they refuse to close properly. This frustrating experience often stems from one critical, yet overlooked step: drilling the hinge holes with perfect accuracy.
The secret to avoiding this DIY nightmare and achieving a professional, flawless finish lies in a simple, inexpensive tool: the IKEA hinge drilling template. This guide will demystify the process, turning a task filled with anxiety into one of confidence and precision.
You'll Learn About
What is an IKEA Hinge Drilling Template and Why Is It Essential?
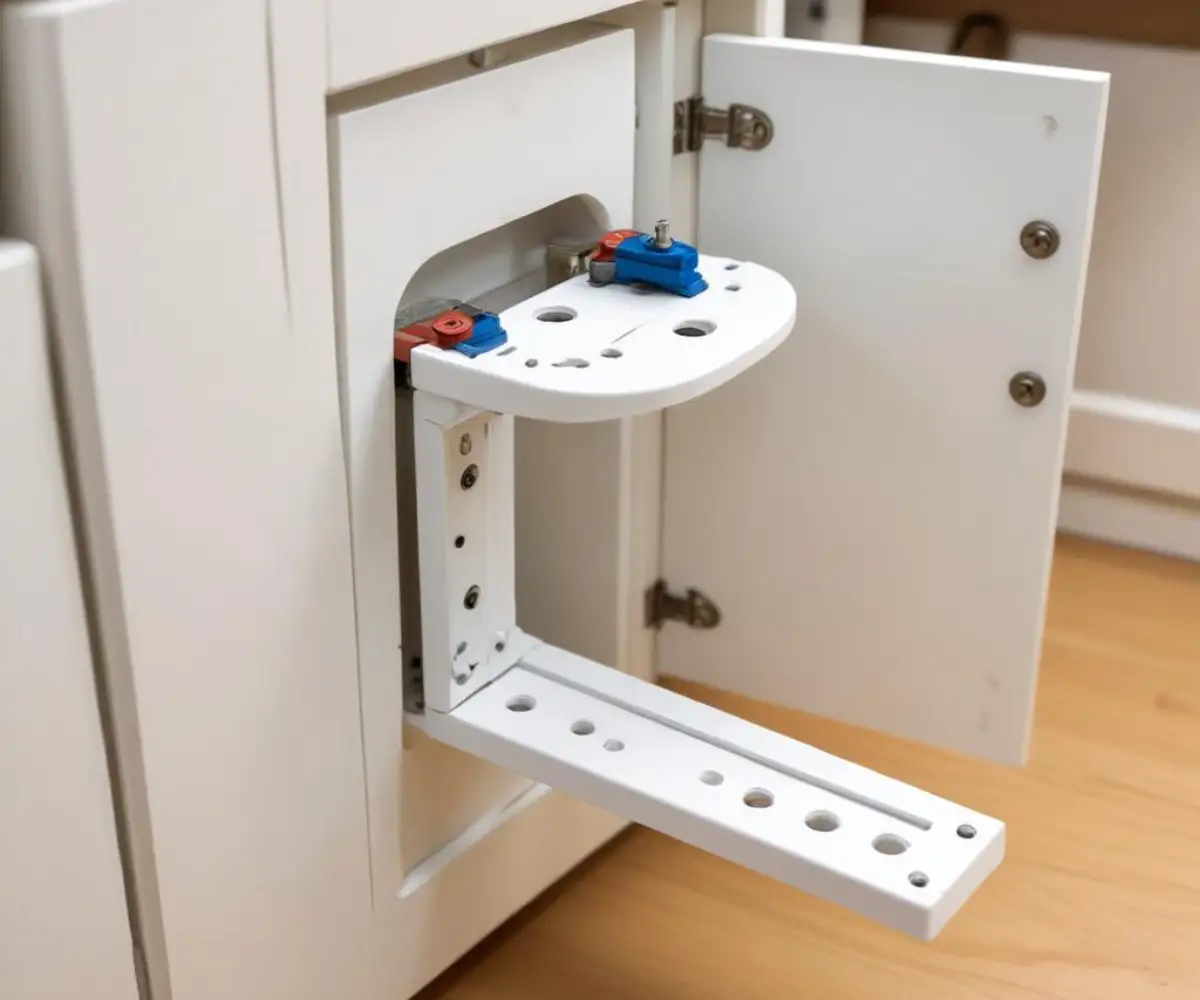
An IKEA hinge drilling template, often sold under names like UTRUSTA or FIXA, is a plastic or metal guide that you clamp onto your cabinet door. It has pre-set holes that show you exactly where to drill for IKEA’s concealed “Euro-style” hinges. These hinges require a large circular recess for the hinge “cup” and smaller holes for the mounting screws.
Using this template isn’t just a suggestion; it’s the key to success. It eliminates guesswork, ensuring that every hole is placed at the exact distance from the edge of the door and at the correct height. This precision is what allows for the seamless alignment and smooth operation of your cabinet doors, saving you from the costly mistake of ruining a brand-new door.
Mastering cabinet installation is a valuable skill for any homeowner. Just as precision is key here, it’s also vital in larger projects, and understanding the principles of door installation can be broadly applied. For instance, knowing how to switch a French door from right to left opening involves similar concepts of alignment and hardware placement that can dramatically improve a room’s flow.
Understanding the Anatomy of an IKEA Hinge
Before you start drilling, it’s helpful to understand the components you’re working with. IKEA’s concealed hinges, often manufactured by the world-renowned hardware company Blum, consist of two main parts: the hinge itself, which includes the cup that sits in the door, and the mounting plate, which attaches to the cabinet frame.
The magic of these hinges lies in their three-way adjustability, which allows you to fine-tune the door’s position after it’s hung. But this adjustability can only compensate for minor imperfections. The initial drilling must be precise for the adjustments to work correctly. The template ensures the critical measurements are perfect from the start.
IKEA Hinge System Specifications
Different IKEA cabinet systems may use slightly different hinge variations, but the core principles remain the same. The most crucial measurement is the drilling distance for the main cup, which is standardized for ease of use with the template.
| Hinge System | Common Application | Cup Diameter | Required Drill Bit | Key Feature |
|---|---|---|---|---|
| UTRUSTA 110° | Standard SEKTION Kitchen Cabinets | 35mm | 35mm Forstner Bit | Integrated soft-close damper. |
| UTRUSTA 153° | Cabinets with internal drawers | 35mm | 35mm Forstner Bit | Wide opening angle allows drawers to pull out. |
| KOMPLEMENT | PAX Wardrobe System | 35mm | 35mm Forstner Bit | Designed for larger wardrobe doors. |
| BESTÅ | BESTÅ Storage System | 35mm | 35mm Forstner Bit | Often includes a push-opener option. |
Your Step-by-Step Guide to Using the IKEA Hinge Drilling Template
With a clear understanding of the goal, let’s walk through the process step-by-step. Follow these instructions carefully, and you’ll achieve perfectly drilled hinge holes every time.
Step 1: Gather Your Tools
Having the right tools is non-negotiable for this task. You will need:
- IKEA Hinge Drilling Template (e.g., UTRUSTA or FIXA model)
- A power drill
- A 35mm Forstner Bit: This is absolutely essential. A regular drill bit or spade bit will tear the wood and will not create the clean, flat-bottomed hole required for the hinge cup.
- A small drill bit for pilot holes (typically 2mm or 2.5mm)
- A clamp (a quick-release clamp works well)
- A pencil and tape measure
- Safety glasses
A well-prepared workspace is the foundation of any successful DIY project. Ensuring you have adequate power for your tools is a crucial first step. Home renovators often have to consider their home’s overall electrical system, sometimes asking complex questions like if 200 amp service is enough for a tankless water heater, which highlights that good planning extends beyond the task at hand.
Step 2: Position and Secure the Template
Lay your cabinet door on a flat, stable surface, with the back side facing up. Your IKEA assembly instructions will specify the correct vertical position for your hinges, usually a set distance from the top and bottom of the door (often around 100mm). Measure and mark this position lightly with a pencil.
Align the template with your pencil mark. The template has a lip that should sit flush against the edge of the door. This is the most critical step: clamp the template firmly to the door. If the template moves even slightly during drilling, your holes will be misaligned.
Step 3: Drill the 35mm Hinge Cup Hole
Insert the 35mm Forstner bit into your drill. Before you drill into the door, it’s vital to set your drilling depth. The hinge cup hole is typically 12-13mm deep. Drilling too deep can permanently ruin the front of your door.
To prevent this, you can use a drill stop collar on your bit, or wrap a piece of painter’s tape around the bit at the correct depth as a visual guide. Place the Forstner bit into the large guide hole on the template. Drill slowly and steadily, keeping the drill perpendicular to the door, until you reach your depth marker. Let the bit do the work and clear out wood shavings periodically.
Step 4: Drill the Pilot Holes
Without removing the clamp or the template, switch to your smaller drill bit. Use the smaller guide holes on the template to drill the pilot holes for the hinge’s mounting screws. These don’t need to be very deep; they are just guides to ensure the screws go in straight.
Step 5: Install the Hinge
Unclamp and remove the template. You should have one large, clean hole and two small pilot holes. Press the hinge cup firmly into the 35mm hole. Secure it by tightening the screws into the pilot holes you created. Repeat this process for all hinge locations on your door.
Common Mistakes and How to Avoid Them
Even with a template, errors can happen. Being aware of common pitfalls is the best way to avoid them.
- Mistake 1: Not Clamping the Jig. A handheld jig will slip. Always secure it with a clamp for perfect alignment.
- Mistake 2: Drilling Through the Door. This is the most dreaded error. Always use a depth stop on your drill bit or practice on a scrap piece of wood first to get a feel for the correct depth.
- Mistake 3: Using the Wrong Bit. A Forstner bit is the only tool that will create the clean, flat-bottomed recess needed. Do not substitute it with other types of bits.
- Mistake 4: Rushing the Process. Measure twice, drill once. Double-check your measurements and the template’s position before you ever pull the trigger on the drill.
No Template? A Guide to Manual Measurement
If you’ve lost your template or are working with custom doors, you can still drill for IKEA hinges manually, but it requires extreme care. The standard placement for the center of the 35mm hole is typically 22.5mm from the edge of the door.
Use a combination square to mark a line 22.5mm from the edge. Then measure from the top or bottom of the door to your desired hinge height and mark where the two lines intersect. This is your center point for the Forstner bit. Use a center punch to create a small indent to prevent the bit from “walking.” Drill with extreme caution, ensuring your bit is perfectly vertical.
The Final Touch: Adjusting Your Hinges for a Flawless Finish
Once your doors are drilled and hung, the final step is to adjust them. This is where you perfect the gaps and alignment. IKEA hinges have three adjustment screws that control the door’s position.
- Side-to-Side Adjustment: This screw moves the door left or right, allowing you to even the gap between two doors.
- Height Adjustment: The screws on the mounting plate inside the cabinet allow you to move the entire door up or down.
- Depth Adjustment: A third screw moves the door closer to or further from the cabinet frame, ensuring it sits flush when closed.
Adjust these screws in small increments, opening and closing the door after each turn to check your progress. A little patience here will result in a truly professional-looking installation.
After your work is done, it’s important to clean up your space properly. Proper disposal of materials is a mark of a responsible DIYer. Whether it’s wood shavings or other household waste, knowing the right procedures, such as how to dispose of bleach water outside, ensures safety and care for the environment.
Conclusion: The Simple Tool for Perfect Results
The anxiety of hanging cabinet doors is a shared experience among DIY enthusiasts, but it doesn’t have to be. The IKEA hinge drilling template is a small investment that pays huge dividends in accuracy, time saved, and the prevention of costly mistakes. It transforms the most intimidating part of cabinet assembly into a straightforward, repeatable process.
By following this guide, you can move beyond the frustration of misaligned doors and experience the deep satisfaction of a job done right. Your cabinets will not only look professionally installed but will also function smoothly for years to come, a testament to the power of the right tool and a little bit of know-how.