Honda HS55 Snowblower: Revive the Legend & Conquer Winter!
The Honda HS55 snowblower, a machine revered by homeowners and professionals alike, represents a golden era of manufacturing. Built with legendary Honda reliability, many of these units, produced in the 1980s, are still in service today. The core problem owners face is not a lack of durability, but the challenge of maintaining and repairing a vintage piece of equipment. From sourcing discontinued parts to troubleshooting age-related engine issues, keeping an HS55 in peak condition requires specific knowledge.
This comprehensive guide addresses the most common pain points associated with HS55 ownership. We will delve into detailed, actionable solutions for everything from routine maintenance to complex repairs, ensuring your classic Honda snowblower remains a formidable force against winter’s worst, year after year. This is your ultimate resource for preserving a legend.
You'll Learn About
Why the Honda HS55 is a Cult Classic
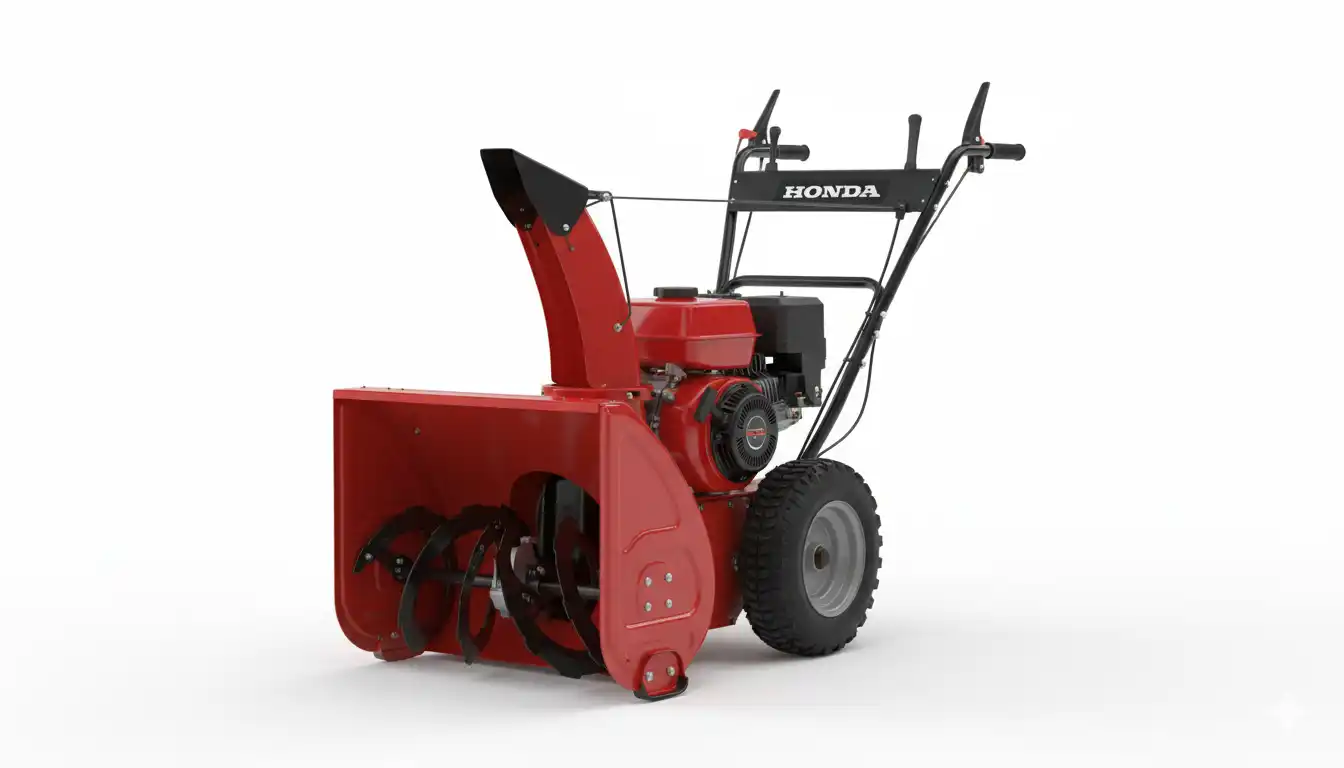
Understanding the HS55’s enduring popularity requires a look at its core design. Unlike many modern machines, the HS55 was built with an emphasis on over-engineering. Featuring a robust Honda GX140 5HP engine, a heavy-gauge steel auger housing, and often a tenacious track drive system, these snowblowers were designed for longevity and performance.
The two-stage design, with a serrated auger to break up snow and a high-speed impeller to discharge it, makes the HS55 effective against even heavy, wet snow. Many users report that their decades-old HS55s outperform newer, more powerful machines. This performance, combined with Honda’s reputation for easy-starting and smooth-running engines, cemented the HS55’s status as a winter workhorse.
Track Drive vs. Wheel Drive: Understanding the Difference
The HS55 was available in both wheeled (WA) and track-drive (TA) configurations. The track-drive models are particularly sought after for their superior traction on steep or icy surfaces. The tracks provide a larger contact patch with the ground, preventing the slipping and sliding common with wheeled blowers on challenging terrain.
Furthermore, the track-drive models often feature a height-adjustment pedal, allowing the operator to raise the auger housing for transport or lower it to scrape close to the pavement. This level of control is a significant advantage in varied snow conditions. While the wheeled models are excellent machines, the track-drive variants offer a level of performance that remains impressive even by modern standards.
The Owner’s Biggest Challenge: Common Problems and Solutions
Even the most reliable machines show their age. Decades of use, improper storage, and the inevitable wear of components lead to a predictable set of problems. The primary issue for most HS55 owners revolves around the fuel system, followed by engagement and drive system maladies.
Fortunately, the straightforward mechanical design of the HS55 makes most repairs manageable for a DIY-inclined owner. Addressing these issues promptly not only restores performance but also prevents minor problems from escalating into major, costly failures. We will now explore the most frequent complaints and provide step-by-step solutions.
Problem 1: Engine Surges, Stalls, or Won’t Start
This is, by far, the most common issue, and it almost always points to a problem with the carburetor. Modern gasoline containing ethanol is hygroscopic, meaning it absorbs water from the air. When left in the tank and carburetor for extended periods, it can form varnish and deposits that clog the tiny fuel passages inside the carburetor.
Symptoms of a clogged carburetor include the engine needing the choke to be partially on to run, surging RPMs (hunting), or stalling when placed under the load of heavy snow. A thoroughly cleaned carburetor is essential for peak performance. While replacing the carburetor is an option, a proper cleaning can often restore function perfectly.
Solution: Comprehensive Carburetor Cleaning
1. Removal: Turn off the fuel valve. Remove the airbox cover and filter. Disconnect the fuel line from the carburetor (have a clamp or rag ready for minor spillage). Remove the two nuts holding the carburetor to the engine studs and carefully detach the throttle and choke linkages, noting their positions.
2. Disassembly: On a clean workbench, remove the 10mm bolt at the bottom of the float bowl. Carefully remove the bowl, paying attention to the rubber gasket. Use a small pin to push out the hinge pin holding the float, and remove the float and attached needle valve.
3. Jet Cleaning: Using a flathead screwdriver, carefully unscrew and remove the main jet (a brass piece inside the central tube) and the pilot jet (under a plastic screw on top). Do not use a wire or drill bit to clean the jets, as this can enlarge the orifices and ruin the fuel mixture. Spray carburetor cleaner through all passages and use compressed air to blow them clear. The tiny holes in the emulsion tube (the tube the main jet was in) are especially critical.
4. Reassembly: Reassemble the carburetor in the reverse order of disassembly. Ensure the float bowl gasket is seated correctly to prevent leaks. When reinstalling, you may want to compare the cost of new gaskets versus the effort of preserving the old ones, as sometimes it’s more practical to start fresh. Consider how this careful evaluation of parts is similar to analyzing Mayflower flooring reviews before making a purchase; a little upfront research saves future headaches.
Problem 2: Auger or Drive System Fails to Engage
Another common complaint involves the auger not spinning or the wheels/tracks not turning when the respective clutch levers are engaged. The HS55 uses a system of belts and tensioner pulleys to transfer power from the engine. Over time, these belts stretch, glaze over, or break, and the engagement cables can stretch or slip.
A quick inspection under the belt cover will often reveal the source of the problem. A loose or damaged belt is the most likely culprit. Proper belt tension is crucial for transferring the engine’s power to the auger and drive systems.
Solution: Belt Inspection and Replacement
1. Access the Belts: Ensure the engine is off and the spark plug is disconnected. Remove the plastic belt cover, which is typically held on by a few bolts.
2. Inspect: Visually inspect the auger belt and the drive belt. Look for cracks, fraying, glazing (a shiny, smooth appearance), or excessive slack. When the clutch levers are engaged, the corresponding tensioner pulley should move to tighten the belt. If a belt is broken, the cause is obvious.
3. Replacement: To replace a belt, you will typically need to relieve the tension by disengaging the clutch, and then carefully work the old belt off the engine pulley and the larger driven pulley. The process can be tight, and sometimes requires removing the driven pulley. When installing the new belt, ensure it is routed correctly and has the proper tension when the clutch is engaged.
Mastering HS55 Maintenance: A Proactive Approach
Reactive repairs solve immediate problems, but proactive maintenance is the key to the HS55’s legendary longevity. A simple pre-season and post-season checklist will prevent the vast majority of common issues, ensuring the snowblower starts on the first pull every time you need it.
Regular maintenance is not just about reliability; it’s about performance. A well-tuned HS55 will throw snow farther, run smoother, and be easier to operate. These simple steps are the best investment you can make in your machine.
Essential Pre-Season Checklist
Before the first snowflake falls, dedicate an hour to preparing your HS55. This will save you from frustrating troubleshooting in freezing temperatures.
- Oil Change: Old oil contains contaminants that can damage the engine. Drain the old oil (while the engine is slightly warm) and refill with a quality SAE 5W-30 motor oil.
- New Spark Plug: A new spark plug is inexpensive insurance against starting problems. Check your manual for the correct plug and gap setting.
- Fresh Fuel: Drain any old fuel from the tank and carburetor. Start the season with fresh, non-ethanol gasoline if possible, and add a quality fuel stabilizer.
- Check Shear Pins: The auger is connected to its gearbox via shear pins. These are designed to break if the auger hits a solid object, protecting the expensive gearbox. Ensure you have several spares on hand.
- Lubricate Moving Parts: Lightly grease the auger shaft and lubricate the chute rotation mechanism to ensure smooth operation.
Post-Season Storage: Preventing Off-Season Damage
How you store your HS55 is just as important as how you maintain it. Improper storage is the leading cause of carburetor problems.
The Golden Rule: Never store the machine with untreated fuel in the tank for more than 30 days. The best practice is to run the carburetor completely dry. To do this, turn the fuel valve to the “OFF” position and let the engine run until it sputters and stops on its own. This ensures the carburetor bowl and jets are empty, preventing varnish buildup.
Clean any salt and grime from the body of the machine to prevent rust. Consider giving the auger housing and chute a coat of wax or a silicone spray to help snow slide off more easily next season. This attention to detail in preservation is similar to choosing the right finish for a project, like when deciding between Behr vs Valspar cabinet paint; the right protective layer makes all the difference.
Sourcing Parts for a Vintage Legend
One of the most significant challenges of owning an HS55 is that Honda has discontinued many model-specific parts. Finding critical components like transmission gears or specific housing parts can be difficult. However, many essential maintenance parts are still readily available.
Engine components for the GX140, such as carburetors, gaskets, and pull-starters, are often shared with other Honda engines and are widely available from Honda dealers or online parts retailers. Likewise, common wear items like belts, spark plugs, and fuel lines can be found through aftermarket suppliers. When searching for parts, it is invaluable to know your machine’s full model number (e.g., HS55TA) and serial number.
| Part Category | Availability & Sourcing Strategy |
|---|---|
| Engine Service Parts (Carburetor, Gaskets, Spark Plug) | Generally available (OEM and aftermarket). Check Honda dealers, online power equipment retailers, and Amazon. |
| Wear Items (Belts, Shear Pins, Skid Shoes) | Widely available (OEM and aftermarket). Cross-reference part numbers for best pricing. |
| Body & Chassis Parts (Handles, Covers, Chute) | Mostly discontinued. Best sources are eBay, Craigslist, and snowblower enthusiast forums for used parts. |
| Transmission & Auger Gearbox | Extremely difficult to find new. Used parts from a parts machine are the most realistic option. Regular gear oil changes are critical to preserve these components. |
Advanced Topics and Upgrades
For the true enthusiast, owning an HS55 is not just about maintenance, but also about enhancement. While the stock machine is excellent, a few simple upgrades can bring its performance and usability to a modern standard.
These modifications are not essential, but they address some of the minor shortcomings of a 40-year-old design. They represent the next level of HS55 ownership, turning a classic workhorse into a customized winter weapon.
The Friction Disc Secret: A Hidden Wear Point
Deep within the drive system of wheeled HS55 models lies a friction disc—a rubber-lined wheel that transfers power to the drive axle. Over decades of use, this rubber can become hard, glazed, or worn down, leading to slipping and weak drive power, especially under load. This part is often overlooked during routine maintenance.
Replacing the friction disc can dramatically restore the machine’s drive performance, making it feel new again. The process involves splitting the machine’s frame to access the drive plate, but for those willing to undertake the repair, the results are well worth the effort. Knowing you might have to invest in such a repair could influence your initial purchase price, much like understanding that you can negotiate flooring prices helps you budget for a home project.
Modern Upgrades for a Classic Machine
Consider adding modern conveniences to your HS55. One popular and highly effective upgrade is adding LED lighting. Many owners fabricate a simple bracket to mount a small, powerful LED light bar to the handlebars, powered by the engine’s charging coil (if equipped) or a separate rechargeable battery pack. This makes clearing snow in the dark safer and easier.
Another subtle but effective upgrade is an “impeller kit.” This involves adding strips of durable rubber to the blades of the high-speed impeller. This modification closes the gap between the impeller blades and the housing wall, dramatically increasing throwing distance and preventing the chute from clogging with wet, heavy snow.