Fix Leaking Washer Hose: Tightening Guide & Tips
That subtle drip, drip, drip behind your washing machine is more than just an annoying sound; it’s a ticking time bomb. A loose or failing washer hose is one of the most common causes of catastrophic water damage in homes, capable of releasing hundreds of gallons of water per hour. Ignoring a small leak can lead to warped floors, mold growth, and repair bills that make your head spin.
The good news is that tightening a loose connection is often a simple, quick fix you can do yourself. This comprehensive guide will walk you through every step, from identifying the problem to ensuring a bone-dry, secure connection, protecting your home and giving you peace of mind.
You'll Learn About
Why You Can’t Afford to Ignore a Leaky Washer Hose
A burst washing machine hose can cause devastating damage. Because the water supply lines are under constant pressure, a failure can flood a laundry room and surrounding areas in minutes. Even a slow drip can silently saturate drywall, subflooring, and insulation, creating a perfect environment for hazardous mold and wood rot.
Regular inspections and prompt attention to minor drips are crucial. The cost of replacing a pair of hoses is minuscule compared to the potential cost of water damage restoration. Making this simple check a part of your routine home maintenance can save you thousands in the long run.
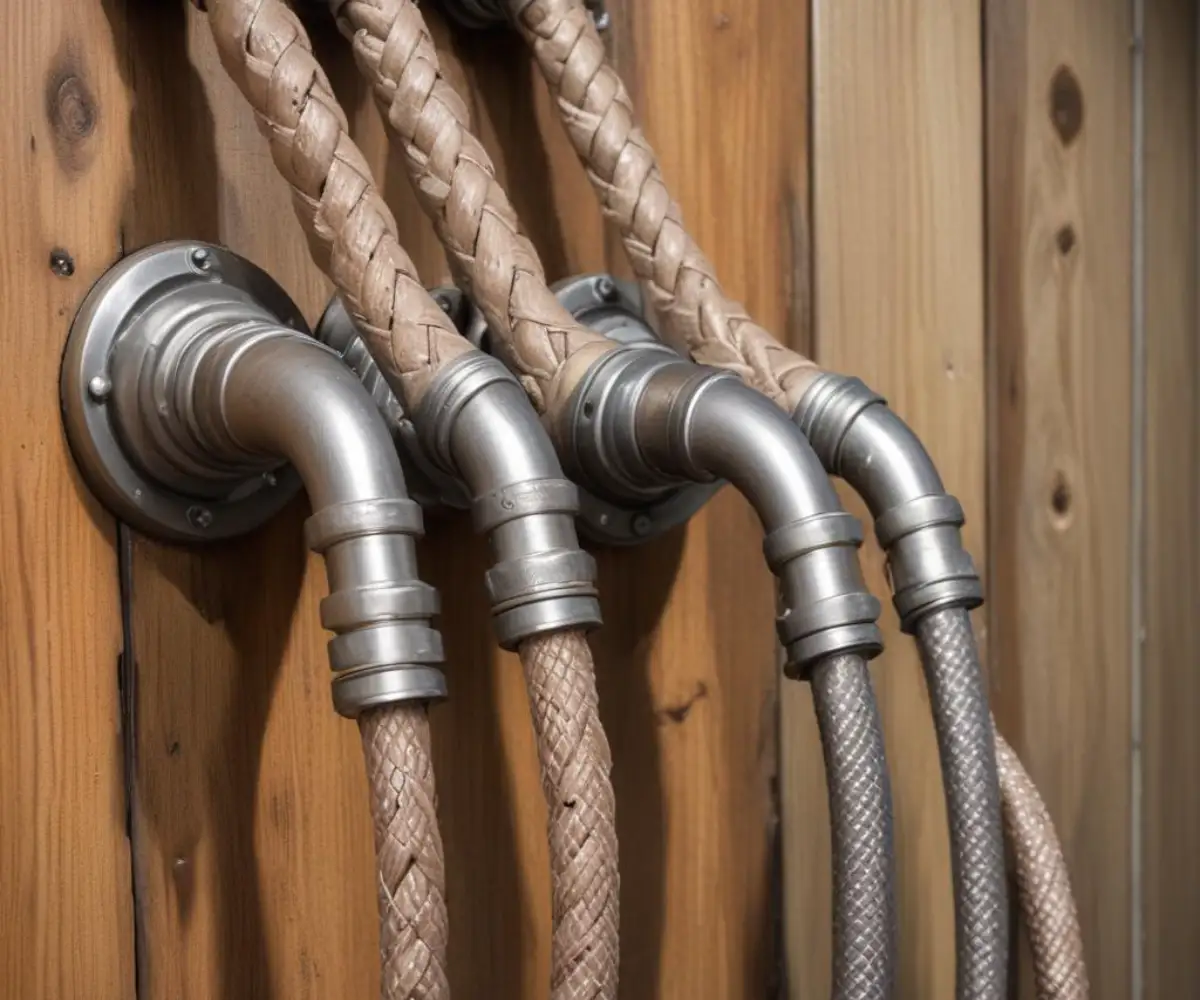
Understanding Your Washing Machine Hoses and Connections
Before you can fix the problem, it helps to know what you’re working with. Your washing machine connects to your home’s plumbing with two inlet hoses—one for hot water and one for cold. These hoses screw onto threaded valves on the wall and threaded inlets on the back of the machine.
Types of Hoses: Rubber vs. Braided Stainless Steel
You’ll typically find one of two types of hoses. Standard rubber hoses are the most common and least expensive, but they are also the most prone to failure. Over time, the rubber can become brittle, crack, or develop bulges, leading to a sudden burst.
Braided stainless steel hoses are a significant upgrade. They consist of a flexible inner tube encased in a woven layer of stainless steel, which provides superior protection against bursting, kinking, and physical damage. While they cost more, their durability and longevity make them a wise investment for any homeowner.
The Anatomy of a Leak-Proof Connection
It’s a common misconception that the threads create the seal on a washer hose connection. The seal is actually created by a small, flat rubber washer inside the hose’s coupling nut. When you tighten the coupling, it compresses this washer against the valve or inlet, creating a watertight barrier. If this washer is old, cracked, or missing, the connection will leak no matter how tight you make it.
Common Causes of a Loose or Leaking Hose
Understanding why a hose is leaking is key to preventing it from happening again. Several factors can lead to a faulty connection.
Vibration is the Enemy
Washing machines, especially during the spin cycle, generate significant vibration. Over hundreds of loads, this constant shaking can gradually work the hose connections loose. This is similar to how you might need to learn how to keep chair screws from loosening; constant movement inevitably affects threaded fittings.
Worn-Out Rubber Washers
The small rubber washers inside the hose couplings are the unsung heroes of a dry laundry room. However, they don’t last forever. Over time, they can harden, crack, or become compressed, losing their ability to create an effective seal. This is one of the most frequent causes of slow drips.
The Dangers of Improper Tightening
There’s a “Goldilocks zone” for tightening washer hoses. If a connection is too loose, it will obviously leak. However, over-tightening can be just as bad. Applying too much force can crack the plastic coupling nut, damage the threads on the machine’s inlet, or squash the rubber washer, preventing it from sealing properly.
Cross-Threading: A Recipe for Disaster
Cross-threading occurs when you start screwing the coupling on at an angle. The threads misalign and can become damaged, making it impossible to achieve a secure, sealed connection. If you feel resistance immediately when starting a connection, stop, back it off, and try again to ensure it’s perfectly straight.
Tools and Materials You Will Need
You don’t need a professional plumber’s toolkit for this job. A few simple items are all it takes to get it done right.
- Adjustable Pliers or Channel-Lock Pliers: For getting that final bit of torque on the connections.
- Bucket and Towels: To catch any residual water when you disconnect the hoses.
- Flashlight: To get a clear view of the connections behind the machine.
- New Rubber Washers: It’s always a good idea to have these on hand. They are inexpensive and can be the key to fixing a stubborn leak.
The Step-by-Step Guide to Tightening Your Washer Hose
Follow these steps carefully for a quick and successful repair. Safety is always the first priority.
Step 1: Safety First – Shut Off the Water and Power
Before you do anything else, you must shut off the water supply to the washing machine. You should see two spigots or levers on the wall behind the washer—one for hot and one for cold. Turn them clockwise until they stop. For lever-style valves, turn them so the lever is perpendicular to the pipe.
Next, unplug the washing machine from the electrical outlet to eliminate any risk of electric shock as you work.
Step 2: Access the Hoses
Carefully pull the washing machine away from the wall. You’ll need enough space to comfortably get behind it and work with the hoses and connections. Be mindful not to pull too far and strain the hoses or the drain line.
Step 3: Identify the Leak and Inspect the Connections
Use your flashlight to inspect all four connection points: where the hot and cold hoses connect to the wall valves, and where they connect to the back of the washing machine. Look for active drips, mineral deposits (a sign of a slow leak), rust, or cracks in the hose couplings.
Once you’ve located the source of the leak, dry the area thoroughly with a towel. This will help you confirm if your tightening has fixed the problem later.
Step 4: The “Hand-Tight Plus a Quarter-Turn” Rule
This is the golden rule for washer hoses. First, try to tighten the leaking connection by hand. If it was loose, you might be able to get a full turn or more out of it. Once it’s as tight as you can get it with your hand, it’s time to use the pliers.
Grip the coupling nut with your pliers and give it an additional quarter-turn (90 degrees). Do not use excessive force. The goal is to snugly compress the rubber washer, not to crush the fitting.
Step 5: What If It Still Leaks? Replace the Rubber Washer
If the connection still drips after tightening, the rubber washer inside is likely the culprit. To replace it, first make sure the water is off. Place your bucket under the connection and use your pliers to fully loosen and remove the hose.
Use a small flathead screwdriver or your fingernail to pry the old washer out of the coupling. Press a new washer firmly into place, ensuring it sits flat at the bottom. Reconnect the hose, following the “hand-tight plus a quarter-turn” rule.
Step 6: Reconnect and Test Your Work
Once you’re confident the connections are secure, it’s time to test them. Slowly turn the water supply valves back on, one at a time. Watch each connection closely for any signs of dripping. Use a dry paper towel to wipe the fittings; it will make even the tiniest amount of moisture immediately obvious.
If everything is dry, carefully push your washing machine back into place, making sure not to kink or crimp the hoses. A gap of at least four inches between the washer and the wall is recommended. Plug the machine back in, and you’re ready to do laundry.
Pro Tips for a Leak-Free Future
Fixing the immediate problem is great, but preventing future leaks is even better. Adopting a few best practices can keep your laundry room dry for years to come.
Upgrade to Braided Stainless Steel Hoses
The single best thing you can do to prevent a catastrophic hose failure is to replace standard rubber hoses with high-quality braided stainless steel ones. They are far more resistant to bursting and damage.
| Feature | Standard Rubber Hoses | Braided Stainless Steel Hoses |
|---|---|---|
| Durability | Prone to cracks, bulges, and bursting over time. | Highly resistant to bursting, kinks, and punctures. |
| Lifespan | Typically 3-5 years. | Often lasts 5 years or more. |
| Cost | Lower initial cost. | Higher initial cost. |
| Best For | Budget-conscious, frequent inspections. | Peace of mind, long-term reliability. |
Perform Regular Inspections
At least twice a year, take a minute to pull out your washer and inspect the hoses and connections. Look for any signs of wear, such as blisters, cracks, or rust on the fittings. This simple habit can help you catch problems before they start.
Replace Hoses Proactively
Don’t wait for a leak to tell you it’s time for a change. Most manufacturers recommend replacing washing machine hoses every three to five years, regardless of their outward appearance. Mark the installation date on the hose with a permanent marker to help you keep track.
Troubleshooting Common Washer Hose Problems
Sometimes, a simple tightening isn’t enough. Here’s how to handle a few other common issues.
The Hose Connection is Stuck or Corroded
If a connection is seized and won’t budge, you can try applying a penetrating oil like WD-40 and letting it sit for 10-15 minutes. Use two pairs of pliers—one to hold the valve steady and the other to turn the hose coupling—to avoid damaging your home’s plumbing.
Leaking from the Body of the Hose
If you see a bulge, crack, or leak coming from the hose itself and not the connection point, the hose must be replaced immediately. This is a sign of imminent failure, and tightening will not fix the problem.
Water Temperature or Flow Issues
Sometimes, a problem isn’t a leak but a performance issue. If you’re experiencing strange temperature behavior from your washer, it could be related to your water heater. This can be especially true with on-demand systems, and you might need to investigate a Navien tankless water heater temperature fluctuation. This is separate from a leak but can be discovered during an inspection.
Concerns About Existing Water Damage
If you discover that a hose has been leaking for a while, you may have more extensive issues. Understanding how water can travel and cause damage is crucial. Problems like water running back under metal roof panels illustrate how insidious water intrusion can be, and the principles are similar for leaks inside the home.
Frequently Asked Questions (FAQ)
Do I need plumber’s tape on washing machine hoses?
No. Unlike pipe threads, hose connections are sealed by the rubber washer inside the coupling, not the threads themselves. Plumber’s tape is unnecessary and can even interfere with a proper seal.
Can I tighten a washer hose while the water is on?
Absolutely not. The hoses are under significant pressure. Attempting to loosen or tighten them with the water on can cause the hose to fly off, resulting in a major flood and potential injury.
Why is my brand new hose leaking?
The most common reasons for a new hose to leak are a missing or improperly seated rubber washer, cross-threading during installation, or over-tightening. Disconnect the hose and check these three things carefully.
Your Five-Minute Fix for Total Peace of Mind
A leaky washer hose is a problem that demands immediate attention, but it’s rarely a cause for panic. With a pair of pliers and a few minutes of your time, you can easily tighten a loose connection and prevent a potential disaster. By understanding the components, following the “hand-tight plus a quarter-turn” rule, and performing regular checks, you can ensure your laundry room remains a flood-free zone.