C Wire Not Working? The Ultimate Guide to Testing It With a Multimeter
You’ve purchased a new smart thermostat, ready to upgrade your home’s climate control. But during installation, you hit a frustrating roadblock: the thermostat displays a “No C-Wire” error, even though you can clearly see a wire connected to the ‘C’ terminal. This is a common problem that stumps many homeowners.
The C-wire is essential for providing continuous power to feature-rich thermostats. Without a steady power source, your smart device is just a plastic ornament on the wall. Fortunately, you can definitively diagnose the issue yourself with a simple tool: a multimeter.
You'll Learn About
What is a C-Wire and Why Is It So Important?
The ‘C’ in C-wire stands for Common. It’s a low-voltage wire that completes a 24-volt circuit between your thermostat and your HVAC system, providing a constant stream of power. This allows modern thermostats to run power-hungry features like Wi-Fi radios, backlit touchscreens, and advanced sensors without relying on batteries or “power stealing” from other circuits.
Older, simpler thermostats didn’t need this constant power. They used batteries or operated mechanically. A functioning C-wire is the backbone of nearly every smart thermostat installation, ensuring your device stays connected and in control.
Safety First: Preparing for the Electrical Test
Even though thermostat wiring is low voltage, it’s connected to a system that uses high voltage. Always prioritize safety to prevent personal injury or damage to your HVAC equipment. Taking proper precautions is non-negotiable.
Before you touch any wires, locate the circuit breaker that controls your furnace or air handler and switch it to the “OFF” position. This ensures the entire system is de-energized. Gather your tools, which should include a multimeter, a set of small screwdrivers for the terminal screws, and a flashlight.
Setting Up Your Multimeter for an Accurate Reading
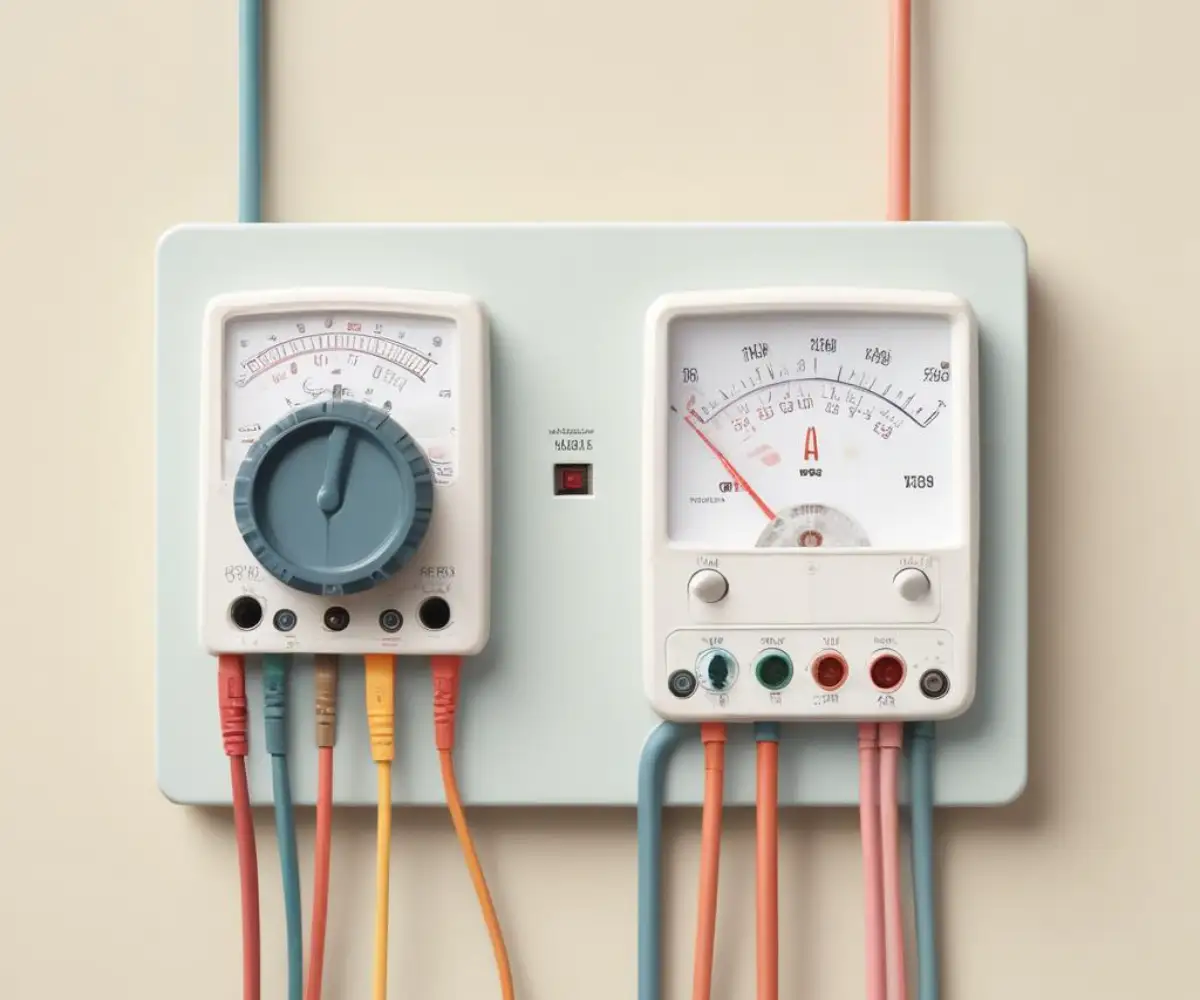
Your multimeter is the key to solving this mystery, but it must be set up correctly. Using the wrong settings can give you false readings or, in some cases, damage the multimeter. Follow these simple steps for a proper setup.
First, insert the test probes. The black probe plugs into the ‘COM’ (Common) port. The red probe plugs into the port labeled ‘V’ or with the volt symbol (it might also have other symbols like the omega sign Ω). Next, turn the main dial to the AC Voltage setting, often indicated by a ‘V’ with a wavy line (V~). Select a range that is higher than the voltage you expect to measure; since you are testing for 24 volts, a setting of 200V~ is a safe choice.
Step-by-Step: How to Test C-Wire Voltage at the Thermostat
With your multimeter ready and the power to the HVAC system off, you can begin the test at the wall. This is the first and most crucial diagnostic step to determine if power is reaching your thermostat.
Start by gently removing the faceplate of your thermostat. This usually involves pulling it straight off the wall plate or releasing a small tab. Once removed, you will see the backplate with all the terminal connections. For this test, you will need to turn the power to your HVAC system back ON at the breaker. Be careful not to let any of the exposed wires touch each other.
Identify the wire terminals on the backplate. You are looking for the ‘R’ terminal (which can be Rc or Rh) and the ‘C’ terminal. The ‘R’ wire is the 24V hot wire from the transformer, and the ‘C’ wire is the common that completes the circuit. To perform the test, carefully touch the metal tip of the red multimeter probe to the screw on the ‘R’ terminal and the tip of the black probe to the screw on the ‘C’ terminal.
Hold the probes steady and observe the reading on your multimeter’s screen. The number displayed will tell you immediately whether your C-wire is delivering the necessary power for your smart thermostat to function.
Interpreting Your Multimeter Readings: What Do They Mean?
The voltage reading is the key piece of evidence. A healthy HVAC system will provide a specific voltage, and any deviation from this standard points to a particular problem. Understanding the numbers is the most important part of the diagnosis.
A reading between 24VAC and 28VAC is ideal. This indicates that your C-wire is properly powered and the problem may lie with a loose connection or the thermostat itself. A reading of 0V or a number very close to zero means no power is reaching the thermostat through the C-wire. This is the most common issue and requires further investigation at the furnace.
Sometimes, you might see a voltage that is low (e.g., 8V or 15V) or fluctuating wildly. This can suggest a failing transformer, a partial short in the wiring, or an overloaded circuit. These readings often point to more complex issues within the HVAC system itself.
| Voltage Reading (AC) | Potential Cause | Recommended Next Steps |
|---|---|---|
| 24V – 28V | Normal Operation | Check for loose wire connections. If connections are solid, the thermostat may be faulty. |
| 0V – 1V | No Power | Power is off, wire is broken, or wire is not connected at the furnace control board. |
| 2V – 20V | Low Voltage / Weak Power | Indicates a failing transformer, a short circuit, or excessive resistance in the wire. |
| Above 30V | Over-Voltage Fault | Turn off power immediately. This indicates a serious transformer or control board fault. Contact a professional HVAC technician. |
Troubleshooting a 0V Reading: Checking the Furnace Control Board
If you measured 0V at the thermostat, the next step is to check the source: the HVAC control board. This will determine if the problem is the wiring itself or a component within the furnace or air handler. This is often where the “missing C-wire” problem is finally solved.
Turn the power OFF at the breaker again before proceeding. Go to your furnace or air handler and remove the main service panel, which usually pulls or lifts off. Inside, you will see a circuit board with a web of wires connected to it. This is the control board.
Look for a set of screw terminals labeled just like your thermostat (R, C, G, Y, W, etc.). Find the bundle of wires coming from your thermostat and see where each one is connected. A very common issue is discovering that the blue ‘C’ wire from the bundle was never connected to the ‘C’ terminal on the control board. If it’s disconnected, attaching it to the C terminal will likely solve your problem. If it is already connected, you’ll need to perform the same multimeter test here. With the power back on, test the ‘R’ and ‘C’ terminals directly on the control board to see if the board itself is providing voltage.
A Note on Wiring Integrity and Constant Power
The path your thermostat wire takes through your home can expose it to various hazards. Wires running through attics, basements, or crawlspaces can be subjected to damage from pests, moisture, or accidental nicks during other home projects. It’s important to ensure this wiring is protected.
Persistent moisture, such as the kind that occurs with water where brick meets foundation, can easily degrade low-voltage wiring insulation over many years, leading to shorts and unexpected power failures. Similarly, the concept of constant power required by a thermostat is different from other circuits in a home. Diagnosing this is not the same as fixing an always-on light switch, which typically points to a simple wiring error at the switch box rather than a power delivery issue from a central system.
What If the Furnace Test Reveals the Problem?
Your test at the furnace control board will lead to one of two conclusions. Each points toward a different solution. This is the final step in pinpointing the exact location of the electrical fault.
If you measure 24V at the furnace board but 0V at the thermostat, the verdict is clear: you have a broken wire somewhere between the two points. This break could be anywhere along the run. In some older homes, you may find that previous installers repurposed other wiring, such as old telephone lines. Understanding that modern systems have specific requirements is key, just as it is when replacing telephone wire with Cat6 for data networking; the right wire is essential for the job.
Conversely, if you measure 0V directly at the ‘R’ and ‘C’ terminals on the furnace control board, the problem lies within the HVAC unit itself. The most likely culprits are a blown fuse on the control board or a failed 24V transformer. While replacing a fuse is simple, replacing a transformer is a task best left to a qualified HVAC professional due to the high-voltage connections involved.
When You Truly Have No C-Wire: Exploring Your Options
If you’ve confirmed that you either have no C-wire, or the existing one is broken and cannot be easily fixed, you are not out of options. Modern HVAC technology has provided several workarounds to power a smart thermostat without the need for a dedicated common wire.
A popular solution is a C-wire adapter, also known as a power extender kit. These clever devices use the existing thermostat wires to create a “phantom” wire that provides constant power without the need to run a new cable. Another option involves repurposing an unused wire in the bundle, such as the ‘G’ wire that controls the fan, but this comes with the tradeoff of losing independent fan control. The most robust, long-term solution is to run a new thermostat wire with enough conductors, but this can be a difficult and labor-intensive job.
Conclusion: Taking Control of Your Smart Home Upgrade
Testing your C-wire with a multimeter transforms a frustrating guessing game into a clear diagnostic process. By systematically checking the voltage at the thermostat and the furnace, you can quickly determine whether you’re dealing with a disconnected wire, a broken conductor, or a problem with the HVAC unit itself. This knowledge empowers you to perform a simple fix or to call a professional with precise information about the issue.
Always remember to prioritize safety by shutting off the power before handling wires. With a methodical approach, you can overcome the common C-wire hurdle and get your new smart thermostat up and running, bringing greater comfort and efficiency to your home.