Stack Wall Cabinets to Make a Pantry: Your Ultimate DIY Guide
You need more kitchen storage, but custom pantry solutions cost a fortune. It’s a frustratingly common problem: the desire for a beautifully organized, floor-to-ceiling pantry clashing with the reality of a tight budget. What if you could achieve that high-end, built-in look for a fraction of the cost?
The solution is an ingenious and cost-effective DIY project: stacking standard wall cabinets to create a full-size pantry. This method not only saves a significant amount of money but also allows for a level of customization that fits your space perfectly. This guide provides the expert-level details you need to transform affordable stock cabinets into the pantry of your dreams.
You'll Learn About
Why Stack Wall Cabinets? The Genius Hack You’re Missing
Opting for stacked wall cabinets isn’t just about saving money; it’s a strategic design choice. This method offers unparalleled flexibility, allowing you to build a storage unit that perfectly fits your kitchen’s dimensions and aesthetic.
This approach gives you the power to create the look of taller kitchen cabinets without the premium price tag. You gain immense vertical storage, turning unused wall space into a highly functional part of your kitchen.
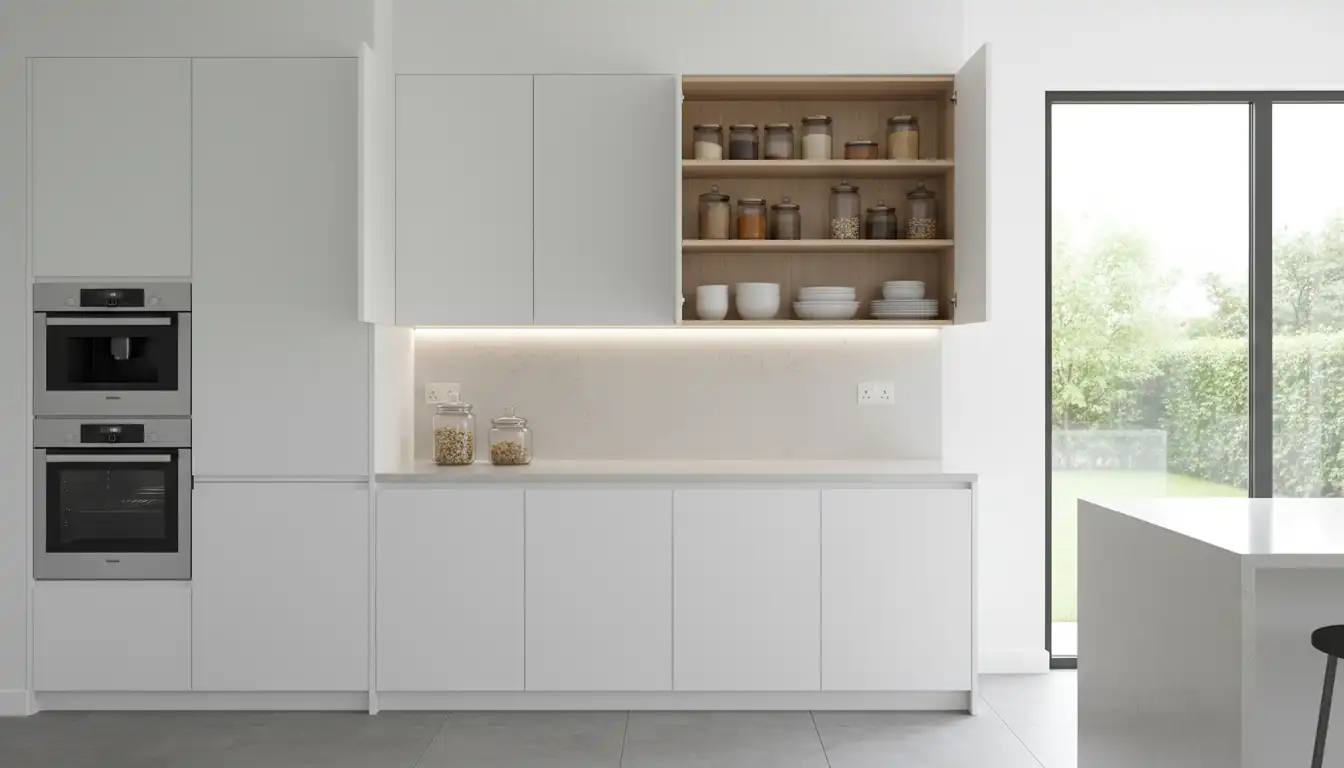
The Unspoken Rule of Pantry Cabinet Depth
Many DIYers hesitate because wall cabinets are typically only 12 inches deep, unlike bulkier 24-inch deep pantry units. However, this shallower depth is actually a significant advantage. It ensures that items don’t get lost in the back, forcing a more organized, “first-in, first-out” system for your goods.
You can see everything at a glance, reducing food waste and making meal prep faster. For pantry organization, a 12-inch depth is a feature, not a flaw, promoting maximum accessibility and efficiency.
Planning Your Stacked Cabinet Pantry: The Blueprint for Success
Thorough planning is the key to a professional-looking result. Rushing this stage is the number one cause of DIY frustration. Take the time to measure precisely and consider every detail before you begin.
Measuring and Space Assessment
Start by measuring the height, width, and depth of the area where you plan to install your pantry. Measure from the floor to the ceiling in at least three different spots, as ceilings are rarely perfectly level. Use the shortest measurement as your maximum height.
Note the location of any electrical outlets, light switches, or vents that might be obstructed. Plan your cabinet placement to work around these fixtures or consult an electrician to have them moved.
Choosing Your Cabinets
Select cabinets that match or complement your existing kitchen style. You can use standard unfinished cabinets and paint them to match. The width of your cabinets will define the overall look of your pantry; the choice between 30 vs 36 inch cabinets can dramatically alter the unit’s presence and storage capacity.
Purchase two or three cabinets of the same width and depth that, when stacked, will fit your vertical space, leaving a small gap at the top for installation and crown molding.
Your Essential Tools and Materials Checklist
Gathering all your tools and materials before you start is crucial for a smooth workflow. This checklist ensures you have everything you need on hand, preventing interruptions and making the process more efficient.
| Category | Item | Purpose |
|---|---|---|
| Cabinets & Wood | 2-3 Stock Wall Cabinets | The main structure of your pantry. |
| 2×4 Lumber | For building a stable and level base. | |
| Finishing Plywood/Panels | To cover exposed sides for a built-in look. | |
| Trim & Molding | Crown molding for the top and baseboard for the bottom. | |
| Fasteners | 3″ Structural Screws | For securing the base and anchoring the unit to wall studs. |
| 1.25″ Cabinet Screws | For connecting the cabinets to each other. | |
| Brad Nails | For attaching thin trim pieces and side panels. | |
| Tools | Drill & Impact Driver | For pre-drilling holes and driving screws. |
| Level (4-foot recommended) | To ensure the base and cabinets are perfectly level and plumb. | |
| Stud Finder | To locate wall studs for secure anchoring. | |
| Clamps | To hold cabinets together tightly while fastening. | |
| Miter Saw or Circular Saw | For cutting lumber for the base and trim pieces. | |
| Finishing | Wood Filler & Caulk | To fill gaps and screw holes for a seamless finish. |
| Primer & Paint | To match your new pantry to your existing kitchen. |
Step-by-Step Guide: Building Your Floor-to-Ceiling Pantry
With your plan in place and materials gathered, it’s time to build. Follow these steps methodically for a secure and professional installation. Work carefully and double-check your measurements at each stage.
Step 1: Building a Rock-Solid Base (The Most Critical Step)
Wall cabinets are not designed to sit directly on the floor. You must build a sturdy, level base. Construct a simple ladder-style frame using 2x4s that matches the footprint (width and depth) of your bottom cabinet.
Place the base in position and use a level to check it from front-to-back and side-to-side. Use wood shims to eliminate any wobble and ensure it’s perfectly level. Once level, secure the base to the wall studs and floor with 3″ structural screws.
Step 2: Preparing the Cabinets
Remove the doors and any shelves from the cabinets to make them lighter and easier to handle. This also gives you clear access to the interior for securing them. Label the doors so you know which one goes where during reassembly.
Step 3: Securing the First Cabinet
Place the first (bottom) cabinet onto the level base you built. Push it flush against the wall. Use your level to confirm it is plumb (vertically level) on the front and sides.
Find the wall studs using your stud finder and mark their locations inside the cabinet. Anchor the cabinet to the wall studs by driving 3″ screws through the thick hanging rail at the top and bottom of the cabinet back.
Step 4: Stacking and Securing the Upper Cabinet
Carefully lift the second cabinet and place it directly on top of the first one. Align the front face frames and sides precisely. Use clamps to hold the two cabinets together tightly, preventing any shifting.
Connect the cabinets by driving 1.25″ cabinet screws through the side of the face frames, from one cabinet into the other. Use at least four screws—two near the top and two near the bottom. Then, anchor the top cabinet to the wall studs just as you did with the bottom one.
The Finishing Touches: From DIY Project to Custom Built-In
The final details are what elevate this project from a simple cabinet stack to a seamless, built-in feature. These steps hide seams, cover gaps, and integrate the unit into your kitchen’s architecture.
Adding Side Panels and Hiding Seams
If one or both sides of your pantry are exposed, you must cover them for a finished look. Cut thin plywood or a finished cabinet panel to size and attach it to the side of the cabinet stack using wood glue and brad nails.
To hide the horizontal seam between the stacked cabinets, you can use a thin piece of decorative trim or scribe molding. Attach it with brad nails and fill any gaps with caulk before painting.
Crown Molding and Baseboard Integration
Adding crown molding at the top of the pantry connects it to the ceiling and gives it a professional, built-in appearance. Cut and install the molding to match your other kitchen cabinets. At the bottom, install a baseboard or toe-kick around the 2×4 base to conceal it and provide a clean transition to the floor.
Finally, reinstall your cabinet doors and add hardware. You might even consider forgoing doors on one section for open shelving, creating a look similar to a pantry without doors for displaying decorative items.
Common Mistakes to Avoid (And How to Fix Them)
Even with careful planning, issues can arise. Knowing the common pitfalls can help you avoid them from the start.
Skipping the Base: Placing wall cabinets directly on the floor is unstable and looks unprofessional. Always build a level and secure 2×4 base first.
Not Finding Wall Studs: Anchoring only into drywall is extremely dangerous and will not support the weight. You must locate and use wall studs for a secure installation.
Using the Wrong Fasteners: Do not use drywall screws for this project; they are brittle and can snap under heavy loads. Use structural screws for wall anchoring and proper cabinet screws for connecting the units.
Your New Pantry Awaits
Building a pantry by stacking wall cabinets is a transformative weekend project that adds immense value and functionality to your kitchen. It’s a testament to the power of creative thinking and smart DIY solutions.
By following this guide, you can confidently create a custom storage solution that looks expensive but is secretly budget-friendly. You’ll not only gain a beautiful, organized pantry but also the satisfaction of having built it yourself.