How to Shorten Split Rail Fence Rails: Your Ultimate Guide
A split rail fence offers a rustic, classic charm to any property. However, standard-sized rails don’t always fit perfectly, especially when dealing with unique property lines, obstacles, or custom designs. You’re left with a rail that’s just a few inches too long, and it can bring your entire fencing project to a standstill.
This common problem can be frustrating, but the solution is well within the reach of a determined DIYer. With the right tools, techniques, and a little bit of patience, you can shorten a split rail fence rail for a perfect, custom fit. This guide will walk you through every step of the process, ensuring a professional and secure result.
You'll Learn About
Why You Might Need to Cut Split Rail Fence Rails
The need to shorten a fence rail can arise from several common scenarios. Understanding why you’re making the cut can help you approach the task with the right mindset and precision.
Customizing Fence Lengths for Your Property Line
Few properties have boundary lines that perfectly accommodate standard 8-foot or 10-foot rails. You will almost inevitably encounter a section that requires a shorter rail to terminate a fence line neatly against a building, a tree, or another landscape feature.
Attempting to force a full-length rail by adjusting post spacing can lead to an unstable and unprofessional-looking fence. Cutting the rail to the exact length required is the only way to achieve a truly custom and secure installation.
Replacing Damaged Sections with Precision
Wood fences are susceptible to damage over time from rot, insects, or physical impact from a storm or vehicle. When a single rail in a long stretch of fence breaks, you need a replacement that fits perfectly into the existing posts.
A custom-cut rail allows for a seamless repair that maintains the fence’s structural integrity and aesthetic consistency. This is far more efficient and cost-effective than replacing an entire section.
Creative Fencing Projects and Designs
Split rail fencing isn’t just for boundaries. Homeowners often use these rustic rails for creative projects like garden enclosures, decorative accents, or unique staggered fence designs.
These applications almost always require non-standard lengths to bring a specific vision to life. The ability to shorten rails opens up a world of possibilities for custom landscape design.
Essential Tools and Materials for the Job
Before you make your first cut, gathering the right tools is crucial for safety and success. Having everything you need on hand will make the job smoother, faster, and more professional.
Never compromise on safety gear. Sawdust and wood splinters can cause serious eye injuries, so safety goggles are non-negotiable. Here’s a detailed checklist of what you’ll need.
| Tool / Material | Description | Pro-Tip |
|---|---|---|
| Measuring Tape | A sturdy, retractable tape for taking precise measurements. | Hook the end onto the rail for one-person measuring. Double-check your measurement before marking. |
| Pencil or Carpenter’s Marker | For clearly marking your cut line on the wood. | Use a speed square to ensure your line is perfectly straight and perpendicular to the rail’s edge. |
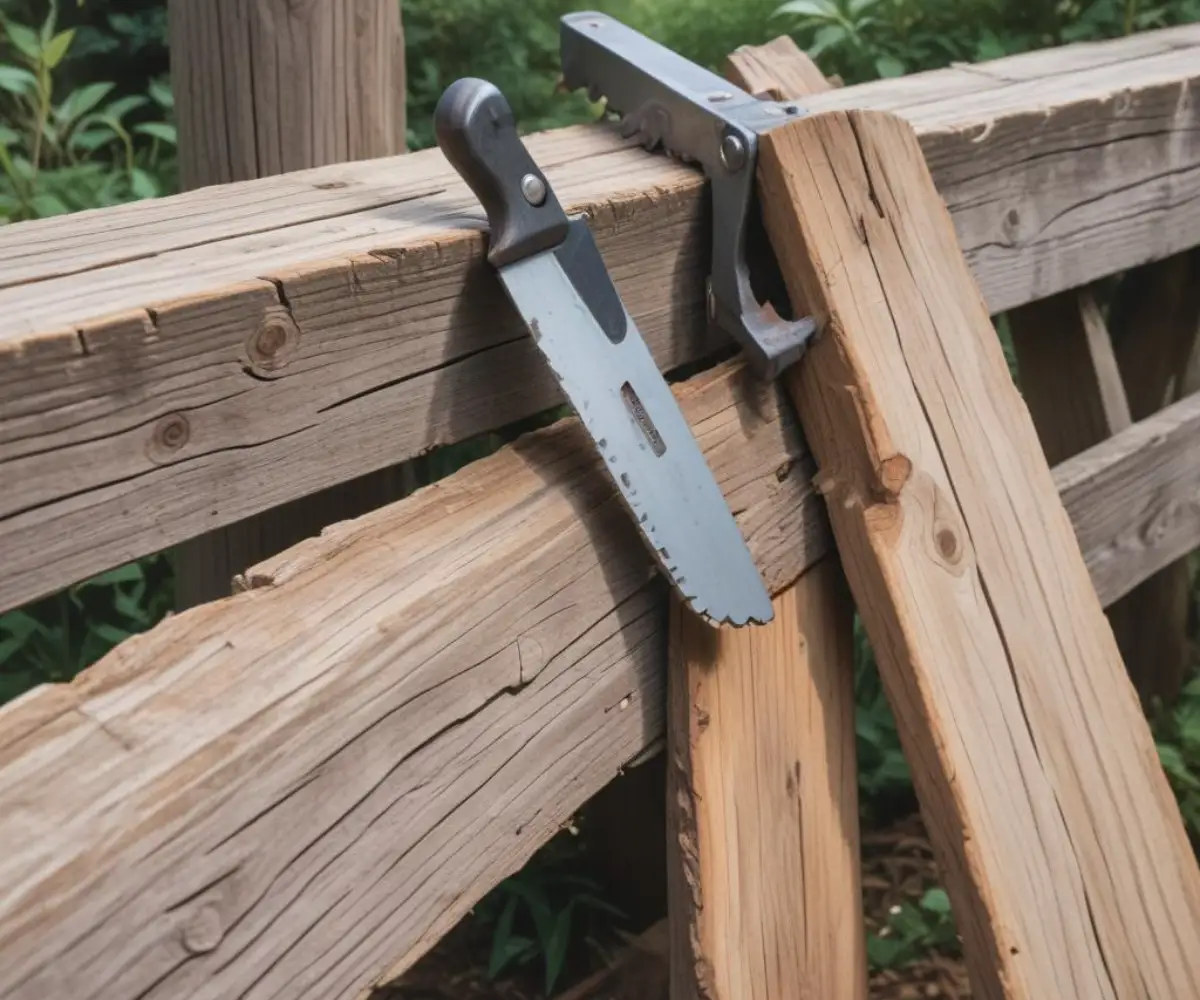
| Saw | Your primary cutting tool. Options include a handsaw, circular saw, or chainsaw. | Choose based on your comfort level. A handsaw offers control, while a circular saw provides speed and a clean edge. |
| Safety Goggles | Essential eye protection from flying debris and sawdust. | Wear them at all times, even when just setting up. Debris can be kicked up unexpectedly. |
| Work Gloves | Protects your hands from splinters and provides a better grip. | Leather or heavy-duty fabric gloves are ideal for handling rough split rails. |
| Sawhorses | A pair of sawhorses provides a stable, elevated work surface for safe cutting. | Ensure the rail is balanced and secure on the sawhorses before you begin to cut. |
| Wood Chisel or Hatchet | Needed to shape the cut end of the rail (the tenon) so it fits into the post hole. | Keep the blade sharp for cleaner, safer, and more efficient shaping. A dull tool is dangerous. |
| Sandpaper or Wood File | For smoothing the cut end and removing any splinters for a clean finish. | A medium-grit sandpaper (around 80-120 grit) is usually sufficient. |
A Step-by-Step Guide to Shortening Your Rails
With your tools gathered and your workspace prepared, you can now proceed with the actual cutting process. Follow these steps carefully to ensure a perfect fit and a safe experience.
Step 1: Accurate Measurement is Key
This is the most critical step. An incorrect measurement will result in a rail that is either too short and useless or still too long, requiring another cut. Heed the old carpenter’s adage: “Measure twice, cut once.”
Insert the uncut rail into one fence post. Let the other end extend past the second post. Use your measuring tape to measure the distance from the inside of the first post’s hole to the inside of the second post’s hole, and mark this exact length on the rail.
Step 2: Marking Your Cut Line
Once you have your measurement, lay the rail flat across your sawhorses. Use a pencil or marker to make a clear, visible mark at the measured point. For a perfectly straight cut, it’s best to use a speed square or a combination square to draw a line across the face of the rail.
This line will be your guide for the saw. A crisp, straight line ensures that the end of your rail will be flat and professional, allowing it to sit snugly against the inside of the post.
Step 3: Choosing the Right Saw for the Cut
The type of saw you use depends on the tools you have available and your comfort level. A handsaw provides excellent control for a precise cut, though it requires more physical effort. A circular saw makes quick, clean cuts but can feel intimidating to beginners.
A chainsaw can also be used, but it is best reserved for those with significant experience, as it is powerful and can be difficult to control for a fine, precise cut. For most DIYers, a sharp handsaw or a circular saw is the best option.
Step 4: Making the Cut Safely and Effectively
Before you start, put on your safety goggles and gloves. Ensure the rail is firmly secured on the sawhorses and won’t shift or roll during the cut. Position yourself so you have a stable footing and a clear view of your marked line.
Begin your cut slowly, following the line carefully. If using a handsaw, use long, steady strokes. If using a circular saw, allow the blade to reach full speed before it contacts the wood and guide it smoothly through the rail. Let the saw do the work; don’t force it.
Step 5: Finishing the Cut End
After the cut is complete, the newly exposed end will likely have some rough edges or splinters. Use a piece of medium-grit sandpaper or a wood file to smooth the end. This not only looks better but also reduces the risk of getting splinters during installation.
This simple finishing step gives your work a professional touch. It’s a small detail that makes a big difference in the overall quality of your fence repair or installation.
Creating the Tapered End (Tenon) for Post Holes
Simply cutting the rail to length is only half the battle. The end of a split rail is tapered—this is called a “tenon”—so it can slide into the corresponding hole (mortise) in the fence post. You will need to recreate this taper on your freshly cut end.
Method 1: Using a Hatchet or Wood Chisel
This is the most traditional method. Secure the rail vertically with the cut end facing up. Using a sharp hatchet or a wide wood chisel and mallet, carefully begin shaving off wood from the edges.
Work slowly and remove small pieces at a time, turning the rail frequently to taper all sides evenly. Your goal is to shape the end to match the tapered profile of the factory-cut end. Keep testing the fit in the post hole until it slides in snugly.
Method 2: Using a Drawknife
A drawknife is a specialized tool with two handles that provides excellent control for shaping wood. Clamp the rail securely to a workbench or sawhorse. Pull the drawknife towards you along the edges of the cut end to shave off thin layers of wood.
This method offers more precision than a hatchet and can result in a very clean and consistent taper. Always pull the blade away from your body and wear gloves to protect your hands.
Common Mistakes to Avoid
Knowing what not to do is just as important as knowing what to do. Avoiding these common pitfalls will save you time, money, and frustration.
Inaccurate Measurements
This is the number one mistake. As emphasized earlier, always double-check your measurements before you make a cut. A rail cut too short is completely unusable.
Cutting Without a Guide Line
Free-handing a cut will almost always result in an angled or crooked end. This will prevent the rail from sitting properly in the post, creating a weak point in your fence. Always use a square to draw a clear guide line.
Forgetting Safety Gear
It only takes a split second for an accident to happen. A wood chip in the eye can cause permanent damage. There is no excuse for not wearing safety goggles and gloves when working with saws and shaping tools.
An Uneven or Jagged Taper
If the tenon you create is lopsided or too small, the rail will be loose in the post, causing the fence to wobble and sag over time. Take your time shaping the end, test the fit often, and aim for a snug, secure connection.
Pro Tips for a Professional Finish
Go the extra mile with these professional tips to ensure your custom-cut rail not only fits perfectly but also lasts for years and blends in seamlessly with the rest of your fence.
Matching the Weathering
A freshly cut end will stand out against the weathered grey of an older fence. To help it blend in, you can apply a weathering stain or a simple solution of vinegar and steel wool, which will accelerate the natural graying process of the wood.
Sealing the Cut End
The end grain of wood absorbs moisture much faster than the sides, which can lead to premature rot. After cutting and shaping your rail, apply a generous coat of wood preservative or end-cut sealer to the exposed wood. This is a critical step for longevity, especially in damp climates.
Frequently Asked Questions (FAQ)
Here are answers to some of the most common questions DIYers have when tackling this project for the first time.
What’s the best tool for cutting split rail fencing?
For most homeowners, a sharp handsaw or a circular saw is the best choice. A handsaw offers great control, while a circular saw provides speed and a cleaner cut. The “best” tool is the one you can operate safely and confidently.
Do I need to treat the cut end of the wood?
Yes, absolutely. It is highly recommended that you seal the cut end with a wood preservative. This protects the exposed grain from moisture absorption, which is the primary cause of wood rot and will significantly extend the life of your rail.
How do I make the end of the rail fit into the post hole?
You need to shape the end into a taper, or a tenon. This can be done with a hatchet, a wood chisel, or a drawknife. The goal is to carefully shave down the sides so it matches the other end of the rail and fits snugly into the post hole.
Can I shorten a rail that is already installed?
It is not recommended. To get a clean, straight cut and to properly shape the tenon, the rail needs to be removed from the fence and secured on a stable work surface like sawhorses. Trying to cut it in place is unsafe and will likely produce a poor result.
Conclusion
Shortening a split rail fence rail is a straightforward task that can elevate your fencing project from standard to custom-fit. By following the steps of measuring carefully, marking clearly, cutting safely, and shaping the end properly, you can achieve a professional and durable result. This skill empowers you to tackle any fencing layout with confidence.
Ensuring your fence is perfect is just one part of maintaining your property’s exterior; you also need to be aware of potential issues like a sagging roof overhang. While this guide focuses on traditional wooden rails, if you’re exploring different fencing solutions, you might consider the durability of post-on-pipe fence posts for your next project. Remember that precision in all home repairs is crucial to avoid costly mistakes, like when a roofer punctured an AC line.