How to Screw 2x4s Perpendicular: The Ultimate Guide
Joining two 2×4 boards at a perfect 90-degree angle is a fundamental skill in framing and woodworking. Yet, it’s a common point of frustration for many DIY enthusiasts. A weak or crooked joint can compromise the integrity of your entire project, leading to wobbly furniture or unstable structures. This guide will walk you through the professional techniques to create strong, square, and lasting perpendicular joints every time.
The core of the problem often lies in a few key areas: choosing the wrong fasteners, improper technique, and failing to prevent the wood from splitting. Many beginners grab drywall screws out of convenience, but these are brittle and can easily snap under the stress of framing. Understanding the right tools and methods is crucial for success.
You'll Learn About
Why Your 90-Degree Joints Fail
Creating a solid perpendicular joint with 2x4s presents several challenges. The most significant is ensuring the connection is both strong and perfectly square. Without the right approach, you risk creating a joint that can’t withstand pressure or looks unprofessional.
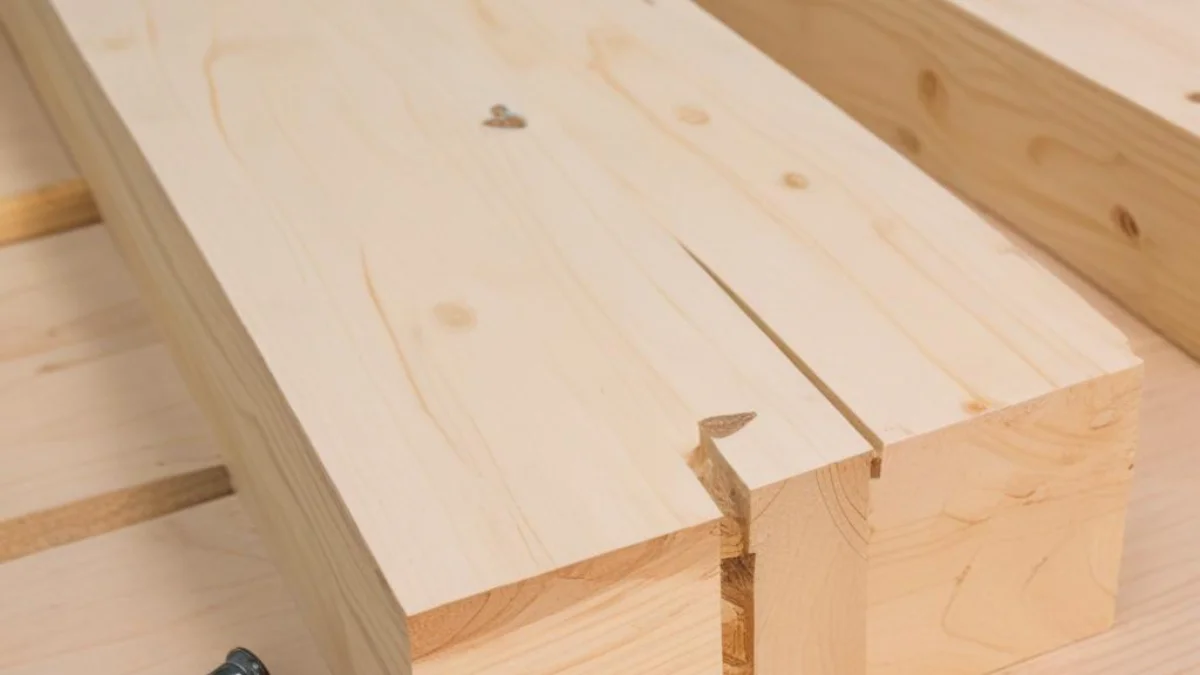
Another frequent issue is wood splitting. This happens when the screw displaces wood fibers, especially when driven close to the end of a board. A split not only weakens the joint but can also ruin the piece of lumber, forcing you to start over.
The Wrong Screws for the Job
One of the most common mistakes is using the wrong type of screw. Drywall screws are not structural fasteners and should never be used for framing or projects that will bear weight. They are designed to hold drywall in place and lack the shear strength required for robust construction. Using them can lead to joint failure under load.
Similarly, using screws that are too short won’t provide enough penetration into the adjoining board for a secure grip. A good rule of thumb is to ensure the screw penetrates at least 1 to 1.5 inches into the second piece of wood. For a standard 2×4, which is 1.5 inches thick, this means using screws that are at least 2.5 inches long.
The Professional Solution for Perfect Perpendicular Joints
The key to a successful 90-degree joint is a combination of the right materials, the right tools, and the right technique. By following a few simple steps, you can create joints that are as strong and reliable as those made by a professional carpenter. This involves selecting the proper screws, preparing the wood, and using a method that ensures a square and secure connection.
There are several effective methods for joining 2x4s perpendicularly. The best choice often depends on the specific application, the tools you have available, and whether the joint will be visible in the finished project. We will explore the most common and effective techniques below.
Step 1: Selecting the Right Screws
For strong, lasting joints, always choose structural or construction screws. These are specifically designed for framing and load-bearing applications. They are thicker, stronger, and more resistant to snapping than drywall screws. Deck screws are also a suitable alternative as they are coated for corrosion resistance, making them ideal for outdoor projects.
The length of the screw is critical. When screwing through the face of one 2×4 into the end of another, a 3-inch or 3.5-inch screw is ideal. This ensures ample thread engagement in the second board. The diameter, or gauge, of the screw also matters; a #9 or #10 screw provides excellent strength for most 2×4 applications.
| Screw Type | Recommended Use | Common Sizes for 2x4s | Drive Type |
|---|---|---|---|
| Structural/Framing Screws | Load-bearing walls, framing | #9 or #10 x 3″ | Torx (Star) or Square |
| Deck Screws | Outdoor projects, treated lumber | #9 or #10 x 2.5″ or 3″ | Torx (Star) or Square |
| Construction Screws | General purpose woodworking | #8 or #9 x 2.5″ or 3″ | Phillips or Torx |
| Drywall Screws | Not Recommended for Framing | N/A | Phillips |
Step 2: The Importance of Predrilling
Always drill a pilot hole, especially when driving a screw near the end of a board. A pilot hole is a hole drilled before the screw that is slightly smaller than the screw’s diameter. This simple step is the most effective way to prevent wood from splitting.
The pilot hole creates a path for the screw, reducing the pressure it exerts on the wood fibers. For a #9 screw, a 1/8-inch drill bit is typically a good size for the pilot hole. The hole should be drilled through the first board and about half the length of the screw into the second board.
Step 3: Mastering the “Butt Joint” Technique
The most straightforward method is the butt joint, where you drive screws through the face of one board directly into the end grain of the perpendicular board. While simple, screwing into end grain provides a weaker hold than screwing into the face grain. However, for many DIY projects, this method is sufficient when done correctly.
To execute a strong butt joint, start by ensuring your 2×4 ends are cut perfectly square. Clamp the two pieces together firmly at a 90-degree angle using a corner clamp or speed square to guide you. Drill two pilot holes through the first board and into the end of the second, then drive in your 3-inch construction screws.
Step 4: The Superior “Toe-Screwing” Method
A stronger alternative to a standard butt joint is toe-screwing (or toenailing). This involves driving screws at an angle through the face of one board and into the face of the adjoining board. This technique avoids screwing into the weaker end grain, resulting in a much more robust connection.
To toe-screw, position your boards and clamp them securely. Start the screw perpendicular to the wood for a few turns to get it started, then tilt your drill to about a 45-degree angle and drive the screw through the first board and into the second. Use at least two screws on each side of the joint for maximum stability. This can be a useful skill to have, especially if you’re ever faced with a project like having to remove a cast iron fireplace insert, which may involve some creative framing.
Step 5: Using Pocket Holes for a Clean Finish
For projects where you want to hide the screw heads, such as furniture or shelving, pocket-hole joinery is an excellent choice. This method uses a specialized jig to drill angled holes on the back or underside of one board. You then drive short, self-tapping pocket-hole screws through these holes and into the adjoining board.
Pocket-hole jigs are widely available and relatively inexpensive. They create incredibly strong joints with no visible fasteners on the front of your project. This technique combines the strength of toe-screwing with a clean, professional appearance.
Ensuring a Perfectly Square Joint
Creating a strong joint is only half the battle; it also needs to be square. A simple way to check for square is by using a carpenter’s square or a speed square. Place the square in the inside corner of the joint; both legs of the square should sit flush against the wood.
For larger frames, you can use the 3-4-5 method. Measure 3 units down one board from the corner and make a mark. Measure 4 units down the other board and make a mark. The distance between these two marks should be exactly 5 units. If it’s not, adjust the frame until it is. Proper alignment is also key for other home projects, such as ensuring your AC drain pipe is facing the right way for proper drainage.
Advanced Tips for a Professional-Grade Connection
To take your skills to the next level, consider adding wood glue to your joints before screwing them together. Wood glue creates a bond that is often stronger than the wood itself, adding significant strength and rigidity to the connection. Apply a thin layer of glue to both surfaces before clamping and screwing.
Another pro tip is to use an impact driver instead of a standard drill. An impact driver delivers more torque in short bursts, making it easier to drive long screws without stripping the head. This can be particularly helpful when working with dense lumber. If you’re undertaking larger projects that might require more power, you might even consider the cost to upgrade to 200 amp service to support more powerful tools in your workshop.