Replacing Ductwork in Walls? Don’t Cut a Thing Without This Guide
Are you battling mysteriously high energy bills? Do some rooms in your house feel perpetually stuffy and uncomfortable, no matter how you adjust the thermostat?
The culprit might not be your HVAC unit. It could be the hidden network of air passages snaking through your walls: your ductwork.
You'll Learn About
Unseen & Unheard: The Silent Signs Your Hidden Ductwork is Failing
Because most ductwork is concealed behind drywall, homeowners often overlook it as a source of problems. Unfortunately, aging, disconnected, or damaged ducts can secretly sabotage your home’s comfort and efficiency.
Telltale signs include a sudden spike in heating and cooling costs, as conditioned air leaks into wall cavities instead of reaching your rooms. You might also notice excessive dust or lingering musty odors, which can signal leaky or contaminated ducts.
The High Cost of Inefficiency
Leaky ducts can be a massive energy drain. When heated or cooled air escapes through gaps and poor connections, your HVAC system is forced to run longer and work harder to maintain the desired temperature.
This constant overexertion not only inflates your utility bills but also puts significant strain on your equipment, potentially leading to premature system failure.
Air Quality and Comfort Compromised
Beyond energy waste, failing ductwork can negatively impact your indoor air quality. Breaches in the ducts can pull in dust, insulation fibers, and other contaminants from within your walls, circulating them throughout your home.
This can exacerbate allergies and respiratory issues. Furthermore, poor airflow from crushed or disconnected ducts leads to inconsistent temperatures and frustrating hot or cold spots in your home.
Before You Swing a Hammer: The Critical Planning and Mapping Phase
Replacing ductwork inside existing walls is an invasive project that requires meticulous planning to minimize disruption and ensure success. Rushing into demolition without a clear plan is a recipe for disaster.
The primary goal of this phase is to understand exactly where your ducts run, what condition they’re in, and what materials you’ll need for the replacement. This prep work saves time, money, and major headaches.
Become a Ductwork Archaeologist
Think of this step as an archaeological dig inside your own home. Your mission is to map the entire system with minimal damage. Start by using a high-quality stud finder to locate the vertical studs between which the ducts run.
For a more advanced view, an infrared camera can help you see temperature differences in the drywall, often revealing the path of the ducts. Make small, strategic cuts for a borescope camera to get a definitive visual confirmation of the duct’s location and condition.
Choosing Your Replacement Materials
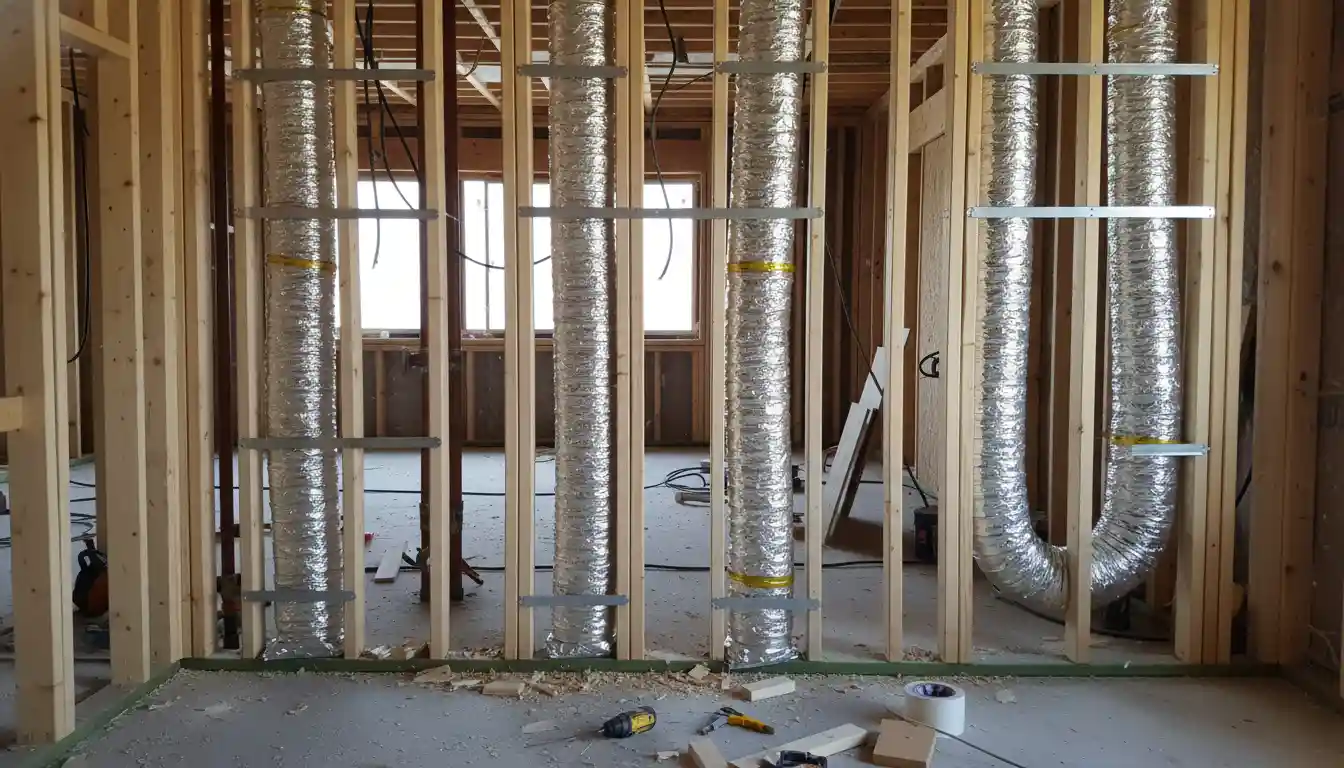
With your system mapped, you need to select the right materials for the job. You’ll primarily choose between rigid and flexible ductwork. Rigid ducts, typically made of sheet metal, offer superior airflow and durability but are more challenging to install in tight spaces.
Flexible ducts are easier to snake through walls but can be prone to kinks and tears if not handled properly. For many retrofit projects, a hybrid approach using rigid ducts for straight runs and short, carefully installed flexible sections for connections is ideal. Making the switch often involves replacing flexible ductwork with rigid components for better long-term performance.
The Ultimate Step-by-Step Replacement Guide
With your plan in place and materials on hand, it’s time to begin the replacement process. This requires patience, precision, and a focus on safety. Follow these steps methodically for a successful outcome.
Step 1: Safety First – Power Down Everything
Before you make a single cut, go to your breaker box and shut off all power to your HVAC system. This includes both the furnace or air handler and the air conditioner.
This crucial safety measure prevents accidental electrocution and ensures the system cannot turn on while you are working on it.
Step 2: Precision Demolition – Cut Access Panels
Using your map from the planning phase, carefully cut away sections of drywall to expose the old ductwork. Use a utility knife and drywall saw for clean, straight cuts that will be easier to patch later.
The goal is to remove only as much drywall as is necessary to access and replace each section of duct. Wear safety glasses and a dust mask to protect yourself from debris.
Step 3: Disconnect and Remove Old Ductwork
Once exposed, begin disconnecting the old ducts at the joints and boots. You may need to cut screws, foil tape, and plastic ties. Remove the old sections carefully, trying not to disturb surrounding insulation or wiring.
Be prepared for a lot of dust and debris to be released from the old ducts during this process. Have a shop vacuum handy to clean as you go.
Step 4: Install and Connect the New Ducts
Now, fit your new ductwork sections into place. Ensure a snug fit at every connection point, from the main trunk line to the register boots. Secure each connection with mechanical fasteners like screws.
Make sure there are no sharp bends or kinks, especially if using flexible ductwork, as this will severely restrict airflow and defeat the purpose of the replacement.
Step 5: The Most Critical Step – Sealing Every Seam
This is the step that makes or breaks the entire project. Every single joint, seam, and connection must be sealed airtight. Use a generous amount of mastic sealant, a paste-like substance you apply with a brush.
After applying mastic, cover the sealed joint with high-quality foil tape. Do not rely on tape alone, as it will eventually fail. A proper mastic seal ensures no air will leak out, maximizing your system’s efficiency.
Step 6: Insulate for Maximum Efficiency
Once all the seals are cured, wrap the new ducts with insulation. Proper insulation prevents thermal loss, keeping hot air hot and cold air cold as it travels to your rooms.
This step is particularly important for ducts running through unconditioned spaces like exterior walls, preventing condensation and improving overall system performance.
DIY vs. Professional: A Realistic Cost Breakdown
Deciding whether to tackle this project yourself or hire a professional HVAC contractor is a major consideration. While a DIY approach can save on labor costs, it requires significant time, skill, and the right tools. Mistakes can be costly and negate any initial savings.
A professional crew will have the experience, specialized tools like thermal cameras, and knowledge to do the job quickly and correctly, often providing a warranty on their work.
| Item / Service | Estimated DIY Cost | Estimated Professional Cost |
|---|---|---|
| Ductwork Materials (per 25 ft) | $50 – $150 | Included in Labor |
| Mastic, Tape, & Sealants | $40 – $80 | Included in Labor |
| Tools (if not owned) | $100 – $300+ | Included in Labor |
| Drywall & Finishing Supplies | $75 – $200 | $500 – $1500+ (often subcontracted) |
| Labor | Your Time (40-60 hours) | $2,500 – $7,000+ |
| Total Project Estimate | $265 – $730+ | $3,000 – $8,500+ |
Beyond Replacement: Seizing the Opportunity for Upgrades
Having your walls open presents a unique opportunity to do more than just a one-for-one replacement. This is the perfect time to evaluate and improve your entire HVAC system’s design and performance for long-term comfort and efficiency.
Consider if the current layout truly serves your needs. Are there rooms that have always been uncomfortable? Now is the chance to fix those underlying issues.
Rethinking Your Air Delivery
While replacing ducts, you can easily add a new supply vent to an underserved room or resize a duct run that was too small, improving airflow. A well-designed duct system distributes air evenly, eliminating hot and cold spots throughout the house.
If humidity is a persistent problem, proper sealing and insulation will help, but you might also investigate system-wide solutions. Sometimes, what seems like a duct problem can be a symptom of a mismatched or failing AC unit, leading to issues like a Carrier system fault or high humidity alert.
Considering System Alternatives
If you’re undertaking such a major project, it’s also worth asking if your current central HVAC system is the best long-term solution. For homes with chronic ductwork problems or for those seeking zoned temperature control, alternatives may be more effective.
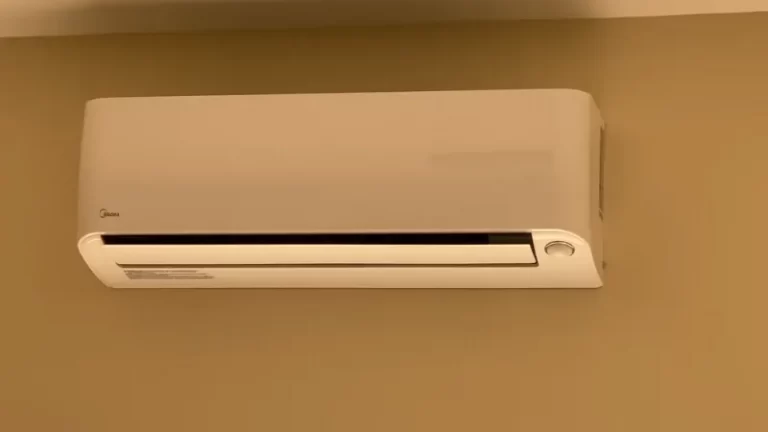
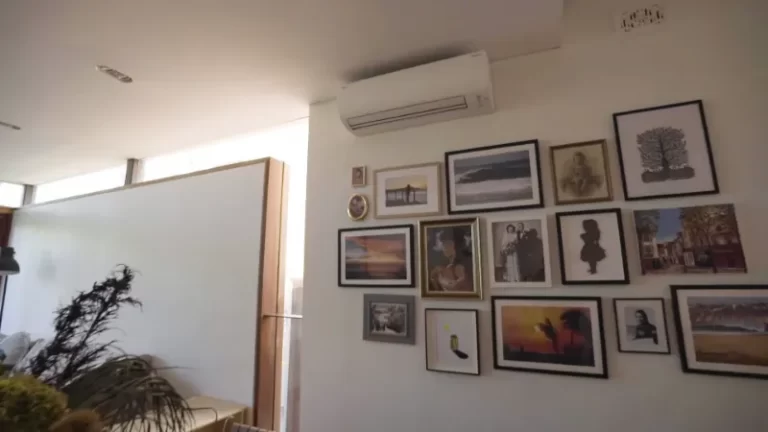
For instance, you might find that it’s more cost-effective to abandon problematic duct runs entirely. Many homeowners choose to replace a central AC with a mini-split system to gain room-by-room control and eliminate duct-related energy loss altogether.
Final Words
Ultimately, replacing ductwork within finished walls is a high-stakes surgery for your home’s HVAC system. Precision is your best friend; by utilizing diagnostic tools like borescope cameras and accurate blueprints, you can pinpoint issues without turning your drywall into Swiss cheese. Remember that modern, high-efficiency ducting often requires different dimensions than older systems, so verifying spatial clearance inside the wall cavity is essential before any demolition begins.
If the project feels overwhelming, don’t hesitate to consult a professional. While DIY efforts can save money, a licensed HVAC technician ensures that airflow remains balanced and seals are airtight, preventing future energy loss. Taking the time to plan meticulously now will ensure your home stays comfortable and your energy bills stay low for years to come.