Attic Ladder Hinge Arms Broken? Here’s Your Ultimate Fix
That sudden groan and wobble from your attic ladder can be unnerving. A broken or bent hinge arm is a common issue, turning a simple task into a safety hazard.
Ignoring this problem can lead to further damage or a complete ladder failure. Fortunately, replacing attic ladder hinge arms is a manageable DIY project with the right guidance.
You'll Learn About
Why Do Attic Ladder Hinge Arms Fail?
Understanding the root cause of the failure is the first step toward a lasting repair. Several factors can contribute to a compromised hinge arm, and identifying them can prevent future issues.
Wear and Tear Over Time
Like any mechanical part, the hinge arms on your attic ladder are subject to wear and tear. Constant opening and closing, combined with the weight they support, can lead to metal fatigue over the years.
The constant stress can cause the metal to weaken, bend, or even snap. This is especially true for older ladder models that have seen decades of use.
Accidental Damage and Overloading
Accidents happen. A common cause of damage is attempting to close the ladder with an object obstructing its path. This can put immense pressure on the hinge arms, causing them to bend.
Exceeding the ladder’s weight capacity is another significant factor. Always be mindful of the load rating and include the weight of anything you are carrying up to the attic.
Improper Installation or Poor Quality Parts
If the attic ladder was not installed correctly, it can create uneven stress on the components. This misalignment puts extra strain on one side, leading to premature failure of the hinge arm.
Some ladders are simply made with lower-quality materials. These parts are more susceptible to bending and breaking under normal operating conditions.
Is It Time for a Replacement? Telltale Signs of Hinge Arm Failure
Before you start ordering parts, it’s crucial to confirm that the hinge arms are indeed the problem. There are several clear indicators that point to a need for replacement.
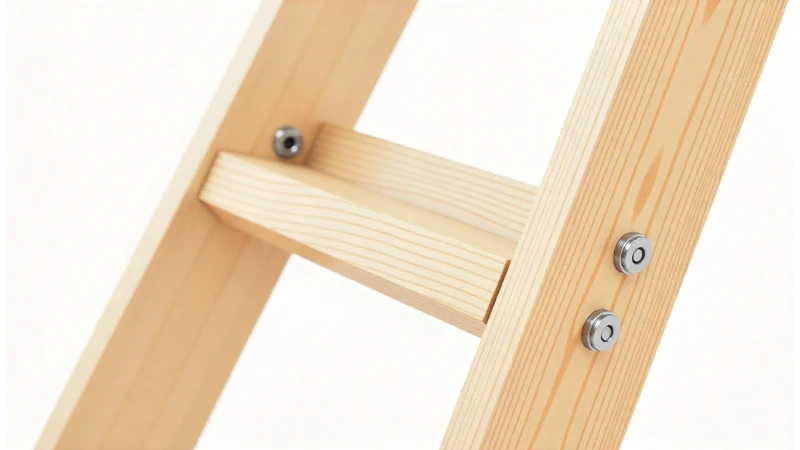
Visible Bending or Cracking
The most obvious sign is a visibly bent or cracked hinge arm. Inspect both sides of the ladder carefully, as sometimes the damage is more apparent on one side than the other.
If you notice any deformity, it’s a clear sign that the structural integrity is compromised. For insights on addressing this specific issue, understanding how to fix an attic ladder arm that’s bent can provide additional context before you decide to replace it.
Difficulty Opening or Closing the Ladder
A properly functioning attic ladder should operate smoothly. If you find yourself struggling to open or close it, or if it feels stiff and jerky, the hinge arms could be the culprit.
This resistance often means the arms are bent and no longer moving along their intended path. Forcing them can cause even more significant damage to the ladder or the frame.
The Ladder Feels Unstable or Wobbly
Your attic ladder should feel solid and secure when you climb it. If you notice excessive swaying or wobbling, immediately inspect the hinge arms and all other connection points.
This instability is a serious safety risk. Do not use the ladder until you have identified and resolved the source of the problem.
Getting Started: Tools and Materials You’ll Need
Once you’ve confirmed the hinge arms need replacing, the next step is to gather your tools and materials. Having everything ready will make the process much smoother and safer.
Essential Tools for the Job
You likely have most of these tools in your home already. This is not a project that requires highly specialized equipment. Make sure you have a sturdy stepladder, a socket set or adjustable wrench, locking pliers, and a drill with various bits.
Safety gear is non-negotiable. Always wear safety glasses to protect your eyes from debris and work gloves to get a better grip and protect your hands.
Sourcing the Right Replacement Hinge Arms
This is the most critical part of the preparation. Attic ladder parts are not always universal. You must identify your ladder’s manufacturer and model number to order the correct replacement kit.
This information is usually found on a sticker attached to the ladder’s side rail or on the access panel. If you can’t find it, take clear photos and measurements of the existing hinge arms to match them with a replacement.
| Manufacturer | Common Models | Part Identification Tips |
|---|---|---|
| Werner | W, WH, WU Series | Sticker on the side rail; often uses a blue and yellow logo. |
| Louisville Ladder | L, AL, S Series | Label on the door or side; parts are often specific to series. |
| Fakro | LWP, LWF, LWN | Metal plate on the side of the ladder frame. |
| Marwin | Classic, Supreme | Check the original paperwork or a sticker inside the door frame. |
The Step-by-Step Guide to Replacing Your Attic Ladder Hinge Arms
With your new parts and tools in hand, it’s time to tackle the replacement. Follow these steps carefully for a safe and successful installation. It’s highly recommended to have a helper for this job.
Step 1: Safety First – Secure the Ladder
Safety is paramount. Before you begin, you must ensure the attic ladder is fully supported and cannot fall while you are working on it. This is a critical step.
Open the attic ladder completely, resting its feet on the floor. Place a sturdy stepladder nearby and have a helper support the weight of the attic ladder sections. You can also use rope or strong straps to tie the ladder sections securely to the frame to prevent them from moving.
Step 2: Remove the Old, Damaged Hinge Arms
Now you can begin uninstalling the faulty hardware. Start by removing the springs that provide the tension for opening and closing the door. Use caution, as these springs are under high tension.
Using your wrench or socket set, carefully unbolt the old hinge arms from both the ladder frame and the door panel. It may be helpful to have your assistant hold the ladder section steady as you remove the final bolts.
Step 3: Prepare the Surface and Install the New Hinges
Once the old arms are removed, take a moment to inspect the mounting points. Ensure the wood is not cracked or stripped. If it is, you may need to make additional repairs before proceeding.
Position the new hinge arm in place, aligning it with the bolt holes. Loosely thread the bolts by hand first to ensure proper alignment, then tighten them securely with your wrench. Do not over-tighten, as this could damage the wood frame.
Step 4: Reattach Springs and Test the Ladder
With the new hinge arms securely in place, the next task is to reattach the springs. This can be challenging due to the tension. Many replacement kits come with a tool to help with this process.
Once the springs are back on, it’s time for a careful test. Slowly open and close the ladder a few times to ensure it moves smoothly and that the new hinges are operating correctly. Listen for any unusual noises and watch for any signs of binding.
Step 5: Final Adjustments and Safety Checks
After confirming the ladder operates smoothly, perform a final check on all nuts and bolts to ensure they are tight. Climb the ladder a few steps to test its stability under weight.
It should feel solid and secure. Make sure the ladder closes properly and sits flush with the ceiling. Proper alignment is key to a long-lasting repair.
Pro Tips for a Hassle-Free Repair
Even a straightforward project can have its challenges. These professional tips can help you avoid common pitfalls and ensure your repair goes as smoothly as possible.
Don’t Mix and Match Parts
It can be tempting to buy a cheaper, generic part, but this is rarely a good idea. Always use the manufacturer-recommended replacement parts for your specific ladder model.
Using incorrect parts can lead to improper function, further damage, and serious safety hazards. The right parts are designed to work together seamlessly.
Work with a Helper
We’ve mentioned it before, but it’s worth repeating. An attic ladder is heavy and awkward. Having a second person to help support the ladder, hand you tools, and provide an extra set of eyes is invaluable for both safety and efficiency.
This is not a one-person job. Attempting it alone significantly increases the risk of injury and mistakes.
Take Your Time
Rushing through the repair is a recipe for disaster. Read the instructions that came with your replacement kit carefully. Double-check each step before moving on to the next.
Patience is key. A careful, methodical approach will result in a safe, reliable repair that will last for years to come.
Beyond the Hinges: Related Attic Safety and Maintenance
While you’re focused on your attic, it’s a great opportunity to consider other aspects of safety and maintenance. A well-maintained attic access is a safe one.
Checking for Egress Compliance
If your attic is used as a living space, it’s vital to ensure it meets safety codes. This often includes having a proper emergency exit. Learning how to determine if your window is egress is a critical piece of home safety knowledge.
An egress window provides a safe escape route in case of a fire or other emergency. Building codes have very specific requirements for the size and operation of these windows.
Addressing Other System Maintenance
Your attic often houses critical home systems, such as your HVAC unit. While you’re working in the area, it’s a good time for a quick visual inspection of your equipment.
For instance, if you have a zoned heating and cooling system, you might notice issues like a stuck valve. Knowing how to troubleshoot a Honeywell zone valve that’s stuck closed can save you a service call and improve your home’s comfort.