How to Remove RedGuard From Concrete The Right Way
Removing RedGuard from concrete can feel like an impossible task. This tenacious waterproofing membrane clings to surfaces with incredible strength, leaving many homeowners frustrated and unsure of the next steps. Whether you’ve made an application error or are renovating an existing space, getting that bright red coating off your concrete is a significant challenge.
The core of the problem lies in RedGuard’s design. It’s an elastomeric, rubber-like membrane created to form a powerful, waterproof bond. This quality is excellent for protecting surfaces but becomes a major hurdle when removal is necessary.
You'll Learn About
Why Removing RedGuard is So Challenging
The primary difficulty in removing RedGuard is its strong adhesion and flexible nature. Unlike brittle materials that chip away, RedGuard is pliable and absorbs the force of impact from many tools. This makes simple scraping or sanding incredibly slow and often ineffective.
Many DIYers encounter this issue after applying the product too thickly, discovering a mistake in their tile layout, or needing to access the concrete substrate for repairs. The realization that this rubbery layer won’t just peel off can bring a project to a grinding halt. Understanding the proper techniques is crucial for moving forward without damaging the underlying concrete.
Common Reasons for RedGuard Removal
Several scenarios necessitate the removal of a waterproofing membrane like RedGuard. A primary reason is improper application. If the membrane is applied unevenly, too thinly, or develops pinholes, its waterproofing integrity is compromised, requiring a fresh start.
Another common situation is a change in design plans. A homeowner might decide on a different bathroom layout or flooring type that requires a clean concrete surface. In some cases, plumbing or structural repairs underneath the membrane force its removal to access the concrete slab.
Preparing for RedGuard Removal: Safety First
Before beginning the removal process, safety should be your top priority. The methods involved can create dust, debris, and fumes. Proper personal protective equipment (PPE) is non-negotiable to protect yourself from potential harm.
Always wear safety glasses or goggles to shield your eyes from flying particles. A dust mask or respirator is essential to prevent inhalation of fine dust created by mechanical removal methods. Additionally, heavy-duty gloves will protect your hands from sharp tools and chemical agents.
Setting Up Your Workspace
Proper workspace preparation can save you hours of cleanup time. Seal off the area from the rest of your home using plastic sheeting and painter’s tape to contain dust. If you’re working in a space like a basement or garage with poor airflow, use fans to create cross-ventilation and direct dust and fumes outside.
Cover any fixtures, drains, or vents in the room to protect them from debris. Ensuring a clean and organized work area will also improve safety and efficiency as you tackle this demanding project. When planning major renovations, considering elements like an L shaped quartz countertop can be part of the larger design picture once the prep work is done.
Mechanical Removal Methods: Brute Force and Precision
Mechanical removal is often the most direct approach for stripping RedGuard from concrete. This involves physically scraping, grinding, or blasting the membrane off the surface. While labor-intensive, these methods are highly effective and don’t rely on harsh chemicals.
The best tool for the job depends on the size of the area and the thickness of the RedGuard application. For small mistakes or patches, simple hand tools may suffice. For larger floors, power tools will be necessary to complete the job in a reasonable amount of time.
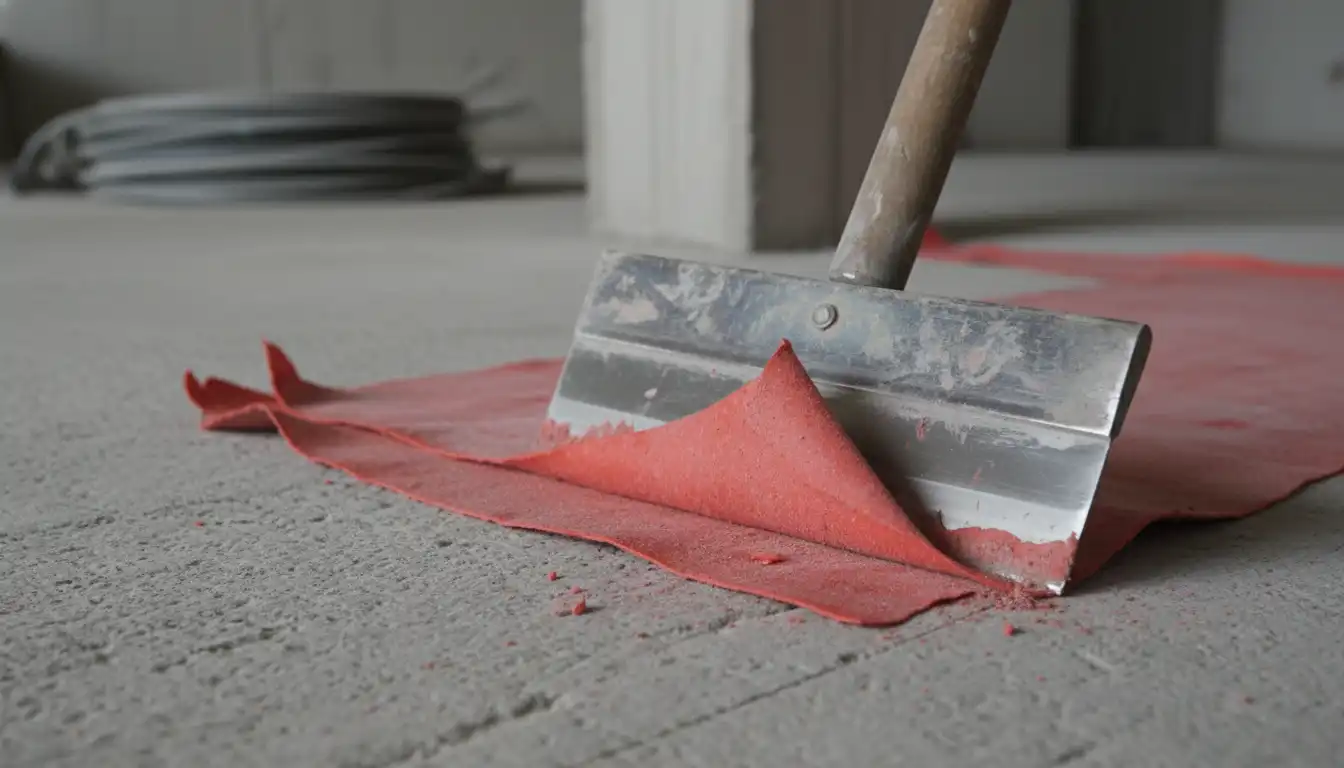
Scraping and Chipping: The Manual Approach
For minor areas, a sturdy floor scraper or a hammer and chisel can be effective. The key is to get underneath the membrane’s edge to begin peeling it back. A long-handled floor scraper provides excellent leverage and allows you to use your body weight to apply pressure.
Use short, forceful strokes to break the bond between the RedGuard and the concrete. Be patient and methodical, working from the edges inward. This method provides a great deal of control, minimizing the risk of damaging the underlying concrete surface.
Power Tools for Efficient Removal
When dealing with a large concrete floor, power tools are a game-changer. An angle grinder fitted with a wire wheel or a diamond grinding cup wheel can make quick work of RedGuard. These tools aggressively strip the membrane but require a steady hand to avoid gouging the concrete.
Another powerful option is a demolition hammer equipped with a scraper chisel bit. This tool combines impact with a wide scraping surface, effectively breaking the membrane’s bond and peeling it away in sheets. Always start on the lowest setting to gauge the tool’s power and prevent damage.
Chemical Removal Methods: Dissolving the Bond
If mechanical methods prove too difficult or risk damaging the concrete, chemical strippers offer an alternative solution. These products work by dissolving the adhesive properties of the RedGuard, causing it to soften and bubble up for easier removal. This approach can be less labor-intensive but requires careful handling and proper ventilation.
Choosing the right chemical stripper is crucial. Look for products specifically designed for removing elastomeric coatings or waterproofing membranes. Always read the manufacturer’s instructions carefully before application.
Choosing and Applying Chemical Strippers
When selecting a chemical remover, consider products that are environmentally friendly and have low VOCs (volatile organic compounds) to minimize harmful fumes. Apply the stripper generously and evenly across the RedGuard surface using a roller or a brush.
Allow the chemical to dwell on the surface for the time specified in the product instructions. This can range from a few minutes to several hours. The RedGuard should begin to soften, wrinkle, or bubble, indicating that it is ready for removal.
Scraping and Neutralizing the Surface
Once the chemical stripper has done its work, use a scraper to peel the softened RedGuard from the concrete. The membrane should come off much more easily than with mechanical methods alone. Work in small sections, scraping away the residue.
After removing all the RedGuard, it is essential to neutralize the concrete surface. Some strippers require a specific neutralizing agent, while others can be cleaned with water. This step is critical to ensure that no chemical residue remains, which could interfere with future coatings or adhesives.
| Removal Method | Pros | Cons | Best For |
|---|---|---|---|
| Manual Scraping | Low cost, high control, minimal dust | Very labor-intensive, slow for large areas | Small patches, edges, and detail work |
| Power Grinding | Fast and highly effective | Creates significant dust, risk of damaging concrete | Large, open concrete floors |
| Demolition Hammer | Excellent for thick applications, less dust than grinding | Can be aggressive, potential for surface damage | Large areas with stubborn RedGuard |
| Chemical Strippers | Less physical effort, effective on stubborn areas | Requires good ventilation, potential for harsh fumes, messy | Areas where mechanical methods fail or are impractical |
The Hybrid Approach: Combining Methods for Best Results
Often, the most effective strategy for removing RedGuard from concrete is a combination of mechanical and chemical methods. This hybrid approach allows you to leverage the strengths of each technique while minimizing their drawbacks. It provides a versatile solution for tackling this tough job.
Start with a mechanical method, such as a demolition hammer with a scraper bit, to remove the bulk of the membrane. This will quickly clear large sections of the floor. In some older homes with unique structural elements, you may wonder, are round columns out of style? While renovating, these are the kinds of design questions that can arise.
Finishing with Precision
After the majority of the RedGuard is gone, you will likely have stubborn patches and residue left behind. This is where chemical strippers or an angle grinder can be used for more precise, targeted removal. This ensures a completely clean surface without excessive effort or damage.
This combined approach saves time and energy. It addresses the challenge from multiple angles, ensuring a thorough and efficient removal process. Your concrete will be left clean and ready for the next stage of your project.
Hiring a Professional: When to Call for Help
While DIY removal is possible, there are times when hiring a professional is the smarter choice. If you’re dealing with a very large area, lack the necessary tools, or are concerned about safety, a professional can complete the job safely and efficiently.
Professionals have access to industrial-grade equipment and have the experience to remove RedGuard without damaging the concrete. If you’re considering this route, it’s wise to understand the costs involved. It’s fair to ask, is it legal to charge for an estimate, as policies can vary between contractors.
Preparing for a New Surface
Once the RedGuard is completely removed, inspect the concrete for any damage. Fill any cracks or gouges with a concrete patching compound and allow it to cure fully. A clean, smooth, and level surface is essential for the successful application of any new flooring or waterproofing product.
Thoroughly clean the concrete by sweeping and vacuuming up all dust and debris. A final wash with a concrete cleaner will ensure the surface is free of any contaminants. Your concrete is now a blank canvas, ready for your next home improvement project.