How to Remove Polyurethane From Brick: The Ultimate Guide
That glossy polyurethane coating on your brick fireplace or exterior wall seemed like a great idea at first. It promised a wet look, enhanced color, and protection. Now, years later, you’re faced with a yellowed, peeling, and sticky mess that detracts from your brick’s natural beauty. You’re not alone in this frustrating situation.
Removing polyurethane from a porous and uneven surface like brick is one of the most challenging DIY tasks a homeowner can face. The durable, plastic-like coating bonds tenaciously, seeping into every crevice and defying simple cleaning methods. But restoring your brick to its original glory is possible with the right knowledge and tools.
You'll Learn About
Why Is Removing Polyurethane from Brick So Difficult?
Polyurethane is a polymer designed to create a strong, resilient, and non-porous protective layer. While excellent for surfaces like hardwood floors, these same properties make it a nightmare to remove from masonry. The coating doesn’t just sit on top; it sinks into the brick’s porous structure.
Over time, exposure to UV light and the elements causes the polyurethane to break down, turning it yellow and brittle. This degradation makes it look unsightly but doesn’t weaken its grip on the brick itself. Standard cleaning and scrubbing are often completely ineffective against this stubborn coating.
Safety First: Preparing for Polyurethane Removal
Before you even think about applying a chemical or picking up a tool, your top priority must be safety. Many polyurethane removal methods involve harsh chemicals or create significant dust. Proper preparation is non-negotiable.
Protect yourself by wearing chemical-resistant gloves, safety goggles, and a respirator mask rated for organic vapors or dust, depending on your chosen method. Ensure your workspace is extremely well-ventilated by opening all windows and using fans to create cross-breezes. For interior projects, cover all furniture, flooring, and adjacent surfaces with plastic sheeting and painter’s tape to prevent damage.
Choosing Your Weapon: Methods for Removing Polyurethane
There are three primary approaches to tackling polyurethane on brick: chemical stripping, mechanical removal, and alternative solutions. The best method for you will depend on the thickness of the coating, the condition of your brick, and your comfort level with the tools and materials involved. Softer, older, or reclaimed brick can be easily damaged, so always start with the least aggressive method first.
Chemical Strippers: The Go-To Solution
For most DIY projects, chemical strippers are the most effective and accessible option. These products are formulated to break down the chemical bonds of the polyurethane, turning the hard coating into a soft, scrape-able sludge. There are several types to consider.
Solvent-based strippers are the most powerful and fastest-acting. They contain strong chemicals like methylene chloride or NMP and are highly effective but also come with potent fumes and require extreme caution. Biochemical or soy-based strippers are a more eco-friendly and lower-odor alternative. While they work more slowly, often requiring several hours or even overnight application, they are much safer for indoor use.
Mechanical Methods: For Heavy-Duty Removal
If you’re dealing with a very thick coating or chemicals have failed, mechanical removal might be necessary. This approach uses abrasive force to physically grind the polyurethane off the surface. This method carries a high risk of damaging the brick itself and is often best left to professionals.
Options include using an angle grinder with a wire brush or a sander with coarse-grit sandpaper. A more professional and controlled method is soda blasting, which uses sodium bicarbonate under high pressure. It is less abrasive than sandblasting but can still damage soft brick if not done correctly.
Alternative DIY Solutions
Some homeowners have found success with other solvents, although their effectiveness can vary. Acetone or a mixture of denatured alcohol and lacquer thinner can sometimes soften polyurethane enough for removal. These are highly flammable and must be used with extreme care in a well-ventilated area, away from any potential ignition sources.
| Removal Method | Effectiveness | Difficulty Level | Brick Damage Risk | Best For |
|---|---|---|---|---|
| Soy/Citrus-Based Stripper | Moderate to High | Low | Low | DIY projects, indoor use, and thinner coatings. |
| Solvent-Based Stripper | Very High | Medium | Low | Thick, stubborn coatings and outdoor use. |
| Sanding/Grinding | High | High | Very High | Extreme cases where chemicals fail; best for professionals. |
| Soda Blasting | Very High | Professional | Medium | Large areas and professional restoration projects. |
| Acetone/Alcohol | Low to Moderate | Medium | Low | Small spots or very thin, fresh coatings. |
The Step-by-Step Guide to Chemical Removal
Using a chemical stripper is the most common and reliable method for homeowners. Follow these steps carefully for a successful outcome. Always test the stripper on a small, inconspicuous area first to ensure it doesn’t discolor or damage your brick.
Step 1: Apply the Stripper
Using a cheap, disposable paintbrush, apply a thick, even layer of the chemical stripper to the polyurethane-coated brick. Do not “paint” it back and forth; lay it on thickly in one direction. The goal is to apply a layer that is at least as thick as the polyurethane you are trying to remove.
For gel-based strippers, which are ideal for vertical surfaces, aim for a layer about 1/8-inch thick. This prevents the product from drying out before it has time to work.
Step 2: Let it Dwell
Patience is key. The stripper needs time to soften the polyurethane. The required dwell time can range from 30 minutes for a strong solvent to over 24 hours for some soy-based products. Read and follow the manufacturer’s instructions precisely.
To help the stripper stay active, you can cover the area with plastic sheeting. This prevents evaporation and is especially helpful for slower-acting, eco-friendly products.

Step 3: Scrape Away the Sludge
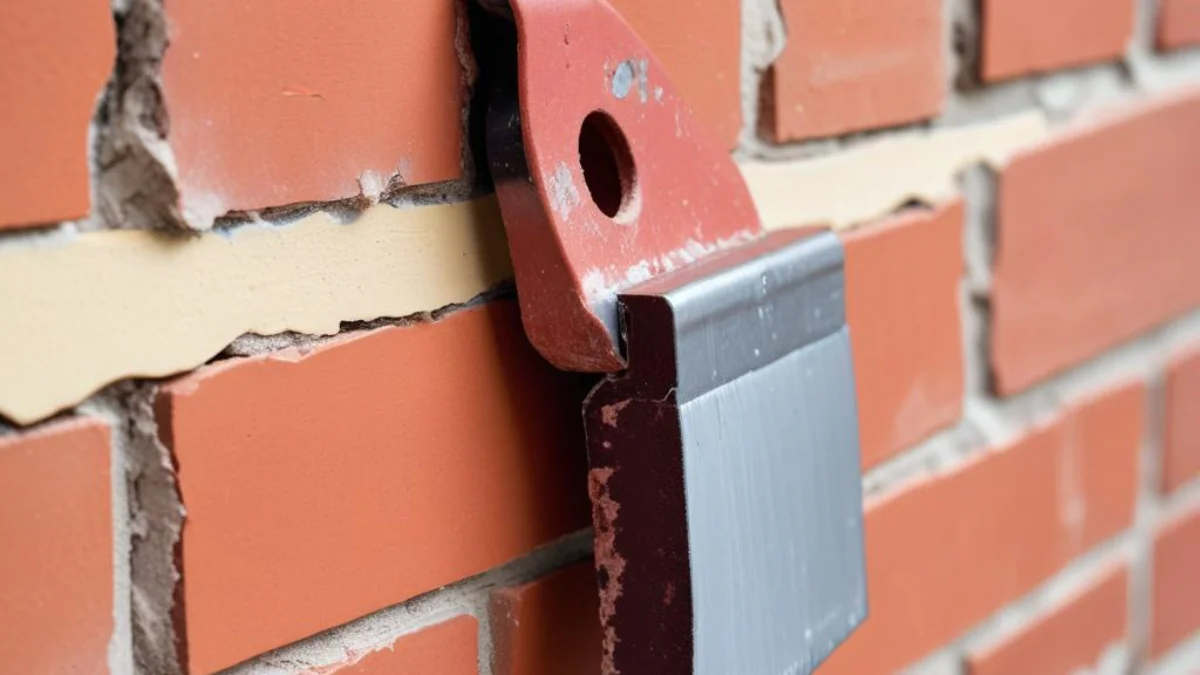
Once the polyurethane has softened and wrinkled, it’s time to remove it. Use a combination of plastic and metal scrapers or putty knives to gently lift the sludge from the brick surface. A stiff-bristled nylon brush is essential for getting into the porous texture of the brick and the mortar joints.
Work in small, manageable sections. Scrape the softened gunk into a disposable container for proper disposal later.
Step 4: Reapply if Necessary
It’s very common for a single application not to remove all the polyurethane, especially if there are multiple layers. You may need to repeat the process of applying stripper, letting it dwell, and scraping. Don’t get discouraged; this is a normal part of the process for a tough coating.
After the Strip: Cleaning and Restoring Your Brick
Removing the polyurethane is only half the battle. Once the coating is gone, you’ll need to clean the brick thoroughly to remove any chemical residue and prepare it for its new, natural life.
Neutralize and Clean
After stripping, many manufacturers recommend cleaning the surface with mineral spirits to remove any lingering residue. For some strippers, you may need to neutralize the surface with a specific cleaner or a simple solution of water and soap. This step is crucial to ensure the brick is clean and ready for a new sealer, if you choose to apply one.
A final rinse with clean water is always a good idea. Use a scrub brush and towels to wash and dry the brick surface completely.
To Seal or Not to Seal?
Once your brick is beautifully restored, you face a new question: should you seal it again? If the brick is indoors and not exposed to moisture, like a fireplace surround, leaving it in its natural state is often the best choice. Natural brick is breathable and has a timeless appeal.
For exterior brick, sealing can be beneficial to protect against moisture penetration. If you notice a gap between chimney and house, for instance, addressing that and then applying a proper breathable sealant is key. Choose a high-quality, breathable, penetrating sealer designed for masonry, rather than a film-forming coating like polyurethane, to avoid repeating the same problem in the future. A proper sealant can also deter pests; consider an ant proof sealant for foundational brickwork.
Common Mistakes to Avoid
This is a tough job, and it’s easy to make mistakes. Avoid these common pitfalls to ensure a better result and protect your brick.
Using too much force is a primary error. It’s tempting to scrape aggressively or use a harsh wire brush, but this can cause irreparable scratches and gouges in the brick face. Let the chemicals do the work. Another mistake is not allowing enough dwell time. If the stripper dries out, it stops working, so be patient and reapply if needed.
Finally, skipping the test patch can lead to disaster. You might find that your chosen stripper discolors your specific type of brick, a problem you want to discover on a small spot, not your entire wall. After restoring your brick, you might be inspired to tackle other masonry projects, like finding out how to attach led strip lights to concrete to accent your new, clean look.

