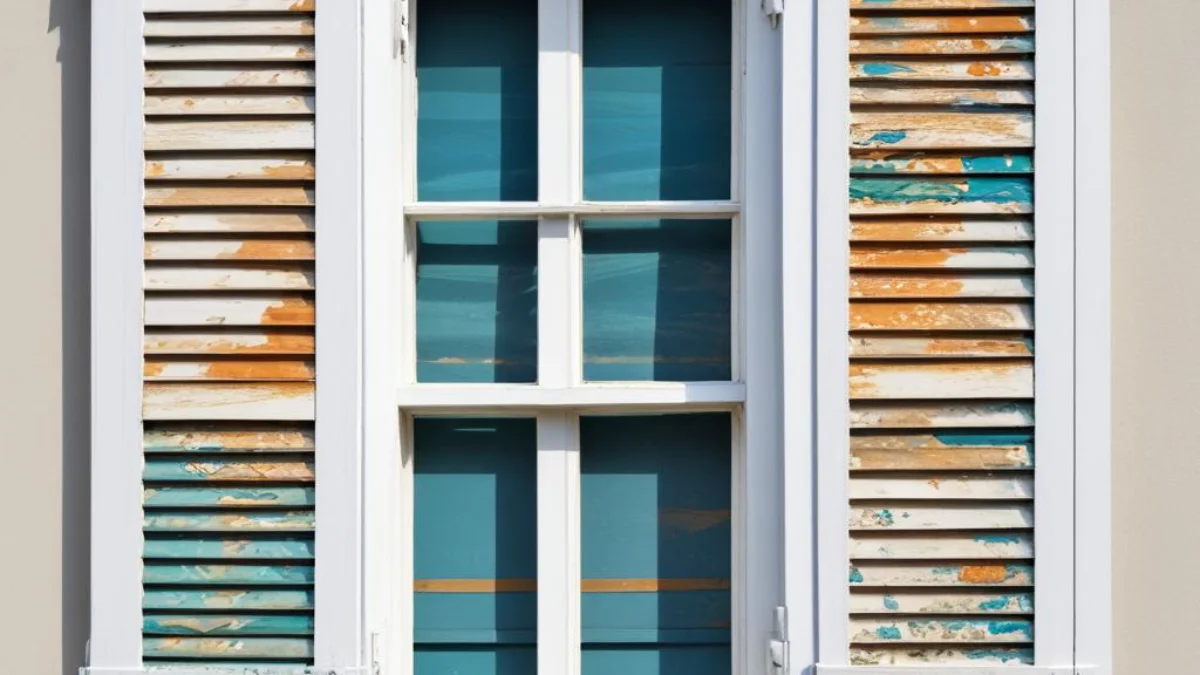
How to Remove Plantation Shutters Without Destroying Your Walls
Plantation shutters add a touch of timeless elegance to any home, but there comes a time when you might want a change. Whether you’re updating your decor, replacing old windows, or simply craving more natural light, the task of removing them can seem daunting. Many homeowners worry about damaging their walls or the shutters themselves, turning a simple DIY project into a costly repair job. The fear of leaving behind unsightly holes, cracked plaster, and a frustrating mess is a common problem.
This guide will walk you through the process step-by-step, addressing the common pain points and questions people have when facing this task. We’ll cover everything from the tools you’ll need to the techniques for a clean, damage-free removal. With the right approach, you can confidently take down your plantation shutters and prepare your windows for their next chapter.
You'll Learn About
Why You Might Want to Remove Your Plantation Shutters
While beautiful, plantation shutters aren’t always the perfect fit for every home or lifestyle. Homeowners often decide to remove them for a variety of reasons. Understanding these motivations can help you decide if removal is the right choice for you.
One of the most common reasons is a desire for a more modern aesthetic. Styles change, and the classic look of plantation shutters might not align with a contemporary or minimalist design. Another frequent issue is that they can significantly block natural light, even when the louvers are fully open. For those who want to brighten up a room, removing the shutters can make a dramatic difference.
Common Problems That Lead to Removal
Over time, even high-quality shutters can develop problems. The paint may yellow or chip, especially on older, oil-based finishes, creating a mismatched look with fresh trim. The cost to professionally repaint shutters can be substantial, often making replacement a more budget-friendly option. Furthermore, the shutters can feel bulky, making rooms seem smaller and obstructing views.
Functionality can also become an issue. Repeated use can lead to damaged louvers or tilt rods, making them difficult to operate. For some, the way the shutters protrude into the room can be an inconvenience, limiting furniture placement and usable space. Ultimately, the decision to remove them often comes down to a combination of aesthetics, functionality, and the desire for a change.
Preparing for the Removal Process: Tools and Tips
Before you begin, gathering the right tools is crucial for a smooth and successful removal. Having everything you need on hand will save you time and prevent frustration. Proper preparation is the key to avoiding damage to your walls, window frames, and the shutters themselves.
Most plantation shutter removals can be accomplished with a few basic hand tools. You likely have many of these in your toolbox already. Taking a moment to organize your workspace and protect the surrounding area will also make the cleanup process much easier.
Essential Tools for the Job
The specific tools you’ll need can vary slightly depending on how your shutters were installed, but this list covers the most common scenarios. A screwdriver or a drill with the correct bits is essential for removing the hinge screws. If the shutters are attached with nails, you will need a hammer and a pry bar.
For filling in any holes left behind, you’ll want to have spackling paste or wood putty and a putty knife. A utility knife can also be helpful for scoring any paint seals around the frame. Finally, it’s always a good idea to have a drop cloth to protect your floors and some safety glasses to protect your eyes.
| Tool | Primary Use | Pro Tip |
|---|---|---|
| Drill or Screwdriver | Removing hinge screws from the shutter panels and frame. | Use a magnetic bit holder to avoid dropping and losing screws. |
| Pry Bar | Gently removing the shutter frame from the wall if nailed. | Place a thin piece of wood behind the pry bar to protect the wall from dents. |
| Hammer | Tapping out hinge pins or gently tapping the pry bar. | A smaller hammer offers more control for delicate tasks. |
| Utility Knife | Scoring paint or caulk lines around the frame for a clean break. | Change the blade if it’s dull for a cleaner cut and safer use. |
| Spackling Paste/Wood Putty | Filling screw holes and any minor wall damage after removal. | Choose a paintable, sandable product for a seamless finish. |
A Step-by-Step Guide to Removing Plantation Shutters
Now that you’re prepared, it’s time to begin the removal process. The key is to work slowly and methodically. Most plantation shutters consist of two main components: the shutter panels (the hinged, louvered sections) and the frame that is attached to the window opening.
We will tackle this in two main stages: first, removing the shutter panels, and second, removing the frame. Having a helper is highly recommended, as the panels can be heavy and awkward to handle on your own.
Step 1: Removing the Shutter Panels
Start by opening the shutter panels as wide as possible. This will give you clear access to the hinges that connect the panels to the frame. Inspect the hinges to determine how they are fastened. Most will either have screws or a removable hinge pin.
If your hinges have screws, simply use your drill or screwdriver to remove them from the frame side of the hinge. Make sure to support the bottom of the shutter panel as you remove the last screw to prevent it from falling. If your hinges have a pin, you can often tap it upwards from the bottom using a small screwdriver and a hammer, which will release the panel.
Step 2: Taking Off the Shutter Frame
With the panels out of the way, you can now focus on the frame. Look closely for the screws or nails that secure it to the wall or window jamb. Sometimes, these fasteners are hidden behind decorative plugs or thin cover strips that you may need to gently pry off.
If the frame is screwed in, carefully remove all the screws. The frame should then come away from the wall easily. If it is nailed on, you will need to use your pry bar. Start at a corner and gently work your way around, applying steady pressure to ease the frame away from the wall without causing damage.
Dealing with the Aftermath: Repairing and Finishing
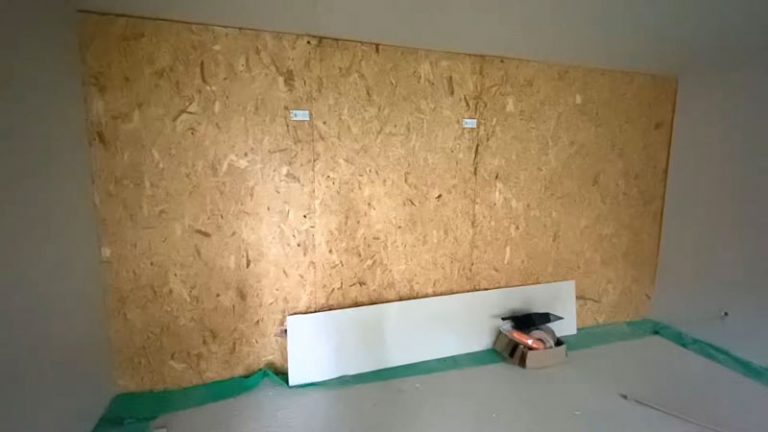
Once the shutters and frame are gone, you’ll be left with some minor cosmetic work to do. This final stage is what ensures a professional-looking result. Taking the time to properly patch and paint will make it look like the shutters were never there.
The most common remnants are screw holes in the wall or window trim. You may also have some slight paint chipping or drywall paper tearing where the frame was attached. These are all simple fixes that don’t require specialized skills.
Step 3: Filling Holes and Repairing Damage
Use your putty knife to apply a small amount of spackling paste or wood putty into each screw hole. Overfill the hole slightly to account for shrinkage as it dries. Once the filler is completely dry, sand it smooth with fine-grit sandpaper so it is flush with the surrounding surface.
For any torn drywall paper, carefully trim away the loose edges with a utility knife before applying a thin coat of spackle. After a project like this, it’s a good time to inspect other areas of your home. For example, if you’ve ever had to learn what to do if you forgot to disconnect my garden hose in winter, you know how small preventative maintenance can save a lot of trouble later. The same principle applies to interior finishes.
Step 4: Priming and Painting for a Flawless Finish
After sanding your patches, wipe the area clean with a damp cloth to remove any dust. Apply a coat of primer over the patched areas. This step is important because it seals the patch and prevents the paint from looking dull or different in those spots.
Once the primer is dry, you can paint the area to match the rest of your wall or trim. Use a small brush or roller for a smooth application. It might take two coats to achieve a perfect blend. This is also a great opportunity to give the entire window frame a fresh coat of paint for a completely revitalized look. Similarly, updating other fixtures, like learning how to remove the front grill of an LG window air conditioner for cleaning, can contribute to a refreshed and well-maintained home.
Final Thoughts on Your Shutter Removal Project
Removing plantation shutters is a manageable DIY project that can dramatically change the look and feel of a room. By following these steps and preparing properly, you can avoid the common pitfalls and achieve a clean, professional result. The key is to work patiently and carefully, especially when prying the frame from the wall.
With your shutters gone, you now have a blank canvas to work with. Whether you opt for sleek roller shades, elegant curtains, or simply enjoy the unobstructed view, you’ve successfully updated your space. Completing home projects yourself, like learning how to flush mount a frameless mirror, not only saves money but also gives you a sense of accomplishment and a deeper connection to your home.