How to Remove Paint from Aluminum Window Frames Without Damage
You look at your aluminum window frames and see a problem. Perhaps it’s a color from a bygone era, or maybe the paint is chipping and peeling, making your whole house look tired. You know a refresh is in order, but the thought of tackling painted aluminum seems daunting.
Removing paint from a delicate metal like aluminum isn’t like stripping an old wooden chair. One wrong move—too much pressure, the wrong chemical—and you could be left with a scratched, warped, or permanently damaged frame. This guide is here to ensure that doesn’t happen.
You'll Learn About
Why You Should Remove Old Paint Before Repainting
It can be tempting to just paint over the old layer. However, for a durable and professional-looking finish, stripping the old paint is a non-negotiable first step. Painting over flaking or bubbling paint means your new coat will fail almost immediately.
Starting with a clean, bare surface ensures the new primer and paint can adhere properly. This creates a stronger bond and a finish that will last for years, not months. Taking the time to do it right the first time saves you from a much bigger headache down the road.
The Challenge of Working with Aluminum
Aluminum is a soft metal, which means it scratches and gouges easily. Unlike steel, aggressive scraping with metal tools or using the wrong grit of sandpaper can quickly cause irreversible damage. The goal is to remove the paint, not the metal itself.
Furthermore, some harsh chemical strippers, especially caustic-based ones, can react with and corrode aluminum. It’s crucial to select products specifically formulated for use on aluminum to avoid pitting or weakening the frames.
Safety First: Your Essential Prep Work
Before you even think about touching the frames, your safety and the protection of your home are the top priorities. Paint stripping, whether chemical or heat-based, involves materials that require respect and caution. Don’t skip these critical preparation steps.
Protect Yourself: Always wear the right personal protective equipment (PPE). This includes chemical-resistant gloves to protect your skin, safety goggles to shield your eyes from splashes, and a respirator mask with appropriate filters to avoid inhaling fumes from chemical strippers or vaporized paint.
Preparing Your Workspace
Paint removal is a messy job. To protect the surrounding areas, lay down a durable drop cloth or plastic sheeting on the floor and over any nearby furniture. Use painter’s tape to secure the sheeting and to protect the glass panes and the walls adjacent to the window frame.
Proper ventilation is also key. Open other windows and doors to create cross-ventilation. If you are working in a poorly ventilated area, use a box fan to help direct fumes outside.
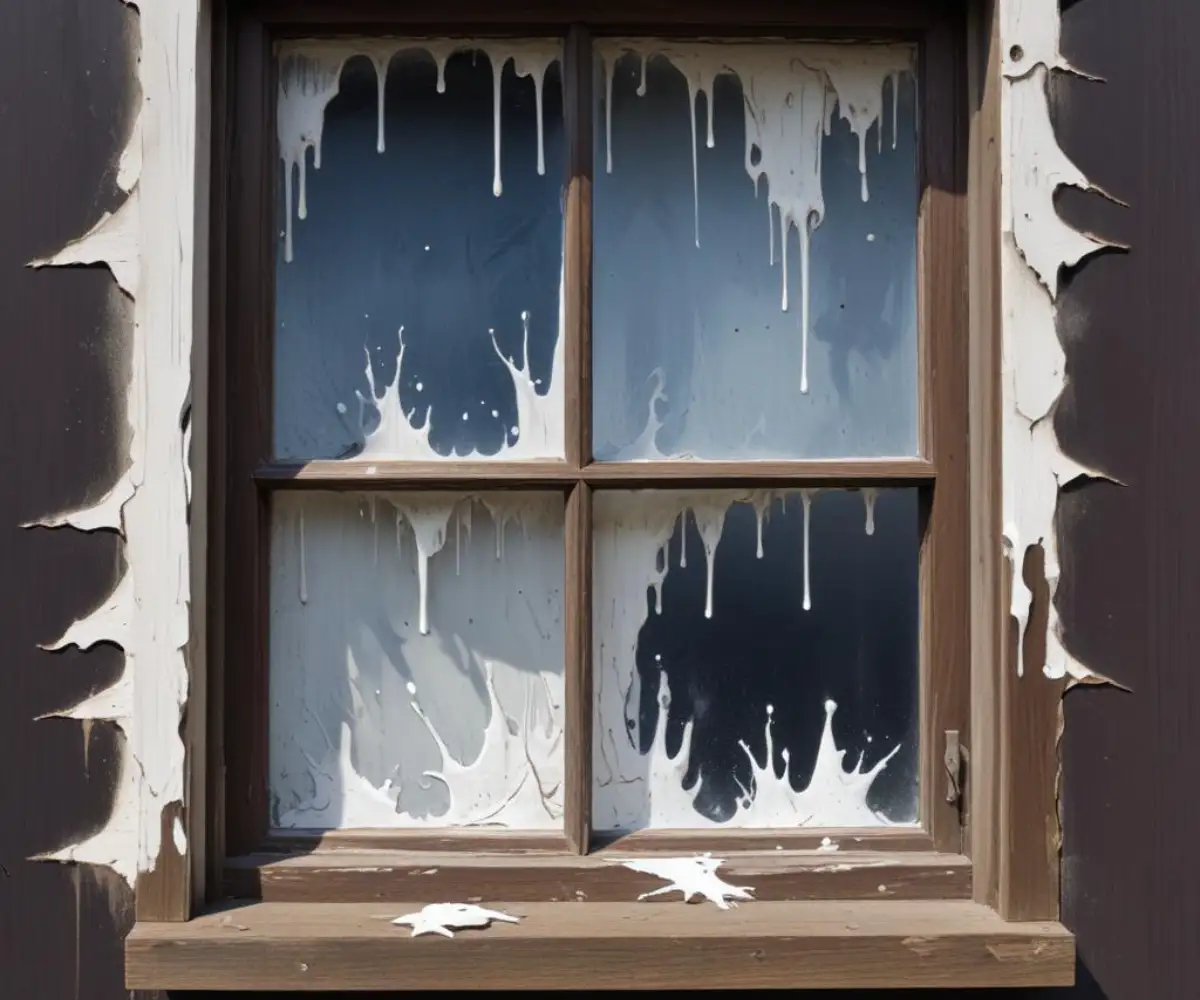
Method 1: Using a Chemical Paint Stripper
Chemical paint strippers are highly effective, especially for frames with intricate details or multiple thick layers of paint. They work by breaking down the bond between the paint and the aluminum, causing the paint to bubble and lift. This makes it much easier to scrape away without excessive force.
When selecting a product, always choose a stripper that is specifically marked as safe for aluminum. Many citrus-based or soy-gel strippers are good options as they are less harsh than traditional methylene chloride-based removers but still very effective. Gel formulas are often preferred for vertical surfaces like window frames because they cling better and are less likely to drip.
Step-by-Step Guide to Chemical Stripping
1. Application: Using a disposable chip brush, apply a thick, even layer of the paint stripper to a small section of the frame. Don’t brush it back and forth like paint; lay it on generously in one direction. Working in manageable sections prevents the stripper from drying out before you can remove it.
2. Wait Patiently: Let the stripper sit for the time recommended by the manufacturer, typically between 15 and 30 minutes. You will see the paint begin to wrinkle and bubble—this is a clear sign that the product is working its magic.
3. Gentle Scraping: Once the paint has softened, use a plastic scraper or putty knife to gently lift it away. Metal scrapers can easily scratch the aluminum, so it’s best to avoid them. Move the scraper in the direction of the metal’s grain and let the tool do the work, applying minimal pressure.
4. Repeat if Necessary: For stubborn areas or multiple layers of paint, you may need to apply a second coat of stripper. Simply repeat the process until all the paint is removed. Dealing with tough, bonded layers can be tricky, much like when you need to figure out how to remove glued cabinet knobs; patience is key.
Method 2: The Heat Gun Technique
A heat gun offers a chemical-free alternative for paint removal. It works by heating the paint to the point where it softens and loses adhesion, allowing you to scrape it off. This method is particularly effective for thick layers of old, brittle paint.
However, this technique requires caution. Aluminum can warp if overheated, and the fumes from heated paint can be toxic. Always work in a well-ventilated space and keep the heat gun moving to distribute the heat evenly.
How to Safely Use a Heat Gun
1. Set the Right Temperature: Start your heat gun on its lowest setting. Hold it a few inches away from the surface and move it slowly back and forth over a small area. The goal is to soften the paint, not burn it.
2. Watch for Bubbling: The paint will begin to bubble and lift as it heats up. This is your cue to start scraping. If the paint starts to smoke, you are applying too much heat or holding the gun too close.
3. Scrape While It’s Soft: As soon as the paint softens, use your plastic scraper to remove it. You’ll need to work in a rhythm of heating a small section and then immediately scraping it, as the paint will quickly harden again as it cools. Be extremely careful around the glass, as sudden temperature changes can cause it to crack.
Method 3: Mechanical Removal (Sanding and Scraping)
Mechanical removal is the most labor-intensive method and is best suited for small touch-ups or removing already loose, flaking paint. It involves physically abrading the paint from the surface with scrapers and sandpaper. While straightforward, it carries the highest risk of scratching the aluminum if not done carefully.
This method can be surprisingly effective for certain types of unwanted surface materials. For instance, sometimes physical removal is the only way forward, similar to how one might approach learning how to remove concrete splatter from Hardie board by carefully chipping it away.
Tips for Scratch-Free Sanding
1. Start with a Scraper: For any peeling or flaking areas, use a plastic scraper to remove as much of the loose paint as possible before you begin sanding.
2. Choose the Right Grit: Start with a finer-grit sandpaper, such as 180- or 220-grit, to avoid creating deep scratches. Only move to a coarser grit if necessary, and always finish with a fine grit to smooth the surface.
3. Sand with the Grain: Always sand in the same direction as the grain of the aluminum. This helps to hide any minor scratches and results in a more uniform finish. Use light, even pressure.
Comparison of Paint Removal Methods
Choosing the right method depends on the type of paint, the condition of the frames, and your comfort level with different tools. Here is a quick comparison to help you decide.
| Method | Best For | Pros | Cons |
|---|---|---|---|
| Chemical Stripper | Thick layers, intricate details, and stubborn paint. | Highly effective with less physical effort. Reduces risk of scratching the metal. | Involves chemicals and fumes. Requires careful cleanup and disposal. |
| Heat Gun | Multiple layers of old, brittle paint. | No chemicals involved. Fast results on the right type of paint. | Risk of warping aluminum or cracking glass. Can release toxic fumes. |
| Mechanical (Sanding) | Small areas, touch-ups, and loose paint flakes. | Inexpensive and straightforward. Good control over small sections. | Labor-intensive. High risk of scratching the aluminum if not done carefully. |
The Final Steps: Cleaning and Finishing
Once the paint is gone, the job isn’t quite finished. Proper cleaning and finishing are essential to prepare the frames for their new look and ensure long-term durability. This final stage is just as important as the removal process itself.
Neutralizing and Cleaning
If you used a chemical stripper, you must neutralize any remaining residue. Wipe the frames down with a clean rag dampened with mineral spirits or the specific neutralizing agent recommended by the product’s manufacturer. Afterward, clean all frames with a mild soap and water solution to remove any remaining dirt or oils.
This final cleaning step is crucial for ensuring a perfect finish. It’s a principle that applies to many home projects, whether you’re removing paint or trying to remove polyurethane from brick, where residue can prevent a new sealant from adhering.
Preparing for a New Finish
After the frames are completely dry, you have a few options. You can leave the aluminum bare for a modern, industrial look, but be aware that it will oxidize over time. To prevent this, you can apply a clear sealant designed for metal.
If you plan to repaint, now is the time to apply a high-quality, self-etching metal primer. This type of primer chemically bonds to the aluminum, creating the perfect surface for your topcoat. Once primed, you can paint the frames in your desired color, confident that you’ve done the job right from the ground up.