How to Remove Excess Concrete FAST (Without Damaging Surfaces)
There’s nothing more frustrating than finishing a project only to find stubborn concrete splatters and drips marring your beautiful work. Whether it’s an over-poured patio edge, splatters on your siding, or hardened chunks on your tools, that excess concrete can seem like a permanent problem. But it doesn’t have to be.
Removing excess concrete is not just about aesthetics; it’s about preventing long-term damage and ensuring the safety and integrity of your surfaces. With the right techniques and a little patience, you can clean up those mistakes without causing more harm. This guide will walk you through the safest and most effective methods to get the job done.
You'll Learn About
First, Safety Is Non-Negotiable
Before you even think about picking up a tool, you need to gear up. Concrete dust and chemical removers can be hazardous. Always wear your personal protective equipment (PPE).
Your essential safety kit should include: safety goggles to protect your eyes from flying debris, heavy-duty gloves to shield your hands from chemicals and abrasion, and a dust mask or respirator to prevent inhaling harmful silica dust. Wearing long sleeves and pants is also a smart move to protect your skin.
Assess the Situation: Wet vs. Hardened Concrete
Your approach will depend entirely on one critical factor: is the concrete wet or has it already cured? Fresh, wet concrete is significantly easier to deal with than hardened concrete. The type of surface the concrete is on—be it wood, brick, metal, or glass—will also dictate your removal method.
Speed is your best friend when dealing with wet concrete. The quicker you act, the less work you’ll have to do. Once it hardens, the removal process becomes more intensive, requiring more force or chemical intervention.
Tackling Fresh, Wet Concrete Spills
If you catch a spill or splatter while it’s still wet, you’re in luck. This is the simplest scenario to resolve. Follow these steps immediately for a clean and easy removal.
Step 1: Scrape and Scoop
Using a plastic putty knife, trowel, or even a sturdy piece of cardboard, scoop up as much of the wet concrete as you can. Avoid using metal tools on delicate surfaces like painted siding or wood, as they can easily scratch and cause damage. The goal is to remove the bulk of the material without smearing it further.
Step 2: Wash and Scrub
After removing the excess, dilute the remaining residue with plenty of water. Use a hose to rinse the area thoroughly. While the area is still wet, use a stiff-bristled brush to scrub away the leftover concrete film. Repeat this process until the surface is clean.
How to Remove Hardened, Cured Concrete
If the concrete has already set, you’ll need more than just water and a brush. This is where the real work begins. There are two primary approaches: mechanical (physical force) and chemical (dissolving the concrete). Often, a combination of both yields the best results.
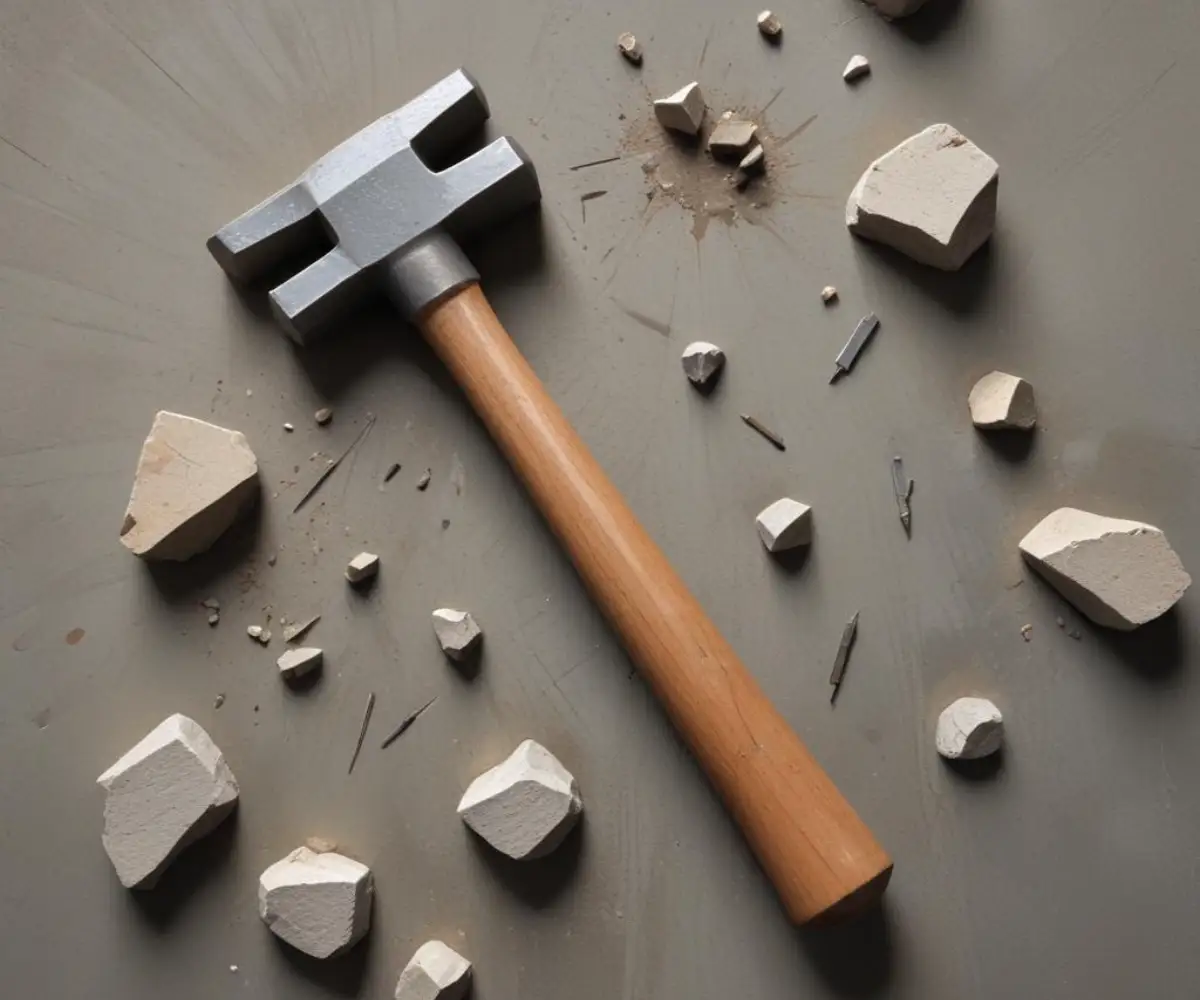
Method 1: The Mechanical Approach (Hammer & Chisel)
For larger, thicker chunks of unwanted concrete, the classic hammer and chisel method is often the most effective. This technique requires patience and control to avoid damaging the underlying surface. This is a job that cannot be rushed.
Start by placing the tip of a masonry chisel at the edge of the concrete blob, angled slightly downward. Use a hammer to give firm, controlled taps to the end of the chisel. The goal is to get underneath the concrete and pop it off, rather than trying to shatter it from the top down. Work your way around the edges, chipping away small pieces at a time.
Method 2: Chemical Concrete Removers
When dealing with thinner layers of concrete or splatters on more delicate surfaces, a chemical remover can be your best bet. These products are typically acid-based or have eco-friendly alternatives that work by dissolving the cement paste holding the concrete together.
Always read and follow the manufacturer’s instructions carefully. These can be potent chemicals that require proper handling. Apply the remover to the hardened concrete and let it sit for the recommended “dwell time.” You’ll often see the concrete begin to soften or turn into a mushy consistency. Once it has softened, use a stiff brush or scraper to remove the residue and rinse the area thoroughly with clean water.
Method 3: Using a Pressure Washer
A pressure washer can be highly effective, especially on durable surfaces like driveways, patios, and brickwork. It’s often best used as a final step after applying a chemical remover to blast away the loosened residue. Start with a wider-angle nozzle to avoid damaging the surface and switch to a narrower one for stubborn spots if needed.
Always test the pressure washer on an inconspicuous area first. This ensures that the pressure isn’t so high that it damages the surface you’re trying to clean. Proper preparation is key, just as it is when trying to prevent issues like finding water under lifeproof flooring; a little foresight goes a long way.
Surface-Specific Removal Guide
Different materials require different approaches. Using the wrong method can lead to scratches, discoloration, or permanent damage. The table below offers a quick guide for tackling excess concrete on various common surfaces.
| Surface Type | Recommended Methods | Key Considerations |
|---|---|---|
| Brick & Pavers | Chisel, Chemical Remover, Pressure Washer | Bricks are porous and can absorb chemicals. Always test removers on a small, hidden area first to check for discoloration. |
| Wood | Plastic Scraper, Vinegar/Sugar Solution | Wood is soft and damages easily. Avoid harsh chemicals and aggressive scraping. A simple solution of vinegar or sugar water can slowly soften concrete over time. |
| Metal (Siding, Tools) | Chemical Remover, Wire Brush | Be cautious of scratching. After removal, clean and dry metal thoroughly to prevent rust. The same care is needed as when you remove paint from aluminum window frames to avoid damaging the finish. |
| Glass | Plastic Scraper, Vinegar Solution | Glass can be scratched easily. Use a plastic blade or razor blade held at a low angle. Vinegar can help dissolve the mineral bonds. |
| Vinyl Siding | Gentle Chemical Remover, Plastic Scraper | Harsh chemicals can melt or discolor vinyl. Use a product specifically rated as safe for plastics and siding. |
Removing Concrete from Delicate Surfaces Like Wood or Siding
When working with sensitive surfaces, always start with the least aggressive method. For wood, try soaking the concrete with a cloth drenched in white vinegar. The mild acid can help break down the cement over several hours, allowing you to gently scrape it away with a plastic tool.
For vinyl siding, a gentle, targeted application of a concrete dissolver is key. Apply it only to the concrete and avoid letting it run down the siding. Protecting adjacent surfaces is a crucial preparatory step, similar to the careful work needed to remove acoustic foam from walls without leaving a trace.
Advanced Tools for Heavy-Duty Jobs
For very large or thick areas of excess concrete, you may need to step up to more powerful tools. These tools should only be used by those with experience and with extreme caution, as they can be dangerous and cause significant damage if not handled correctly.
Angle Grinder with Masonry Wheel
An angle grinder fitted with a diamond or masonry blade can be used to score or grind down thick sections of concrete. This method creates a massive amount of dust, so a high-quality respirator and face shield are absolutely essential. It offers precision for cutting clean lines but requires a steady hand.
Demolition Hammer
For breaking up larger mistakes, like an entire section of an over-poured slab, a small electric demolition hammer (or chipping hammer) is the tool of choice. It provides significantly more impact force than a standard hammer and chisel, making quick work of thicker concrete. This is typically reserved for demolition rather than cleanup.
Prevention: The Best Solution of All
The easiest way to deal with excess concrete is to prevent it from happening in the first place. A little preparation before you start your project can save you hours of cleanup work later. Cover everything you don’t want concrete on.
Use plastic sheeting, tarps, or painter’s tape to protect nearby surfaces like walls, windows, and existing concrete. Have a cleanup kit ready to go before you even start mixing. This should include a bucket of water, rags, and a stiff brush so you can address any spills the moment they happen.
Conclusion: Reclaim Your Surfaces
Removing excess concrete, whether it’s a small splatter or a significant over-pour, is an entirely manageable task. The key is to correctly identify whether the concrete is wet or dry, choose the right tools and methods for the surface you’re working on, and always prioritize safety.
By acting quickly on fresh spills and using a patient, methodical approach for hardened concrete, you can successfully clean up any mistakes and restore your surfaces to their intended condition. With these tips in hand, you can tackle your next concrete project with confidence, knowing you have the skills to fix any mishap along the way.