How to Remove Emergency Light Cover: Simple Step-by-Step Guide
There it is, that unassuming emergency light on the wall or ceiling. It’s easy to ignore until a bulb burns out, the backup battery needs replacing, or it simply needs a good cleaning. Then comes the frustrating part: figuring out how to remove the emergency light cover without breaking it.
Many homeowners and facility managers face this common problem. Plastic covers can become brittle over time, clips can be frustratingly hidden, and the fear of cracking the housing is very real. This guide provides a definitive solution, walking you through every step to safely and easily remove any type of emergency light cover.
You'll Learn About
Why You Need to Remove an Emergency Light Cover
Emergency lights are critical safety devices, providing illumination during power failures. Regular maintenance is essential to ensure they function when you need them most. Removing the cover is the first step for several key tasks.
You may need to replace dead or dim bulbs, swap out an old backup battery that no longer holds a charge, or simply clean the dust and grime that accumulates inside. Proper maintenance ensures your building remains compliant with safety codes and, more importantly, keeps occupants safe during an emergency.
Before You Begin: Safety is Non-Negotiable
Working with any electrical fixture requires caution. Always prioritize your safety before attempting to remove the cover. A few simple precautions can prevent serious injury.
First and foremost, turn off the power supply to the emergency light unit. Go to your circuit breaker panel and flip the switch that controls the light. Use a voltage tester on the fixture’s wires (after removing the cover) to confirm there is no live current. Simply flipping a wall switch is not enough, as many emergency lights are wired to be constantly charging.
Gather the right tools for the job. You will likely need a sturdy step ladder, a set of screwdrivers (both Phillips and flathead), and possibly a pair of pliers. Wearing insulated gloves provides an extra layer of protection against accidental shock.
Identifying Your Emergency Light Type: The Key to Success
Not all emergency light covers are the same. Manufacturers use different fastening mechanisms, and identifying yours is the most important step. Take a moment to inspect the fixture closely to determine which type of cover you are dealing with.
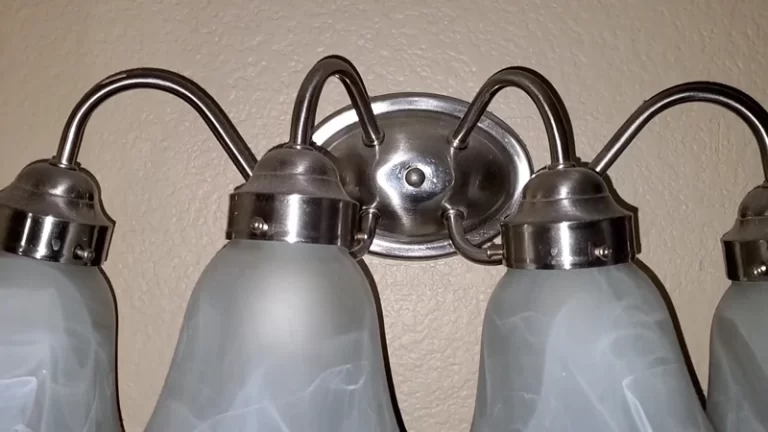
Clip-On or Snap-On Covers
These are very common, especially in residential and commercial settings. They are held in place by hidden plastic or metal clips around the perimeter. You won’t see any visible screws on the exterior of the cover itself.
Screw-In Covers
As the name suggests, these covers are secured with one or more visible screws. The screws might be on the face of the cover or along the sides. This design provides a more secure attachment, often used in areas where tampering is a concern.
Tab-Release Covers
Some modern fixtures use a tab-release system. These often have small, subtle indentations or slots where you can insert a flathead screwdriver to depress a hidden tab, releasing the cover. These are designed for quick, tool-assisted access.
Step-by-Step Guide: How to Remove Emergency Light Cover Flawlessly
Once you have identified your cover type and taken the necessary safety precautions, you are ready to begin. Follow the method that corresponds to your fixture for a stress-free removal process.
Method 1: The Gentle Pry for Clip-On Covers
This method requires a delicate touch to avoid damaging the plastic. Find a small gap between the cover and the main housing. Often, there’s a designated slot designed for this purpose.
Gently insert a flathead screwdriver or a plastic pry tool into the gap. Apply slow and steady pressure to pry the cover away from the housing. You should hear a soft “pop” as the first clip releases. Move to the next clip and repeat the process until the cover is free.
Method 2: Unscrewing for Secure Fixtures
This is the most straightforward method. Using the correct screwdriver (typically a Phillips head), turn each screw counterclockwise until it is loose enough to be removed. Keep the screws in a safe place, like a magnetic tray, so you don’t lose them.
Once all the screws are removed, the cover should lift off easily. If it feels stuck, it might be held by paint or grime; gently wiggle it to break the seal. Do not force it, as there could be a hidden clip as well.
Method 3: Locating and Pressing Release Tabs
Carefully inspect the edges of the light fixture for small slots or arrows indicating a release tab. Insert a small flathead screwdriver into the slot and press gently. This action should disengage an internal latch.
You may need to press multiple tabs simultaneously or in a specific order. If the cover doesn’t immediately release, try applying slight downward pressure on the cover while pressing the tab. Refer to the manufacturer’s manual if you can find the model number, as these mechanisms can be unique.
Troubleshooting Common Problems When a Cover is Stuck
Sometimes, even with the right approach, a cover refuses to cooperate. Age, environmental factors, or hidden fasteners can make removal difficult. Here’s how to handle the most common frustrations.
The Cover is Brittle or Feels Stuck
Older plastic can become brittle and crack under pressure. If the cover feels stuck after you’ve removed all visible screws or released clips, it might be sealed by old paint or accumulated dust. Do not use excessive force.
Instead, try gently tapping the edges with the handle of a screwdriver to break the seal. In some cases, a small amount of lubricant like WD-40 applied carefully to the seams can help loosen it, but be sure to wipe away any excess to avoid damaging the plastic.
I Can’t Find Any Screws or Clips
If you’ve inspected the fixture and can’t find any visible means of removal, you may have a twist-and-lock or a pressure-fit cover. Try gripping the cover firmly with both hands and rotating it counterclockwise. If it moves slightly, continue turning until it unlocks.
For pressure-fit covers, a firm, straight pull is required. This can feel daunting, but they are designed to pop off. Ensure you have a secure grip and are on a stable ladder before pulling.
I Broke a Clip, Now What?
Accidents happen, especially with older fixtures. If a plastic clip breaks, don’t panic. In many cases, the remaining clips will be sufficient to hold the cover in place once you are done with your maintenance.
If the cover is loose after reinstallation, you might be able to find replacement parts by contacting the manufacturer. For a quick fix, a small dab of clear silicone sealant in a corner can help secure it, while still being removable in the future.
Maintenance After Removal: The Next Steps
With the cover off, you have full access to the internal components. Now is the perfect time to perform essential maintenance to keep your emergency light in optimal condition.
Cleaning the Cover and Housing
Use a soft, damp cloth with a mild detergent to clean the inside and outside of the plastic cover. A clean cover allows for maximum light output. Wipe down the inside of the housing as well to remove any dust or debris.
Replacing Bulbs and Batteries
If you’re replacing the bulbs, ensure you have the correct type and wattage. When replacing the battery, pay close attention to the positive (red) and negative (black) terminals, connecting the new battery in the same orientation as the old one.
Most emergency lights use a simple plug-in connector for the battery, making replacement straightforward. Once the new components are installed, it’s a good idea to press the “test” button on the unit to ensure everything is working correctly before you put the cover back on.
Putting It All Back Together
Reinstalling the cover is simply the reverse of the removal process. Align the cover with the housing and ensure it is seated correctly. If you have a clip-on cover, press firmly around the edges until you hear it snap securely into place.
For screw-in types, insert and hand-tighten all screws first to ensure proper alignment, then use a screwdriver to secure them snugly. Avoid over-tightening the screws, as this can crack the plastic. Once the cover is back on, restore power at the circuit breaker and check that the “charging” indicator light is on.
Proper home maintenance extends beyond just the basics. While you’re focused on interior safety, it’s a good time to think about exterior fixtures too. For instance, ensuring you have a proper gas pipe cover for outside aesthetics safety_gem1 protects vital utilities, just as an emergency light cover protects its internal components.
Similarly, protecting other exterior elements from damage is key to a well-maintained home. Learning how to dog proof a downspout easily_gem1 can prevent costly repairs down the line. Even complex tasks like understanding how to hang lights on steep roof_gem1 contribute to overall home safety and upkeep.
Emergency Light Cover Removal Cheat Sheet
For quick reference, here is a summary of the different cover types and the tools you’ll likely need. This table can help you quickly identify your fixture and prepare for the task.
| Cover Type | Primary Removal Method | Tools Needed | Difficulty Level |
|---|---|---|---|
| Clip-On / Snap-On | Gently pry at the edges | Flathead screwdriver or plastic pry tool | Easy |
| Screw-In | Unscrew visible fasteners | Phillips or flathead screwdriver | Easy |
| Tab-Release | Press hidden tabs in slots | Small flathead screwdriver | Moderate |
| Twist-and-Lock | Rotate the cover counterclockwise | Hands only (possibly rubber gloves for grip) | Moderate |
| Pressure-Fit | Pull the cover straight down/off | Hands only (requires firm grip) | Moderate |