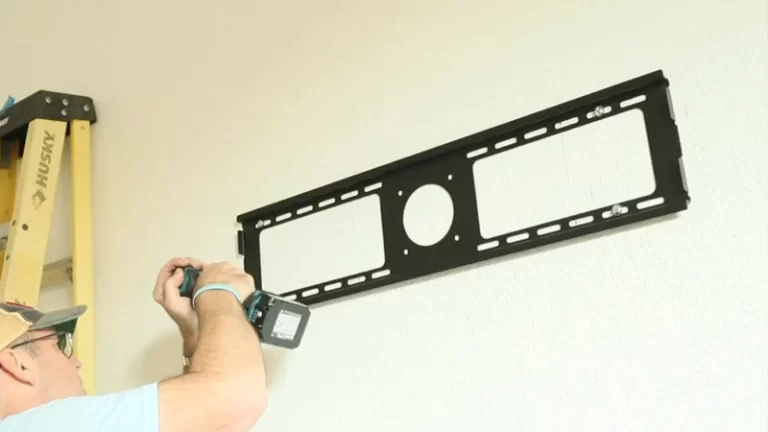
How to Remove Acoustic Foam From Walls (Without Destroying Them)
You’ve meticulously soundproofed your room, creating the perfect audio sanctuary. But now, for whatever reason, the time has come to take down those acoustic foam panels. A sense of dread washes over you as you envision chunks of drywall and paint peeling off with the foam, leaving behind a battlefield of sticky residue and regret. This is a common fear, and for good reason—improper removal can lead to significant wall damage, turning a simple redecoration project into a costly repair nightmare.
The core of the problem lies in the very nature of the adhesives used to mount acoustic foam. Products like spray adhesives and construction-grade glues are formulated for a strong, permanent bond. While excellent for keeping your sound panels securely in place, they don’t release their grip willingly. Tearing panels off without the proper technique is almost guaranteed to take parts of your wall with them.
In this comprehensive guide, we’ll walk you through the entire process, from initial preparation to the final wall repair. We’ll explore various removal methods tailored to different types of adhesives, ensuring you have the knowledge to tackle this project with confidence. By following these expert tips, you’ll learn how to remove acoustic foam from your walls while minimizing damage and achieving a clean, professional result.
You'll Learn About
Understanding the Challenge: Why Acoustic Foam is So Stubborn
Before diving into the removal process, it’s crucial to understand what you’re up against. Acoustic foam panels are typically installed using one of a few common methods, each presenting its own set of challenges. Knowing which adhesive was used is the first step in formulating an effective removal strategy.
The most common culprits are spray adhesives, such as 3M Super 77 or Loctite General Purpose Spray Adhesive. These are popular for their ease of application and strong bond. However, they can be incredibly difficult to remove, often leaving a significant amount of residue behind. Another frequent choice is construction adhesive, like Liquid Nails, which provides an even stronger, more permanent bond and is often used on textured or uneven surfaces. For renters or those seeking a less permanent solution, double-sided tape or Command Strips are sometimes used. While generally easier to remove, they can still cause paint peeling if not handled carefully.
The type of wall surface also plays a significant role. Drywall is particularly susceptible to damage, as the adhesive can bond with the paper facing, leading to tears and gouges upon removal. Painted surfaces are also at risk, as the adhesive can pull the paint away from the wall. Concrete or brick walls are more forgiving, but still require care to avoid leaving behind a sticky mess.
Safety First: Preparing for the Removal Process
Before you begin, it’s essential to take the proper safety precautions and prepare your workspace. This will not only protect you from potential harm but also make the cleanup process much more manageable. Start by clearing the room of any furniture or obstacles to give yourself ample space to work. Lay down a drop cloth or plastic sheeting on the floor to catch any falling debris or adhesive residue.
Personal protective equipment (PPE) is non-negotiable. At a minimum, you’ll need safety glasses to protect your eyes from flying debris and chemical splashes. A pair of heavy-duty gloves will safeguard your hands from cuts and skin irritation from adhesive removers. If you’re working with chemical solvents, ensure the room is well-ventilated by opening windows and using fans. A dust mask or respirator is also recommended, especially when sanding or dealing with airborne particles.
Finally, gather all the tools and materials you’ll need before you start. This will prevent you from having to stop mid-project to search for something. Having everything within reach will make the process smoother and more efficient. As you work, you may find it helpful to have a separate area for disposing of the old foam and any other waste materials.
Step-by-Step Guide to Removing Acoustic Foam Panels
Now that you’re prepared, it’s time to begin the removal process. The key to success is to work slowly and methodically. Rushing will only increase the likelihood of damaging your walls. We’ll start with the least aggressive methods and work our way up to more intensive techniques for stubborn adhesives.
The initial step for any adhesive type is to try and gently pry the foam panels away from the wall. Start at a corner and use a putty knife or a similar flat, flexible tool to work your way between the panel and the wall. If you encounter resistance, don’t force it. This is a sign that you’ll need to employ additional techniques to loosen the adhesive’s grip.
Method 1: The Heat Gun Technique (For Spray Adhesives and Double-Sided Tape)
Heat is often an effective way to soften adhesives, making them easier to remove. A heat gun or even a powerful hairdryer can be used for this purpose. The key is to use low to medium heat to avoid damaging the paint or drywall underneath. Hold the heat gun several inches away from the panel and move it back and forth over the surface to distribute the heat evenly.
As the adhesive warms up, you should be able to gently pull the panel away from the wall. Work in small sections, heating one area at a time and then carefully prying the foam away. This method is particularly effective for panels installed with spray adhesive or strong double-sided tape. Be patient and allow the heat to do its work. If you notice any discoloration or bubbling of the paint, you’re applying too much heat or holding the gun too close.
Method 2: Chemical Solvents and Adhesive Removers (For Stubborn Residue)
If heat alone isn’t enough, it’s time to bring in the chemical reinforcements. There are a variety of adhesive removers on the market, such as Goo Gone or 3M Adhesive Remover, that are specifically designed to dissolve sticky residues. When choosing a product, be sure to select one that is safe for your wall surface. Always test any chemical solvent in an inconspicuous area first to ensure it doesn’t damage the paint or finish.
Apply the adhesive remover according to the manufacturer’s instructions, which typically involves spraying or dabbing the solution onto the residue and letting it sit for a few minutes. This allows the solvent to penetrate and break down the adhesive. Once the adhesive has softened, use a plastic scraper or putty knife to gently scrape it off the wall. You may need to repeat this process several times for particularly stubborn spots.
For a more natural approach, you can try using household products like vinegar or mineral spirits. A mixture of equal parts white vinegar and warm water can be effective for some types of adhesives. Mineral spirits are a stronger option but should be used with caution and in a well-ventilated area. Regardless of the solvent you choose, always wear gloves and safety glasses to protect yourself.
Dealing with the Aftermath: Repairing Wall Damage
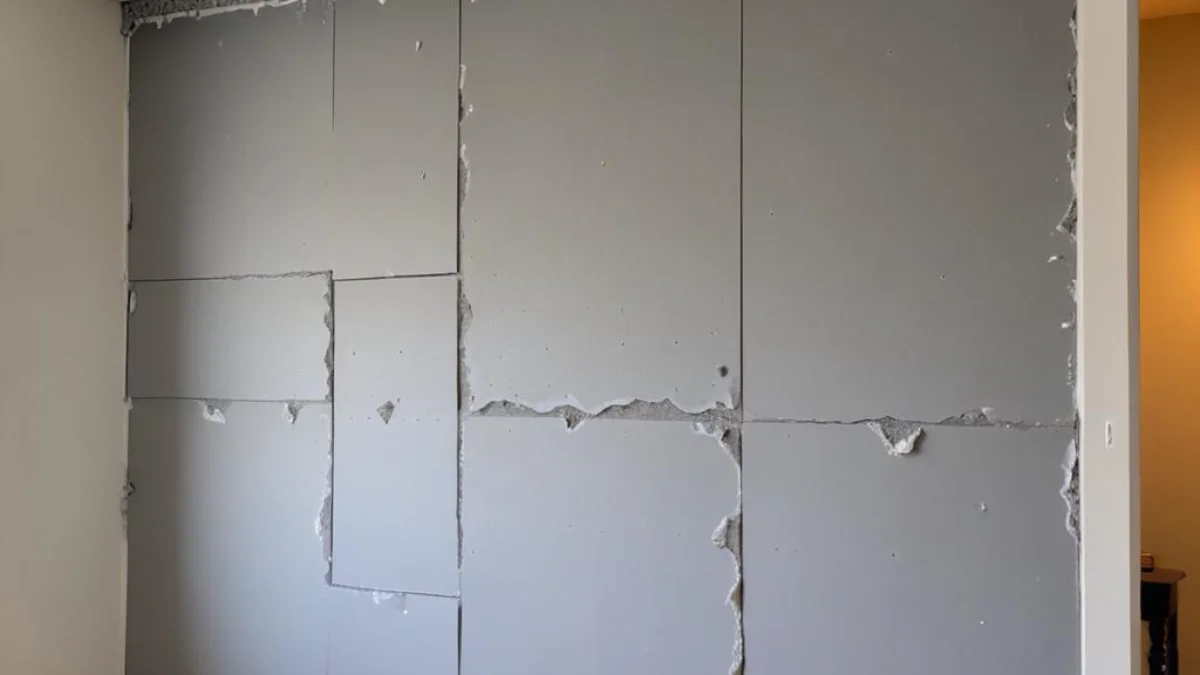
Even with the most careful removal techniques, some minor wall damage is almost inevitable. The good news is that most of these imperfections are easy to repair with a few basic tools and materials. The most common issues you’ll encounter are small holes from pins or tacks, torn drywall paper, and patches of peeled paint.
For small holes, a bit of spackle and a putty knife are all you need. Apply a small amount of spackle over the hole, smoothing it flush with the wall. Once it’s dry, lightly sand the area until it’s smooth and then touch it up with a bit of matching paint. For larger holes or areas where the drywall paper has torn, you may need to use a drywall patch kit or apply a skim coat of joint compound.
If the paint has peeled, you’ll need to sand the edges of the peeled area to create a smooth transition between the painted and unpainted surfaces. Then, apply a coat of primer to the bare drywall before repainting. This will ensure that the new paint adheres properly and blends seamlessly with the surrounding area. For more significant repairs, such as those involving water damage or extensive drywall replacement, it may be best to consult a professional. If you’ve had to make extensive repairs, you may also want to consider improving the insulation in your walls, especially if you have an exposed garage ceiling nearby, as this can affect the overall temperature and acoustics of the room.
A Clean Slate: Prepping the Walls for a New Look
Once all the residue has been removed and any necessary repairs have been made, it’s time to prepare your walls for their new look. Start by cleaning the entire wall surface with a mild detergent and water to remove any remaining dust or grime. This will ensure that your new paint or wall treatment adheres properly.
If you’re planning on repainting, now is the perfect time to apply a fresh coat of primer. This will create a uniform surface and help the new paint color look its best. If you’re considering a different type of wall treatment, such as wallpaper or new acoustic panels, make sure the wall is clean, dry, and smooth before you begin. Taking the time to properly prepare your walls will pay off in the long run, giving you a professional-looking finish that you can be proud of.
If your project has been part of a larger renovation, such as an oil furnace removal, ensuring the entire area is clean and prepped is crucial for the next stage of your home improvement journey. Proper preparation is the key to a successful outcome, no matter the project. It’s also a good time to check for other areas that might need attention, such as loose fittings or clips, like those that might be used as a garage door insulation retainer clip, to ensure everything in the room is in top shape.
Alternative Removal Strategies and Prevention
For those who are still in the planning stages of installing acoustic foam, there are several alternative mounting methods that can save you a lot of time and trouble down the road. One popular technique is to mount the foam panels on a backing material, such as plywood or corrugated plastic, and then hang the entire unit on the wall like a picture frame. This not only eliminates the need for adhesives but also allows you to easily move the panels around to find the optimal placement for sound absorption.
Another option is to use T-pins or long push pins to secure the foam to the wall. This method is best suited for lighter panels and may not be as secure as adhesive, but it leaves behind only tiny pinholes that are easy to patch. For a more secure yet still removable option, consider using 3M Command Strips. These are designed to be removed without damaging the wall, making them an excellent choice for renters or anyone who wants the flexibility to change their room’s layout.
Ultimately, the best way to avoid a difficult removal process is to plan ahead. Before you install your acoustic foam, consider how long you plan to keep it in place and whether you’ll need to remove it in the future. By choosing a mounting method that aligns with your long-term plans, you can enjoy the benefits of improved acoustics without the headache of a damaging and time-consuming removal process.
| Method | Best For | Tools Required | Pros | Cons |
|---|---|---|---|---|
| Heat Gun | Spray Adhesives, Double-Sided Tape | Heat Gun/Hairdryer, Putty Knife | Effective at softening adhesive, relatively clean | Risk of damaging paint/drywall with excessive heat |
| Chemical Solvents | Stubborn Residue, Strong Adhesives | Adhesive Remover, Plastic Scraper, Gloves, Goggles | Highly effective at dissolving adhesive | Can be harsh, requires good ventilation, may damage some surfaces |
| Mechanical Scraping | Small, Hardened Patches of Adhesive | Putty Knife, Razor Scraper | Good for small, localized areas | High risk of gouging or scratching the wall |
| Alternative Mounting | Pre-Installation Planning | Plywood, T-Pins, Command Strips | Prevents wall damage, easily removable | May not be as secure as adhesive, requires more initial setup |
Frequently Asked Questions About Acoustic Foam Removal
To further assist you in your acoustic foam removal journey, we’ve compiled a list of frequently asked questions. These are based on common concerns and challenges that people face when undertaking this project. Having this additional information at your fingertips can help you navigate any unexpected issues that may arise.
One of the most common questions is whether it’s possible to remove acoustic foam without any damage at all. While it’s certainly the goal, it’s important to be realistic. The likelihood of a completely damage-free removal depends heavily on the type of adhesive used, the condition of the wall, and your patience and technique. In many cases, some minor touch-ups will be necessary.
Another frequent concern is how to deal with foam that is crumbling or deteriorating. Older acoustic foam can become brittle and may break apart as you try to remove it. In this situation, it’s best to remove as much of the foam as possible by hand and then focus on scraping and dissolving the remaining adhesive and foam fragments. A shop vacuum can be very helpful in cleaning up the resulting mess.
Conclusion: A Fresh Start for Your Walls
Removing acoustic foam from your walls can be a daunting task, but with the right knowledge, tools, and a healthy dose of patience, it is entirely achievable. By understanding the nature of the adhesive you’re dealing with and choosing the appropriate removal method, you can minimize damage and restore your walls to their former glory. Remember to always prioritize safety by wearing the proper protective gear and ensuring adequate ventilation when working with chemical solvents.
Whether you’re redecorating, moving, or simply changing the purpose of a room, the techniques outlined in this guide will empower you to tackle this project with confidence. From the initial preparation to the final touches of wall repair, you now have a comprehensive roadmap to success. So, take a deep breath, gather your supplies, and get ready to give your walls a fresh start.