Remove a Screwless Ceiling Fan Canopy: Easy Methods
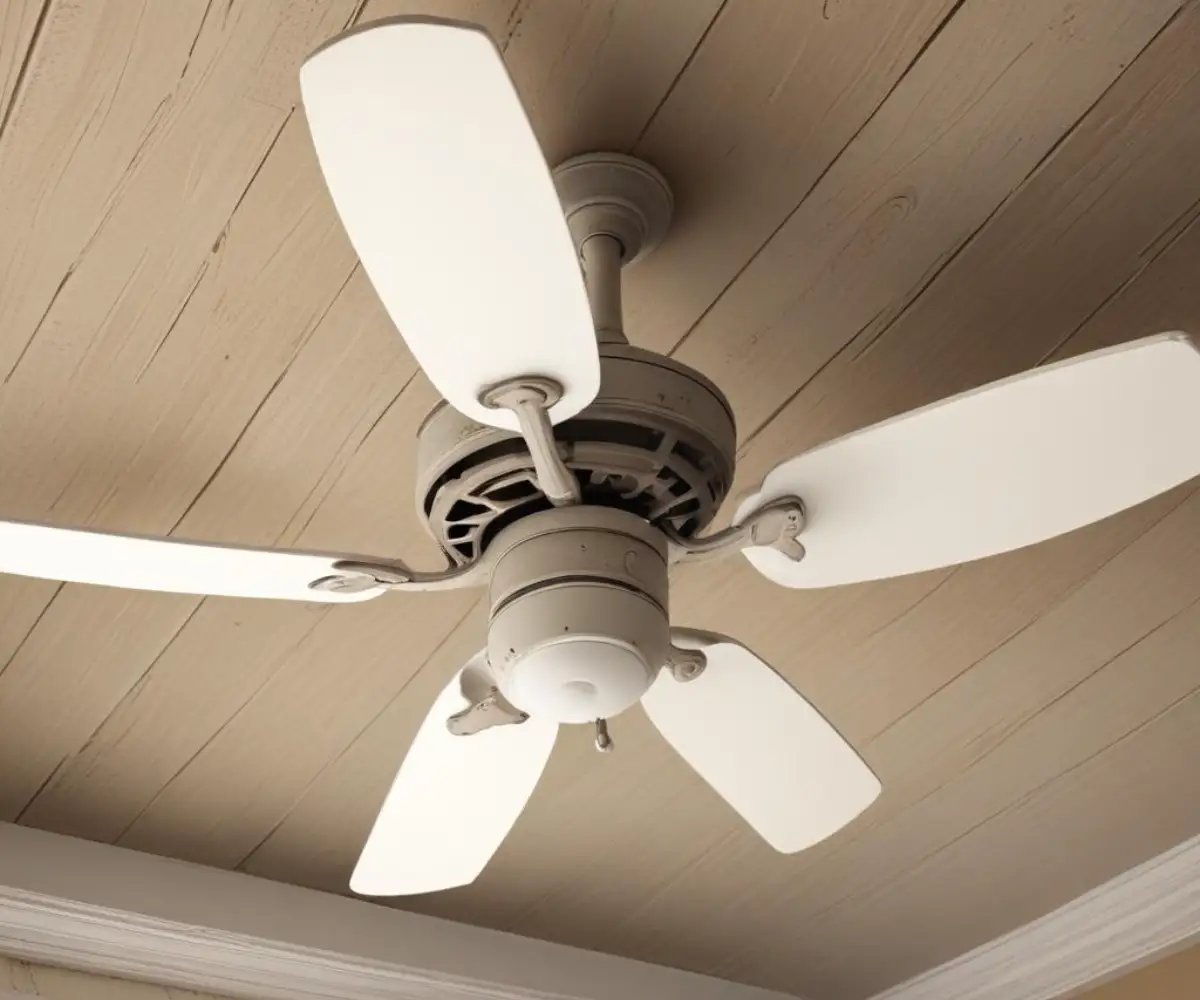
You’re staring up at your ceiling fan, ready for a simple repair or replacement, but you’re immediately stopped in your tracks. There are no visible screws on the canopy—that decorative cone pressed against the ceiling. It feels completely sealed, a seamless piece of metal defying all logic and your toolbox. This frustrating scenario is increasingly common as modern home decor trends favor minimalist, clean designs.
Manufacturers have moved away from conspicuous hardware, opting for clever locking mechanisms that hide the mounting screws. While this creates a sleek look, it can turn a straightforward task into a perplexing puzzle for homeowners. You’re not alone in this struggle; countless DIYers find themselves stuck, worried about damaging their ceiling or the fan itself by prying or pulling incorrectly.
This comprehensive guide is your solution. We will demystify the process of removing a screwless ceiling fan canopy, breaking down the common mechanisms you’re likely to encounter. With step-by-step instructions and troubleshooting tips, you’ll be able to confidently and safely access the wiring and mounting bracket, turning frustration into accomplishment.
You'll Learn About
Understanding the “Invisible” Fasteners: Why No Screws?
The move towards screwless canopies is all about aesthetics. A smooth, uninterrupted surface on a ceiling fan canopy contributes to a modern, high-end look. To achieve this, designers have developed several ingenious methods to secure the canopy without visible screws. Understanding which type you have is the first and most crucial step to removal.
These mechanisms are designed to be secure yet accessible, once you know the secret. Typically, canopies are held in place by one of three main types of hidden fasteners. Each requires a slightly different approach to release, but none require brute force.
The Three Main Types of Screwless Canopies
Before you can tackle the removal, you need to identify the type of mechanism you’re dealing with. Most screwless designs fall into one of these categories:
-
Twist-and-Lock (or Turn-and-Lock): This is one of the most common designs. The canopy has slots on its inner rim that line up with tabs or loosened screws on the mounting bracket. A simple twist locks it into place or prepares it for removal.
-
Snap-On (or Friction-Fit): These canopies are held in place by tension. They have a flexible rim or internal clips that snap securely over the mounting bracket. Removal involves carefully and evenly prying the cover off.
-
Hidden Set Screw with a Trim Ring: This design is the most deceptive. It looks completely seamless but features a thin decorative ring at the very top, flush against the ceiling. This ring either twists off or pulls down to reveal the actual mounting screws underneath. It’s designed to completely hide the hardware.
By carefully inspecting the canopy, particularly the seam where it meets the ceiling, you can often find clues that point to which system you have.
Safety First: A Critical Pre-Removal Checklist
Before you even think about touching the ceiling fan, prioritizing safety is non-negotiable. Working with any electrical fixture carries inherent risks, but a few simple precautions can ensure the process is completely safe.
Step 1: Cut the Power at the Source. Do not rely on the wall switch. Walk to your home’s circuit breaker box and flip the breaker that controls the power to the ceiling fan. If your breakers aren’t labeled, you may need to test a few. A good way to confirm is to turn the fan and its light on, then flip breakers until they both shut off.
Step 2: Verify with a Voltage Tester. Once the breaker is off, use a non-contact voltage tester to double-check the wires inside the canopy (if accessible) or at the switch. This simple tool provides absolute certainty that the circuit is dead and safe to work on. This step is crucial and should never be skipped.
Step 3: Prepare Your Workspace. Set up a sturdy stepladder on a flat, stable surface. Ensure it allows you to work comfortably without overreaching. It’s also wise to wear safety glasses to protect your eyes from falling dust and debris. Having a flashlight or headlamp can be incredibly helpful for spotting hidden mechanisms.
The Step-by-Step Guide to Removing a Screwless Canopy
With the power off and your tools ready, it’s time to tackle the canopy itself. Approach the task with patience and a gentle touch. Aggressive force is the enemy here and can lead to a damaged canopy, a marred ceiling, or a bigger repair job than you started with.
Method 1: The Twist-and-Lock Mechanism
This is often the go-to design for its simplicity and security. The key is to apply slight upward pressure while turning.
-
Support the Fan: Place one hand on the motor housing of the fan to keep it steady. This prevents the entire unit from wobbling or spinning as you apply rotational force to the canopy.
-
Apply Upward Pressure and Twist: With your other hand, grip the canopy firmly. Push it gently upward towards the ceiling—this helps disengage the locking tabs from their seated position. While maintaining this pressure, try to twist the canopy counter-clockwise. You may only need to turn it about an inch or two.
-
Listen and Feel for the Release: You should feel a distinct “give” or hear a subtle click as the tabs align with the slots. Once this happens, the canopy will be loose and you can carefully slide it down the downrod to expose the mounting bracket and wiring.
If it doesn’t budge, don’t force it. It might be a different mechanism, or it could be stuck for other reasons, which we’ll address in the troubleshooting section.
Method 2: The Snap-On (Friction-Fit) Canopy
Snap-on canopies rely on a tight fit. The removal process is about applying slow, even pressure to overcome the friction holding it in place.
-
Inspect for a Prying Point: Carefully examine the seam where the canopy meets the ceiling. Many friction-fit models have a small, almost invisible notch or slot designed for the tip of a flathead screwdriver or a putty knife.
-
Gently Pry Downward: Insert a thin, flat tool (a putty knife is often better as it’s less likely to scratch the paint or metal) into the slot. Apply gentle downward pressure to create a small gap. Do not try to pry it off from a single point.
-
Work Around the Circumference: Move your tool a few inches over and repeat the process. Continue working your way around the entire circumference of the canopy, applying even pressure. This will slowly and safely walk the canopy off its bracket without bending the metal or damaging your ceiling.
Method 3: The Deceptive Hidden Set Screw and Trim Ring
This type often causes the most confusion because it appears completely solid. The secret lies in a separate, decorative trim ring.
-
Identify the Trim Ring: Look closely at the very top of the canopy, right against the ceiling. You should be able to see a very fine seam that separates a thin ring (usually a half-inch to an inch wide) from the main body of the canopy. This is the piece you need to remove first.
-
Twist or Pull Down the Ring: Try twisting this ring counter-clockwise. Like a twist-and-lock canopy, it may only need a slight turn to release. If twisting doesn’t work, it might be a friction-fit ring. In that case, try to gently pull it straight down. Some designs use small internal clips to hold it in place.
-
Expose and Remove the Screws: Once the trim ring is slid down, it will reveal the heads of the mounting screws that secure the main canopy to the bracket. From here, the process becomes standard: simply use a screwdriver to loosen or remove these screws, and the canopy will come free.
Troubleshooting Common Problems: When the Canopy Won’t Budge
Sometimes, even when you’ve identified the correct mechanism, the canopy refuses to cooperate. Over time, factors like paint, dust, and humidity can cause parts to seize up. Here’s how to handle the most common issues.
The “Painted Shut” Problem
This is arguably the most frequent cause of a stuck canopy. When a room is painted, painters often don’t remove or mask the fan canopy, effectively gluing it to the ceiling with a layer of paint.
The Solution: Take a sharp utility knife and carefully score the paint along the seam where the canopy meets the ceiling. Go all the way around, applying just enough pressure to cut through the paint layer without digging into the ceiling drywall. This breaks the seal and should allow the canopy to twist or pry free. You can sometimes combine this with gentle heat from a hairdryer to make the paint more pliable.
Dust, Grime, and Corrosion
Over the years, dust and moisture can build up inside the mechanism, making it difficult to operate. This is especially common in kitchens or bathrooms where grease and humidity are present.
The Solution: A can of compressed air can be a great first step. Try to blow out any loose debris from the seam. If you suspect minor corrosion, a very sparing application of a penetrating oil like WD-40 can help. Spray a small amount onto a cloth and wipe it into the seam, then give it a few minutes to work before trying to remove the canopy again. Be sure to protect your floor and fan blades from drips.
It’s Just Plain Stuck!
If you’ve tried everything and it still won’t move, take a step back. Re-verify the mechanism type. Get your flashlight and look again for a hidden set screw you might have missed. Sometimes a little extra, steady pressure is all that’s needed. Try gripping the canopy with both hands to apply more even force. If you’re struggling, especially on a tall ladder, getting someone to help stabilize the fan or the ladder is a smart move.
Working on home fixtures can sometimes reveal other underlying issues. For instance, while you are on the ladder, you might notice issues that require different expertise, like needing to understand how to get on second story roof for other repairs. It is always good to be observant.
| Canopy Type | Identification Clue | Primary Removal Action | Tools Needed |
|---|---|---|---|
| Twist-and-Lock | No visible screws; may have slight rotational play. | Push up gently and twist counter-clockwise. | Hands, possibly rubber gloves for grip. |
| Snap-On / Friction-Fit | A very tight, clean seam against the ceiling; may have a small pry notch. | Pry down gently and evenly around the circumference. | Putty knife or flathead screwdriver. |
| Hidden Set Screw / Trim Ring | A thin, separate decorative ring is visible at the very top. | Twist or pull down the trim ring first to reveal screws. | Hands, flashlight, and a screwdriver for the revealed screws. |
When to Call a Professional
While removing a screwless canopy is usually a manageable DIY task, there are times when it’s safer and wiser to call a licensed electrician. If you’ve tried all the methods and the canopy still won’t come off, excessive force could damage the fan’s motor, the wiring, or the electrical box in the ceiling.
You should also stop and call a professional if you see any signs of damaged or frayed wiring, if the fan is excessively wobbly, or if you simply don’t feel comfortable with any part of the process. Electrical work should never be a guessing game. In some cases, a professional might need to address other complex issues, like what happens when a roofer punctured ac line during a previous job, which could affect the wiring in your ceiling. A small service fee is well worth the peace of mind and safety.
You’ve Unlocked the Canopy! What’s Next?
Congratulations! By using patience and the right technique, you have successfully removed the once-immovable canopy. You now have access to the mounting bracket, wiring, and remote receiver. Whether you’re here to troubleshoot a wobble, install a new remote, or replace the entire unit, the hardest part is behind you.
Remember the key takeaways: Safety First by cutting the power, Identify the mechanism before you act, and Use Finesse, Not Force. These modern, screwless designs are meant to be sleek, not impossible. Now that you know the secrets, you can approach any ceiling fan with the confidence of a pro. This newfound knowledge may even inspire you to tackle bigger projects, like figuring out why your house has no insulation how to fix insulate properly, as you gain more confidence in your home improvement skills.
Before you proceed with your main task, take a moment to clean the inside of the canopy and the mounting area. Reassembly is typically the reverse of removal. With your project complete, you can restore power and enjoy your fully functional—and beautifully seamless—ceiling fan.