No Hot Water? How to Relight Your Bradford White Pilot Light
That sinking feeling when you turn on the shower handle and are met with a stream of icy water is a universal homeowner frustration. Before you panic and call for an expensive emergency plumbing visit, the culprit might be a surprisingly simple fix. For many homes with a Bradford White gas water heater, the problem is often just an extinguished pilot light.
The pilot light is a small, continuous flame that ignites the main burner whenever your water heater needs to raise the water temperature. If this tiny flame goes out, your water heater cannot heat water, leaving you in the cold. Understanding how to safely and correctly relight it is a fundamental skill that can save you time, money, and discomfort.
You'll Learn About
Why Did My Bradford White Pilot Light Go Out?
Before you relight the pilot, it’s helpful to understand why it might have gone out in the first place. An occasional outage might be a fluke, but if it becomes a recurring problem, it often points to an underlying issue that needs attention. Addressing the root cause can prevent future cold showers and ensure the safe, efficient operation of your appliance.
The Usual Suspects: Common Causes for Pilot Outages
Several common issues can lead to an extinguished pilot light on your Bradford White water heater. One of the most frequent culprits is a faulty or dirty thermocouple. The thermocouple is a critical safety device that senses the heat from the pilot flame and signals the gas valve to remain open. If the thermocouple is dirty, damaged, or has shifted out of the flame’s path, it will cool down and shut the gas valve, extinguishing the pilot as a precaution.
Another often-overlooked cause is a strong draft. Water heaters are frequently installed in basements, garages, or utility closets where drafts from open doors, windows, or even clothes dryer vents can be strong enough to simply blow out the small pilot flame. Ensure the area around your water heater is reasonably protected from sudden gusts of air.
Over time, the pilot orifice or tube can become clogged with dust, soot, or other debris. This blockage restricts the flow of natural gas, leading to a weak or flickering flame that is easily extinguished. A weak flame may not be hot enough to keep the thermocouple properly engaged, compounding the problem.
The Hidden Problem: A Clogged Flame Arrestor
A significant, and often missed, reason for recurring pilot light outages, especially in modern Bradford White Defender models, is a clogged flame arrestor screen. This vital safety component is located at the very bottom of the water heater and is designed to prevent flames from escaping the combustion chamber. Its fine mesh screen, however, can become clogged with dust, lint, pet hair, and other airborne debris.
When this screen gets blocked, it chokes the burner’s air supply. This lack of oxygen leads to poor combustion, soot buildup, and overheating within the chamber. Your water heater’s high-limit safety switch, or Thermal Cutoff (TCO), will then trip, shutting off the gas supply and extinguishing the pilot light to prevent a hazardous situation. This is a brilliant safety design, but it often manifests as a pilot light that just won’t stay lit.
Before You Begin: Safety First and Tools You’ll Need
Working with a gas appliance demands your full attention and adherence to safety protocols. Natural gas is highly flammable, and improper procedures can be dangerous. Before attempting to relight the pilot, you must perform a crucial safety check and gather a few simple tools.
STOP IMMEDIATELY IF YOU SMELL GAS. If you detect a rotten egg-like odor, do not touch any light switches, unplug any appliances, or use your phone nearby. Immediately leave the house, and from a safe distance, call your gas utility company’s emergency line. Do not attempt any repairs.
Essential Tools and Safety Preparations
To do the job correctly and safely, you will need a few items. A flashlight or a headlamp is essential, as the pilot assembly is located in a dark area at the bottom of the tank. You will also need a long-handled grill lighter or a flexible lighter if your unit requires manual ignition.
Before starting, locate the gas control knob on your water heater and turn it to the “OFF” position. It’s also wise to ensure the area has adequate ventilation by opening a nearby window or door. Familiarizing yourself with the location of the main gas shut-off valve for the appliance provides an extra layer of safety.
Step-by-Step Guide: How to Relight Your Bradford White Pilot Light
Once you’ve completed your safety checks and gathered your tools, you’re ready to proceed. The process is generally similar across most Bradford White models, but always refer to the specific instructions printed on the label of your water heater for guidance. These steps provide a general overview of the procedure.
Step 1: Locate the Gas Control Valve and Instructions
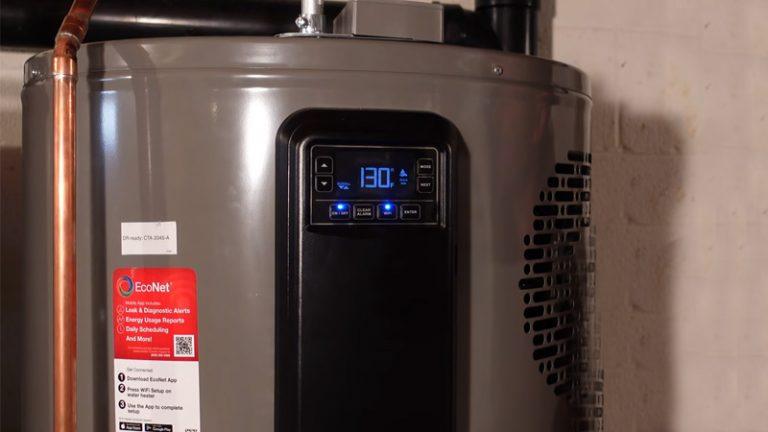
Find the gas control unit, which is typically a black or gray box near the bottom of the water heater with a temperature dial and a control knob. Most units have a sticker on the side with detailed lighting instructions specific to that model.
Step 2: Turn Everything Off and Wait
Turn the main gas control knob to the “OFF” position. Also, turn the temperature dial to the lowest possible setting or “PILOT.” Now, you must wait for at least 5-10 minutes. This allows any residual gas in the combustion chamber to dissipate safely.
Step 3: Access the Burner Chamber
Carefully remove the small metal access panel (or panels) covering the burner assembly. This will give you a view of the pilot light location through a small sight glass or opening.
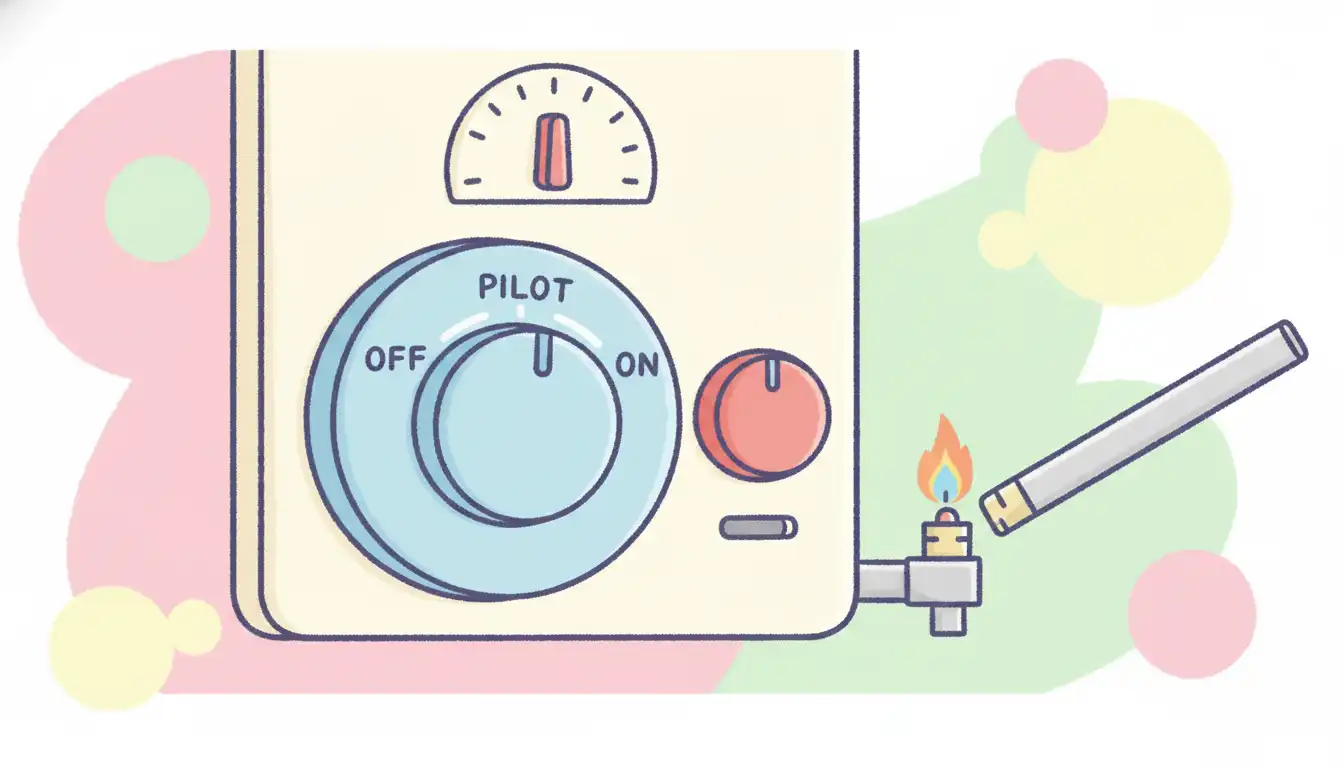
Step 4: Set to “PILOT” and Press Down
Rotate the gas control knob to the “PILOT” position. Press and hold the knob down firmly. This action manually opens the gas valve to allow gas to flow only to the pilot tube.
Step 5: Ignite the Pilot Flame
While continuing to hold the pilot knob down, you will ignite the flame. If your model has a piezo igniter (a red or black button), press it repeatedly—you should hear a clicking sound—until you see the pilot flame ignite. If your model requires manual lighting, use your long lighter to carefully reach in and ignite the pilot burner.
Step 6: Hold, Confirm, and Release
This is the most critical step. Once the pilot is lit, you must continue to hold the pilot knob down for at least 30-60 seconds. This allows the flame to heat the thermocouple, which needs to get hot enough to signal the gas valve to stay open on its own. After holding it, release the knob slowly and check that the pilot flame remains lit.
Step 7: Turn On the Main Burner
If the pilot stays lit, rotate the gas control knob to the “ON” position. You should hear a “whoosh” sound as the main burner ignites. Adjust the temperature dial to your desired setting, typically around 120°F for safety and efficiency.
Step 8: Replace the Access Panels
Carefully replace the access panels you removed, ensuring they are secure. Your hot water should be restored within about an hour.
Troubleshooting: What If the Pilot Won’t Stay Lit?
Sometimes, the pilot ignites but goes out as soon as you release the control knob. In other cases, it may stay lit for a while only to go out again later. These frustrating scenarios usually point to one of a few specific problems, which you can often diagnose and sometimes even fix yourself.
A recurring issue can be frustrating, but with a methodical approach, you can often identify the root cause. Proper home maintenance is key to preventing such issues. Just as knowing the correct Ariens AX 414 oil capacity is essential for your snowblower, understanding your water heater’s basic needs can save you from a major headache.
| Problem | Potential Cause | DIY Solution / Next Step |
|---|---|---|
| Pilot lights but goes out when the knob is released. | Faulty or Dirty Thermocouple | The thermocouple is not sending the “flame on” signal. You can attempt to gently clean the tip with fine-grit sandpaper. If that fails, it likely needs to be replaced. |
| Pilot lights but goes out after minutes or hours. | Clogged Flame Arrestor Screen | The unit is being starved of oxygen, causing the thermal cutoff switch to trip. Carefully vacuum the screen at the bottom of the water heater to remove lint and dust. |
| Pilot won’t light at all. | No Gas Flow / Faulty Igniter | Ensure the main gas supply valve is open. If using a piezo igniter, check if it’s creating a spark. The pilot tube itself may be clogged and require cleaning. |
| Status Light is Blinking a Code | Specific System Fault | Refer to the guide on the water heater or the owner’s manual to decode the blinking light sequence. This will point to the specific error, such as a faulty sensor or gas valve. |
Proactive Maintenance: Preventing Future Pilot Light Problems
The best way to deal with a pilot light outage is to prevent it from happening in the first place. A few simple, regular maintenance tasks can dramatically improve the reliability and longevity of your Bradford White water heater, ensuring you have consistent access to hot water.
Start by keeping the area around your water heater clean and clear of clutter. This improves airflow and reduces the amount of dust and debris that can be pulled into the unit. This simple housekeeping is one of the most effective preventative measures you can take.
The most important proactive step is to regularly clean the flame arrestor screen. Every few months, use a vacuum with a brush attachment to clean the screen at the bottom of the unit. This is especially important in homes with pets, carpeting, or in dusty basements, as it ensures proper airflow for clean combustion.
When to Put Down the Tools and Call a Professional Plumber
While relighting a pilot light is a manageable task for many homeowners, there are clear signs that indicate it’s time to call a qualified professional. Your safety is the top priority, and some issues require the expertise and specialized tools of a licensed plumber.
If you have tried the troubleshooting steps and the pilot light still refuses to stay lit, it’s time to make the call. This could indicate a more complex problem, such as a failing gas control valve or an internal sensor issue that is beyond the scope of a typical DIY repair. Never attempt to bypass any safety features on your water heater.
Most importantly, if you ever smell natural gas, call for professional help immediately. Do not try to diagnose the problem yourself. A professional plumber has the training to safely handle gas leaks and can correctly diagnose and replace faulty components like thermocouples and gas valves, ensuring your system runs safely and efficiently for years to come.
Conclusion
Mastering the relighting process for your Bradford White water heater transforms a potential household crisis into a quick, empowering DIY victory. By following the manufacturer’s specific sequence—purging excess gas, engaging the pilot mode, and holding the control knob to heat the thermocouple—you ensure the system’s safety sensors are correctly engaged.
While an extinguished flame is often caused by a simple draft or minor debris, being able to identify and fix it yourself keeps your home running smoothly without the premium price of a service call. Ultimately, this basic maintenance skill not only restores your hot water but also builds the confidence needed to manage your home’s vital systems with ease and safety.