Move Sink Plumbing a Few Inches? The #1 Mistake to Avoid
You’ve found the perfect new vanity. Or perhaps you’re in the middle of a kitchen upgrade, and the new countertop layout requires the sink to shift just slightly. It seems like a simple change, but when you look underneath, you realize the drain and water lines are stubbornly fixed in the wrong spot. This is a common snag in many home improvement projects.
The temptation is to force the connection with flexible pipes or ignore the slight misalignment. This is a critical error that can lead to slow drains, leaks, and even dangerous sewer gas entering your home. Moving sink plumbing, even just a few inches, requires precision and an understanding of the system you’re working with.
You'll Learn About
Why You Can’t Just “Stretch” Your Sink Plumbing
Plumbing isn’t just a set of tubes; it’s a carefully designed system that relies on gravity and pressure. The drain pipe, for instance, must have a specific downward slope to function correctly. This is typically a quarter-inch of fall for every one foot of horizontal run. This precise angle ensures that water and waste flow away efficiently without leaving solids behind.
Failing to maintain this slope can cause constant clogs and put undue stress on pipe fittings. Similarly, stretching flexible water supply lines to their limit creates weak points that are prone to bursting. The most significant, and often overlooked, factor is the plumbing vent. Every drain needs a vent to equalize pressure, and altering the drain’s position can compromise its effectiveness.
Assessing Your Situation: Is This a DIY Job?
Before you grab a pipe wrench, you need to determine the scope of the project. Carefully inspect the pipes coming out of your wall. Are they white PVC, black ABS plastic, rigid copper, or flexible PEX tubing? The material will dictate the tools and techniques required.
Moving plumbing within a standard drywall is relatively straightforward. However, if the pipes are behind a tiled wall, the job becomes significantly more complex, involving tile removal and replacement. Be honest about your skill level. While shifting pipes a few inches is manageable for many, it requires confidence in cutting and joining pipes securely. If you have any doubts, consulting a professional is always the wisest choice.
Essential Tools and Materials Checklist
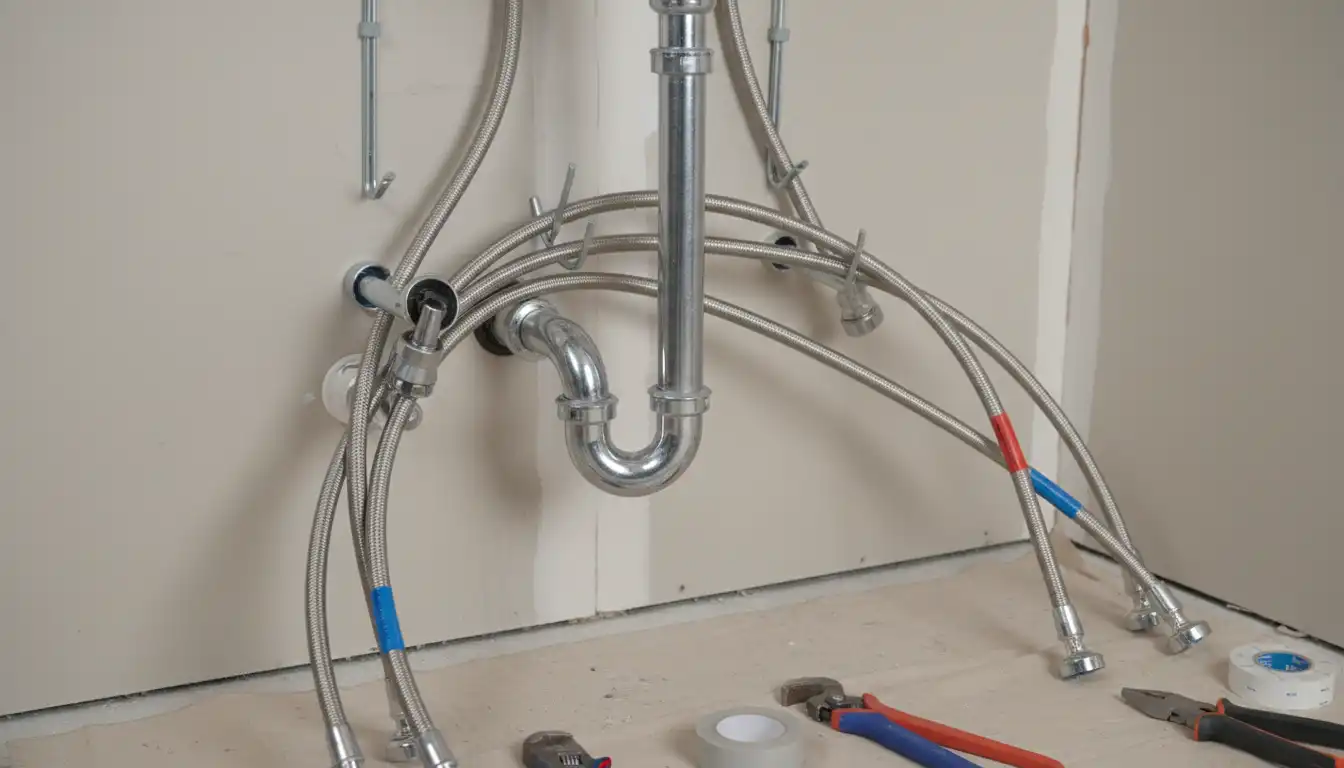
Having the right gear on hand before you start is non-negotiable. Scrambling to the hardware store with your water shut off is a stress you don’t need. This list covers the most common items you’ll need for working with PVC drains and either copper or PEX supply lines.
| Tool/Material | Purpose | Pro Tip |
|---|---|---|
| Pipe Cutter (for PVC and/or Copper) | Ensures clean, square cuts for a perfect seal. | A dedicated PVC ratchet cutter is faster and easier than a hacksaw. |
| Channel-Lock Pliers / Pipe Wrench | For disconnecting existing slip nuts and fittings. | Use two wrenches working in opposite directions to avoid stressing the pipes. |
| Drill with Hole Saw or Spade Bit | To create a new exit hole in the wall stud or cabinet. | Make the hole slightly larger than the pipe to allow for minor adjustments. |
| PVC Primer and Cement | Chemically welds PVC pipe and fittings together. | Use purple primer so you can visually confirm all surfaces are prepped. |
| Assorted PVC Fittings (e.g., 45° elbows, couplings) | To create the necessary offsets to move the line. | Buy more fittings than you think you need. It’s better to have extras. |
| Tape Measure & Level | For accurate measurements and ensuring proper drain slope. | A small torpedo level is perfect for checking the pitch of short pipe runs. |
| PEX Crimp/Clamp Tool and Rings (if applicable) | For securing PEX tubing to fittings. | Ensure your tool is calibrated and compatible with the type of rings you are using. |
The Step-by-Step Guide to Moving Your Sink Drain
The drain line is often the most critical part of the move. Follow these steps methodically for a leak-free result. The absolute first step is to turn off the water supply to the sink at the angle stops (the small valves under the sink) or at your home’s main shutoff valve.
First, place a bucket under the P-trap to catch any residual water. Disconnect the trap from the drain arm coming out of the wall. Next, you’ll need to open the wall. Use a drywall saw to cut a clean, rectangular section around the drain pipe, large enough to give you room to work. Your goal is to expose the vertical drain stack and the sanitary tee fitting where your drain arm connects.
Now, measure and cut the horizontal drain arm, leaving a few inches of stub pipe coming out of the sanitary tee. To shift the line, you’ll use fittings. For a simple sideways move, you can often use two 45-degree elbows to create an offset. This is generally better than using a single 90-degree elbow, as it promotes smoother flow.
Before gluing anything, dry-fit all your new pipe and fittings. Hold them in place to ensure they line up perfectly with your new sink location. Remember to account for that crucial quarter-inch-per-foot downward slope. Once you’re confident in the fit, apply PVC primer and then cement to the pipe and the inside of the fitting, push them together with a slight twist, and hold for 30 seconds.
After the new arm is assembled, you can install the new stub-out that will pass through the drywall. Let the cement cure completely according to the manufacturer’s instructions before you even think about testing it.
Shifting the Water Supply Lines: Copper vs. PEX
Moving the hot and cold water supply lines can be more intimidating than the drain, but it’s entirely achievable. The method depends heavily on the type of pipe you have. Remodels that aim to remove a dining room to enlarge a kitchen often encounter this exact challenge when relocating a sink to a new wall or island.
The Copper Challenge
Traditionally, copper pipes are joined by soldering, which involves a torch and requires a fair bit of skill to do safely and effectively. For a DIYer, a much more accessible option is to use push-to-connect fittings or compression fittings. These fittings create a watertight seal without any heat. While slightly more expensive, they are reliable and vastly simplify the process of cutting a copper line and adding an extension or elbow to reposition it.
The PEX Advantage
If you discover flexible PEX tubing in your wall, your job is much easier. PEX is celebrated for its flexibility, which can sometimes accommodate a move of a few inches without any cutting. If you do need to cut and extend it, PEX fittings are joined using simple mechanical methods like crimp rings or clamp rings. This makes it incredibly easy to re-route the lines to your desired location and install new angle stops (shutoff valves) right where you need them.
The Hidden Danger: Messing Up Your Venting
Here is a critical point that many guides fail to emphasize. The drain arm extending from the wall isn’t just a pipe; it’s part of a “trap arm.” This arm connects your sink’s P-trap to the sanitary tee inside the wall, which is also connected to a vent pipe that runs up to your roof. This vent is essential—it prevents a vacuum from forming, which would siphon the water right out of your P-trap, allowing sewer gas into your home.
Plumbing codes strictly limit how long the trap arm can be and how it can be configured. When you move your sink’s drain pipe horizontally, you are lengthening this trap arm. If you extend it too far without proper venting, you can create an “S-trap,” which is illegal in modern plumbing codes precisely because it leads to siphonage. The result is a gurgling drain and a foul smell that you can’t seem to trace. Even if your sink seems to drain fine initially, an unvented or poorly vented fixture is a functional and health hazard.
As a rule of thumb, the maximum horizontal distance for a 1.5-inch trap arm (standard for kitchens and bathrooms) to the vent is typically around 5 to 6 feet, depending on local codes. By using a series of fittings to move the drain over a few inches, you are adding to this horizontal length. It’s vital to ensure your new configuration doesn’t exceed these limits or create a new low point where water can pool.
Finishing Touches and Leak Testing
Once all your new pipes are installed and the cement or connections are fully cured, the final steps are to ensure a perfect, leak-proof finish. Start by sliding decorative plates, called escutcheons, over the pipes to create a clean seal against the wall. Then, reconnect your P-trap to the new drain stub-out. It’s often at this point you’ll notice if your kitchen faucet won’t stay in place or if other components need tightening.
Now for the moment of truth. Slowly turn the water back on at the angle stops. Don’t just turn them on full blast. Open them slightly and immediately check the new supply line connections for any drips. Use a dry paper towel to wipe each joint, as it will make even the smallest bead of water visible.
Once you’ve confirmed the supply lines are secure, run both hot and cold water into the sink. Let it run for a few minutes while you inspect the P-trap and the new drain connections. Finally, close the sink stopper, fill the basin completely, and then release the water. This surge of water places the drain under maximum load and will reveal any potential leaks in your work. Once you’re 100% confident everything is watertight, you can patch the drywall, and your project is complete. This attention to detail separates a DIY job from a professional one, similar to how one must carefully consider the unique requirements when dealing with pedestal sink plumbing through the floor.
Conclusion: A Perfectly Placed Sink
Moving your sink plumbing over a few inches is more than just extending some pipes. It’s a project that demands careful planning, an understanding of fundamental plumbing principles like slope and venting, and a methodical approach to execution. By taking the time to assess your situation, gather the right materials, and follow the steps correctly, you can successfully reposition your sink for that flawless finish in your new kitchen or bathroom.
You’ve not only solved a design dilemma but also gained valuable skills and a deeper understanding of how your home’s systems work. The satisfaction of a perfectly centered, fully functional, and leak-free sink is well worth the effort.
