How to Mount a Light on Uneven Stone Surfaces: SOLVED
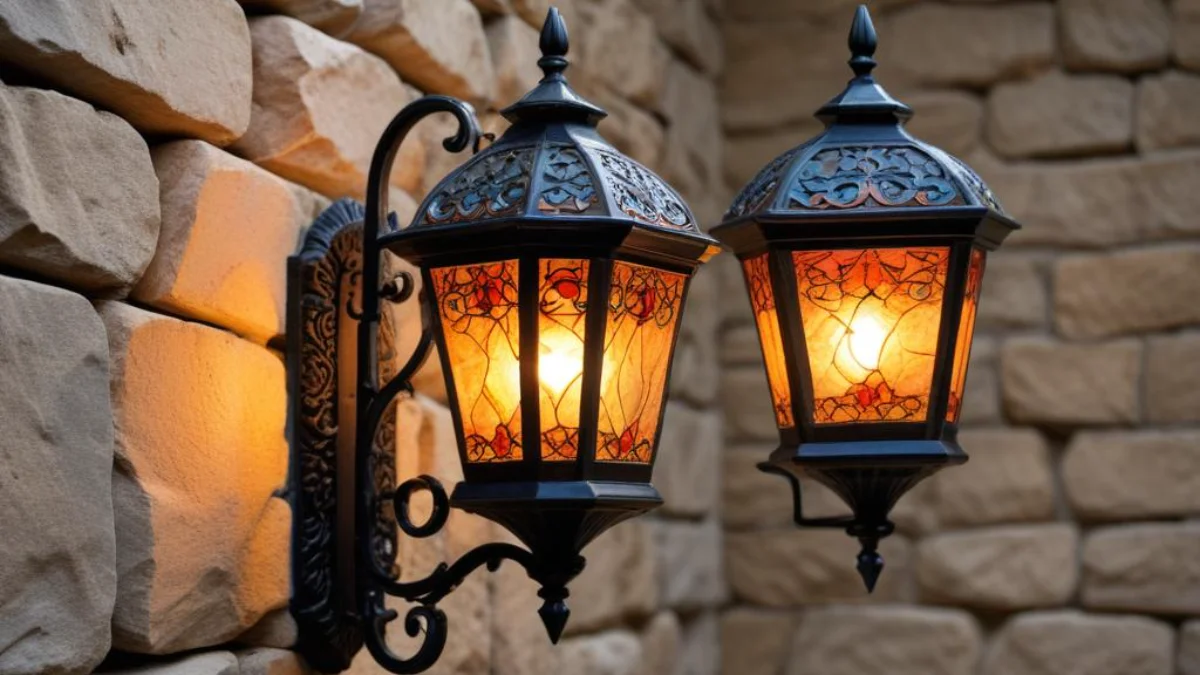
There’s nothing quite like the timeless, rugged beauty of a natural stone wall. It adds texture, character, and a sense of permanence to any home’s exterior. But when it comes time to install a new porch light, sconce, or security light, that beautiful, uneven surface suddenly becomes a major headache. How do you get a flat-backed light fixture to sit securely and straight on a lumpy, irregular stone facade? It’s a common problem that leaves many homeowners frustrated, staring at a crooked light and an unsightly gap that’s an open invitation for water and insects.
The core of the issue is simple geometry: a flat plane can’t sit flush against a varied, three-dimensional surface. This leads to a wobbly, unstable installation that’s not only aesthetically displeasing but also potentially unsafe. An improperly mounted fixture can allow moisture to seep into the electrical box, creating a serious risk of short circuits or electrical shock. Furthermore, the pressure from tightening screws against an uneven surface can crack the fixture’s baseplate or even the stone itself, leading to costly repairs.
Fortunately, you don’t have to choose between your stunning stone wall and beautiful exterior lighting. With the right tools, materials, and techniques, you can achieve a secure, level, and weatherproof installation that looks professionally done. This comprehensive guide will walk you through the various methods to solve this common DIY challenge, from simple adjustments to creating custom mounting solutions. We’ll explore everything from grinding the stone to building custom backer plates, ensuring you have the knowledge to tackle this project with confidence.
You'll Learn About
Understanding the Core Challenge: The Problem with Uneven Surfaces
The primary difficulty when you mount a light on uneven stone is achieving a stable, flush fit. Unlike flat surfaces like wood siding or stucco, natural stone, stone veneer, and river rock present a landscape of peaks and valleys. A standard light fixture is designed with a flat mounting plate that expects to make even contact with the wall. When it doesn’t, several problems arise immediately.
First, the fixture will be unstable. As you tighten the mounting screws, the fixture will cant or tilt, pulled towards the highest points of the stone it touches. This results in a crooked light that detracts from your home’s curb appeal. More importantly, this uneven pressure creates stress points on the fixture’s housing, which can lead to cracks and damage over time. The screws themselves may not get a secure bite, leaving the fixture loose and susceptible to movement from wind or vibration.
The second major issue is weatherproofing. A gap between the fixture’s base and the stone wall is a direct channel for rainwater, snow, and ice. Moisture infiltration is the enemy of any electrical installation. It can corrode wires, damage the fixture’s internal components, and, most critically, lead to dangerous electrical shorts. Protecting the junction box from the elements is non-negotiable for a safe and durable outdoor lighting setup.
Types of Uneven Stone Surfaces
The strategy you choose will largely depend on the type of stone you’re working with. Each has its own characteristics and challenges. Understanding your specific surface is the first step toward a successful installation.
Natural Stone & Fieldstone: These are often the most irregular surfaces, with significant variations in depth and texture. The stones can be large and rounded, making it nearly impossible to find a naturally flat area large enough for a fixture’s base. This type of wall almost always requires creating a custom flat surface to mount upon.
Stacked Stone & Ledge Stone Veneer: This style features flatter, rectangular pieces of stone, but the overall surface is still highly textured and uneven. While you might find small flat spots, the overlapping nature of the stones means the surface is rarely flush. The challenge here is often bridging the gaps between the different layers of stone.
River Rock & Cobblestone: Characterized by smooth, rounded stones of various sizes set in mortar, this surface is perhaps the most difficult. There are virtually no flat planes. Drilling into the rounded rocks themselves can be tricky, as the drill bit can easily slip. The solution often involves working with the mortar joints or building out a mounting surface.
The Solution Toolkit: Essential Tools and Materials
Before you begin, gathering the right tools and materials is crucial. Having everything on hand will make the job smoother, safer, and more efficient. The specific items you’ll need will vary based on the method you choose, but this list covers the essentials for tackling most uneven stone installations.
Proper preparation is key. Ensure you have a clear, safe workspace. If you’re working at height, use a sturdy ladder and have someone to assist you. Always prioritize safety, especially when dealing with electricity and power tools. When you’re ready to start, you will find that proper tools make all the difference in the world.
Your toolkit will be your best friend in this project. Don’t be tempted to make do with the wrong tool for the job. Using a standard drill on hard stone will be frustrating and ineffective. Investing in or renting the correct tools, like a hammer drill and masonry bits, is essential for a clean and successful installation.
| Tool/Material | Purpose & Key Considerations |
|---|---|
| Safety Gear | Safety glasses, dust mask, and gloves are non-negotiable to protect from stone dust and debris. |
| Hammer Drill | Essential for drilling into stone and mortar. Its hammering action breaks up the material as it drills. A standard drill will not suffice for this task. |
| Masonry/Diamond Drill Bits | Use carbide-tipped masonry bits for mortar and softer stone. For very hard stone like granite, diamond-tipped bits are highly recommended to prevent overheating and bit failure. |
| Angle Grinder with Diamond Blade | Necessary if you choose to grind down high spots on the stone to create a flatter surface. Provides precise control for shaping the stone. |
| Exterior-Grade Silicone Caulk | Crucial for creating a waterproof seal around the fixture. Choose a color that matches your stone or a clear sealant. |
| Mounting Block or Wood Plaque | A piece of pressure-treated wood, PVC trim board, or a pre-made siding mounting block to act as a flat intermediary surface. |
| Shims (Plastic or Composite) | Used to fill small gaps behind the mounting plate to level the fixture. Plastic or composite shims are waterproof and won’t rot. |
| Level & Measuring Tape | To ensure your mounting block and final fixture are perfectly level and centered. |
| Electrical Tools | Voltage tester, wire strippers, and wire nuts for safely handling the electrical connections. |
Step-by-Step Installation Guide: Three Proven Methods
There isn’t a single, one-size-fits-all solution for mounting a light on uneven stone. The best approach will depend on the ruggedness of your stone, the size and shape of your light fixture, and your comfort level with various tools. We’ll cover three primary methods, ranging from the simplest to the most involved, providing you with a clear path to a secure and professional-looking installation.
Before starting any of these methods, the first and most critical step is to turn off the power to the circuit at your breaker box. Use a voltage tester to confirm there is no power at the existing fixture’s location before you touch any wires. Safety must always be your top priority. It might even be a good idea to learn about how to move doorbell wiring, as some of the safety principles are similar.
Method 1: The Shim and Seal Technique (For Minor Irregularities)
This method is best suited for stone surfaces that are only slightly uneven, where the gaps behind the fixture’s base are no more than about a quarter of an inch. It’s the least invasive method and relies on filling small voids to create a stable, level mount. It’s a quick and effective solution for many stacked stone or ledgestone facades.
The goal here is to provide support at key points behind the fixture’s mounting plate. By strategically placing shims, you can prevent the fixture from rocking or tilting as you tighten the screws. This ensures the fixture remains level and the pressure is distributed more evenly.
Step 1: Dry Fit the Fixture
Hold the new light fixture’s mounting bracket or base plate against the stone wall over the electrical box. Determine where the high and low spots are. Identify the gaps that will need to be filled to make the fixture sit level. Use a level to see how much adjustment is needed.
Step 2: Insert Shims
Use plastic or composite shims, which are waterproof and will not rot or compress over time like wood. Slide the shims into the gaps behind the mounting plate. You may need to stack them or trim them to fit. The goal is to create a firm, stable base so the plate does not wobble.
Step 3: Secure the Mounting Bracket
With the shims in place, securely fasten the mounting bracket to the wall. You will likely need to drill pilot holes into the mortar joints or the stone itself using your hammer drill and a masonry bit. Use high-quality, corrosion-resistant screws to attach the bracket. As you tighten the screws, check that the bracket remains level and does not bend or deform.
Step 4: Wire and Mount the Fixture
Follow the manufacturer’s instructions to connect the wires (typically black to black, white to white, and ground to ground) using wire nuts. Carefully tuck the wires into the electrical box and attach the light fixture to the mounting bracket. Tighten the fixture’s mounting screws until it is snug against the shims and the wall.
Step 5: Apply a Weatherproof Seal
This is the most critical step for this method. Apply a continuous bead of high-quality, exterior-grade silicone caulk around the top and sides of the light fixture’s base where it meets the stone. Do not caulk the bottom edge. Leaving the bottom open allows any moisture that might find its way in to drain out, preventing it from being trapped and causing damage.
Method 2: The Custom Mounting Block Solution (The Most Versatile Method)
For more significantly uneven surfaces, like river rock or fieldstone, creating a custom mounting block is often the best solution. This involves creating a flat, stable surface that is attached to the stone, to which you can then easily mount your light fixture. This method provides a highly secure and professional finish.
A mounting block acts as an adapter between the uneven stone and the flat fixture. You can craft this block from a variety of durable, weatherproof materials. Pressure-treated wood is a common choice, but PVC trim boards are an excellent, maintenance-free alternative that will never rot, split, or warp. The process involves scribing the back of the block to match the contours of the stone for a perfect fit.
Step 1: Choose and Prepare Your Block Material
Cut a piece of pressure-treated wood or PVC trim board to a size slightly larger than the base of your light fixture. Aesthetically, a block that is about an inch larger on all sides often looks best. Drill a hole through the center of the block for the electrical wires to pass through.
Step 2: Scribe the Block to Fit the Stone
This is the key to a professional look. Hold the block against the stone wall in the desired position. Use a compass or a simple scribing tool to trace the contour of the stone onto the back of the block. Set the compass to the width of the largest gap between the block and the stone. Then, run the point of the compass along the stone while the pencil transfers the pattern to the block.
Step 3: Shape the Mounting Block
Carefully cut along the scribed line using a jigsaw or a bandsaw. You may need to use a rasp, sander, or even an angle grinder with a sanding disc to fine-tune the shape for a snug fit. Test the fit frequently. The goal is to get the back of the block to match the stone surface as closely as possible, minimizing gaps.
Step 4: Secure the Block to the Wall
Once you are happy with the fit, it’s time to attach the block. Drill pilot holes through the block and into the stone wall using your hammer drill and masonry bit. It’s best to drill into the mortar joints if possible, as it’s easier and less likely to crack the stone. Secure the block firmly with long, corrosion-resistant masonry screws, such as Tapcons. Apply a bead of construction adhesive to the back of the block before screwing it in for extra holding power and to help seal small gaps.
Step 5: Mount and Seal the Light Fixture
You now have a perfectly flat and secure surface for your light. Mount the fixture’s bracket to the block, connect the wiring, and attach the fixture. Finally, apply a bead of silicone caulk around the top and sides of the mounting block where it meets the stone wall, and also around the top and sides of the light fixture base where it meets the block. Remember to leave the bottom edges unsealed for drainage. This same principle of creating a sealed, stable surface could be applied if you were trying to figure out how to attach led strip lights to concrete, where moisture is also a concern.
Method 3: Modifying the Stone Surface (For the Advanced DIYer)
This method involves physically altering the stone surface to create a flat spot for the light fixture. It offers the most integrated, flush-mounted look but is also the most challenging and carries the most risk. It should only be attempted if you are confident in your skills with power tools and understand the nature of the stone you are working with. One wrong move could result in a cracked stone.
This approach is typically reserved for situations where a mounting block would look out of place or for very large, heavy fixtures that require direct, solid contact with the stone. It requires patience and a steady hand. If you are ever faced with a project that seems to require drilling but you want to avoid it, you might find some useful ideas in our guide on how to install an AC without drilling.
Step 1: Mark the Area to be Flattened
Hold the light fixture’s base against the wall and trace its outline onto the stone with a pencil or marker. This will be your guide for grinding. Ensure the placement is level and covers the electrical box correctly.
Step 2: Grind the High Spots
Wearing full safety gear (glasses, mask, gloves) is absolutely mandatory for this step. Using an angle grinder equipped with a diamond masonry blade or grinding cup, carefully begin to grind down the high points of the stone within your traced outline. Work slowly and methodically. Use short, sweeping motions and don’t apply excessive pressure; let the tool do the work. The goal is to gradually remove material until you have a relatively flat plane.
Step 3: Check for Flatness Frequently
Periodically stop grinding and hold a straight edge or the fixture’s base plate against the area to check your progress. This will help you identify any remaining high spots. Continue grinding and checking until the surface is flat enough for the fixture to sit flush without rocking.
Step 4: Drill Mounting Holes and Install
Once the surface is flat, drill your mounting holes using the hammer drill and masonry bit. Anchor the mounting bracket securely to the newly flattened stone. Connect the wiring, mount the fixture, and ensure it is tightened securely.
Step 5: Seal the Fixture
Even with a flattened surface, small imperfections may remain. Apply a thin, neat bead of silicone caulk around the top and sides of the fixture’s base. As always, leave the bottom open for drainage. This final step ensures a completely weatherproof seal, protecting your wiring and your hard work for years to come.
Conclusion: Lighting Up Your Stone with Confidence
Mounting a light on an uneven stone wall may seem daunting at first, but it is a perfectly achievable DIY project with the right approach. The key is to accurately assess your specific stone surface and choose the method that best suits the situation and your skill level. Whether you opt for the simple shim and seal, the versatile custom mounting block, or the advanced grinding technique, the goal remains the same: to create a secure, level, and weatherproof installation.
Don’t let a challenging surface compromise the safety and beauty of your home’s exterior lighting. By taking the time to prepare properly, gather the right tools, and follow the steps outlined in this guide, you can overcome the obstacles presented by uneven stone. You’ll be rewarded with a beautifully installed light fixture that not only enhances your home’s curb appeal and safety but also gives you the satisfaction of a job well done.
Remember to always prioritize safety by turning off the power before you begin and wearing appropriate protective gear. With patience and attention to detail, you can confidently illuminate your home, showcasing the unique texture and timeless elegance of your stone walls for all to see.